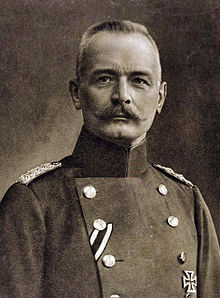
Falkenhayn was given important field commands in Romania and Syria. His reputation as a war leader was attacked in Germany during and after the war, especially by the faction supporting Field Marshal Paul von Hindenburg. Falkenhayn held that Germany could not win the war by a decisive battle but would have to reach a compromise peace; his enemies said he lacked the resolve necessary to win a decisive victory. Falkenhayn’s relations with the Chancellor Theobald von Bethmann Hollweg were troubled and undercut Falkenhayn’s plans.
Early life
Falkenhayn was born in Burg Belchau, a village near Graudenz, now Białochowo in Poland, to Fedor von Falkenhayn (1814–1896) and Franziska von Falkenhayn, née von Rosenberg (1826–1888). His ancestors could be traced to 1504. His brother Arthur (1857–1929) became tutor of Crown Prince Wilhelm and another brother Eugen (1853–1934) became a Prussian General of Cavalry. His only sister Olga von Falkenhayn was the mother of Field Marshal Fedor von Bock.
Military career
Becoming a cadet at the age of 11, Falkenhayn joined the Army in 1880 as Second Lieutenant. He served as an infantry and staff officer. He became First Lieutenant in 1889 and Hauptmann (captain) in 1893, subsequently transferring to the topographical department of the German General Staff. He was seen as a capable, deliberate officer with an open mind. Between 1896 and 1903 Falkenhayn took a leave of absence and served Qing-Dynasty China as a military consultant and helped to establish some Chinese sea ports. In 1889 he returned to German service in the new Kiautschou Bay Leased Territory in China, serving in a Seebataillon (Marine Battalion) until March 1899, when he became a Major in the Army. He saw action during the Boxer Rebellion as a general staff officer of Alfred von Waldersee and spent time in Manchuria and Korea.
Service in Asia made Falkenhayn to be a favourite of the Kaiser and he became one of the military instructors of Crown Prince Wilhelm of Prussia. After his service in Asia, the army posted him to Brunswick, Metz and Magdeburg as a battalion commander in the posted area. On 10 April 1906, Falkenhayn became a section chief of the German General Staff. In 1907, Falkenhayn became Chief of Staff of the XVI Corps. In 1908, Falkenhayn was promoted to Oberst (colonel). On 27 January 1911, Falkenhayn was appointed as the commander of the 4th Guards Regiment. On 20 February 1913, he became the chief of staff of the IV Corps and Generalmajor on 22 April 1912.[3] Before becoming Prussian Minister of War, he was posted to the General Staff for a year as the Supply department head of the General Staff. Despite being a department head, Falkenhayn did not play a significant role on the General Staff.
Prussian Minister of War (1913–1914)
On 8 July 1913 Falkenhayn became Prussian Minister of War, succeeding Josias von Heeringen, who was considered to be inactive. During the Zabern Affair, Falkenhayn, as the minister, was part of the conference to end the affair. During the July Crisis, he was at the meeting on 5 July 1914 when Germany announced to Austria-Hungary its support for war. Like most German military leaders, he did not expect a great European war but he soon embraced the idea and joined others in wanting Wilhelm II to declare war. He later noted in his diary, after a discussion with the Kaiser in the Neues Palais in Potsdam, “He makes confused speeches. The only thing that emerges clearly is that he no longer wants war, even if it means letting Austria down. I point out that he no longer has control over the situation”. Falkenhayn wanted early mobilisation since the Kaiser started to secure his palace; when the war began Falkenhayn viewed this with enthusiasm. He assured the Kaiser that the German Army was ready for the conflict. He told the chancellor, Theobald von Bethmann Hollweg that “Even if we perish over this, it will still have been worth it”.
Chief of Staff (1914–1916)
Falkenhayn succeeded Helmuth von Moltke the Younger, who was considered mentally unstable, as Chief of the Oberste Heeresleitung (the German General Staff) on 14 September 1914. Falkenhayn was 53 years old, making him the youngest man to become chief of staff. Falkenhayn continued in office as minister of war for another five months. Falkenhayn recommended Adolf Wild von Hohenborn as the new war minister; the Kaiser agreed with his recommendation, making Hohenborn the next war minister. Falkenhayn moved OHL to Mézières, to put OHL at the centre of the right wing of the German armies in the west and ordered the southern armies to dig in, part of the beginning of trench warfare.The responsibility of Falkenhayn increased when the Kaiser failed to decide a grand strategy. Falkenhayn did not want diplomatic interference in the course of war. For the first few weeks, lack of success led to widespread criticism. Falkenhayn recognized the pending failure of the Schlieffen-Moltke Plan and attempted to outflank the British and French in the Race to the Sea, a series of meeting engagements in northern France and Belgium, in which each side made reciprocal attempts to turn the other’s flank, until they reached the North Sea coast and ran out of room for manoeuvre.
In November 1914, Falkenhayn acknowledged that Germany would not be able to gain a decisive victory. He advocated a mild peace with the Russian Empire to Bethmann Hollweg, the better to concentrate against the French and British. Neither Bethmann Hollweg nor the generals on the Eastern Front, such as Paul von Hindenburg, Erich Ludendorff or Max Hoffmann, supported the idea since they believed that negotiation with the Russian Empire was impossible. While Helmuth von Moltke the Younger and Hindenburg were highly critical of Falkenhayn and sought to have him dismissed, the Emperor continued to support him. Falkenhayn did not perceive the need to deploy troops on the Vistula, he favoured sending troops to East Prussia, where the Russians took advantage of the weakening 8th Army. A Breakthrough Army (Durchbruchsarmee) for an offensive down the Somme river valley, consisting of nine new divisions, was formed in the first quarter of 1915 but three divisions were not ready in time. The new army was transferred to the Eastern Front and was re-named the 11th Army. The army had success during the Second Battle of the Masurian Lakes but creating more new divisions was difficult because of the shortage of junior officers and equipment.
Falkenhayn found that the Die Fliegertruppen des deutschen Kaiserreiches (Imperial German Flying Corps, Die Fliegertruppe), needed to be expanded. Falkenhayn noticed that the scepticism of the Ministry of War to airships, made by Ferdinand von Zeppelin, was justified. He tried to use the airships and develop rapidly the air force. Wild von Hohenborn was appointed minister of war and on 20 January 1915, Falkenhayn was promoted to General der Infanterie. As the chief of staff, Falkenhayn had many enemies because of his strategic thinking but he had Franz Conrad von Hötzendorf, chief of staff of the Austro-Hungarian Army, as his uneasy ally. They differed on war aims; Hötzendorf wanting a war against Russia, Falkenhayn against France. Falkenhayn attempted to keep Italy out of the war but failed. Attacks on the Eastern front to support the Austrians, such as the Gorlice–Tarnów Offensive, caused the Russians to evacuate Russian Poland and then to retreat deeper into the Russian interior. On 8 September 1915, Falkenhayn signed a military convention with Conrad von Hötzendorf, which called for an immediate attack on Serbia. In the fall of 1915, Falkenhayn launched an attack against Serbia. Late in the year the favourable situation gave Falkenhayn hope to achieving peace in the east.
Falkenhayn in Romania in November 1915
Falkenhayn preferred to conduct an offensive strategy on the Western Front, while conducting a limited campaign in the east; he hoped that Russia could be persuaded to accept a separate peace. Hindenburg and Ludendorff opposed this policy and wanted the main offensive effort to be in the east. Falkenhayn tried to weaken the French and British with renewed attacks and unrestricted submarine warfare. According to Admiral Reinhard Scheer, Falkenhayn was an advocate of submarine warfare because countering Britain was an important war aim but this was opposed by Bethmann Hollweg. Falkenhayn conducted a battle of attrition, as claimed in his post-war memoirs, in the Battle of Verdun in early 1916. Falkenhayn argued to the Kaiser that the war would end by causing many casualties to the French Army using methods that limited German losses.
Falkenhayn hoped that the French would fight for Verdun, the gateway to France from the east. Verdun offered the Germans the advantages of their artillery firing from three sides into a large salient in the German lines, excellent German communications and Verdun being bisected by the Meuse, which made it difficult for the French to defend. He ordered the Crown Prince to feint in Verdun and annihilate the French armies, which would try to defend the city by sending more troops. Falkenhayn’s strategy backfired, the Crown Prince and his chief of staff, Konstantin Schmidt von Knobelsdorf disobeyed the order and tried to seize the city. French artillery on the west back of the Meuse began to inflict many casualties on the 5th Army.Because more than a quarter of a million soldiers during the battle eventually died, Falkenhayn was sometimes called “the Blood-Miller of Verdun”.
Contrary to Falkenhayn’s expectations, the French were able to limit casualties in the divisions sent to Verdun, General Philippe Pétain kept the divisions in front of Verdun until casualties reached 50 per cent of the infantry, and then relieved them. The procession of divisions back and forth was analogous to the operation of a “noria“, a type of water-wheel that continuously lifts water and empties it into a trough. On 27 August 1916 Falkenhayn received news that the Kingdom of Romania had declared war on Austria-Hungary. After the relative failure at Verdun, coupled with reverses on the Eastern Front (the Brusilov Offensive and the entry of Romania into the war), the beginning of the Anglo-French offensive on the Somme and the intrigues of Hindenburg and Ludendorff, Falkenhayn was replaced as chief of staff by Hindenburg on 29 August 1916.
Falkenhayn then assumed command of the 9th Army in Transylvania (6 September 1916) and in August launched a joint offensive against Romania with August von Mackensen who attacked from Bulgaria, through the Dobruja. As the commander of the 9th Army, Falkenhayn settled his army in Brașov and deceived the Romanians into believing that there would be no offensives in western Romania. The 9th Army fought the Romanian First Army in Hațeg. After the battle, Falkenhayn joined with Austrian forces to surround the Romanian forces. Falkenhayn delayed the offensive against Romanian forces and as a result came into conflict with Archduke Karl of Austria, who would later become Charles I of Austria. He justified the postponement by pointing to the bad conditions of roads. Even with the conflict with the Austrian Army, in late 1916 and early 1917, Falkenhayn and Mackensen were able to drive the Romanian forces into Russia.
Following his success in Romania in Brașov during mid-July 1917, Falkenhayn went to take military command of the OttomanYildirim Army Group (Heeresgruppe F [Army Group F]), which was being formed in Mesopotamia and at Aleppo. After long discussions with the Ottoman general staff, Falkenhayn was sent on 7 September 1917 as supreme commander of two Ottoman armies in Palestine, with the rank of Mushir (equivalent to field marshal) of the Ottoman Army. In the Sinai and Palestine Campaign, Falkenhayn failed to prevent the conquest of Jerusalem by the British Egyptian Expeditionary Force (General Edmund Allenby) in December 1917 and was replaced by Otto Liman von Sanders.[5] Falkenhayn is credited with avoiding a battle for the Old City of Jerusalem with its many holy sites, as well as with a crucial role in stopping the forced removal of the Jewish population of Palestine, which Governor Djemal Pasha had planned along the lines of the Armenian genocide.The evacuation of the population of Jerusalem during the harsh winter months had also been planned by Djemal Pasha and was thwarted by German officers including Falkenhayn.
Belarus (1918–1919)
In February 1918, Falkenhayn became commander of the 10th Army in Belarus. The unit carried out the occupation tasks in Belarus after Treaty of Brest-Litovsk. As an Army unit commander, he witnessed the end of the war in Belarus. In December 1918 he oversaw the withdrawal of the 10th Army to Germany. The formation disbanded in February 1919 and Falkenhayn retired from the army following the dissolution of his unit.
Retirement
In 1919, Falkenhayn retired from the army and withdrew to his estate, where he wrote his autobiography and several books on war and strategy. His war memoirs were translated into English as The German General staff and Its Critical Decisions, 1914–1916 (1919). With the benefit of hindsight, he remarked that the German declarations of war on Russia and France in 1914 were “justifiable but overly-hasty and unnecessary”.Falkenhayn died in 1922, at Schloss Lindstedt, near Potsdam and was buried in Potsdam.
Family life
In 1886, Falkenhayn married Ida Selkmann, with whom he had a son, Fritz Georg Adalbert von Falkenhayn (1890–1973), and a daughter, Erika Karola Olga von Falkenhayn (1904–1975), who married Henning von Tresckow (1901–1944), a general who participated in the 20 July plot to assassinate Hitler.
Assessment
Falkenhayn in many ways typified the Prussian generals; a militarist in the literal sense, he had undeniable political and military competence and showed contempt for democracy and the representative Reichstag. He addressed the Reichstag in 1914, saying, “Only through the fact that the Prussian army is removed by the constitution from the party struggle and the influence of ambitious party leaders has it become what it is: the secure defence of peace at home and abroad”. Militarily, Falkenhayn had a mixed record. His offensive at Verdun proved a strategic failure. During the campaign against Romania in 1916 Falkenhayn demonstrated considerable skill in command of the 9th Army, driving the Romanians from Transylvania, breaking through the Southern Carpathians and forcing the shattered Romanian forces north-east into Moldavia.
Winston Churchill considered him to be the ablest of the German generals in World War I. Trevor Dupuy also ranked him near the top of the German commanders, just below Hindenburg and Ludendorff. Robert Foley wrote that Germany’s enemies were far more able to apply a strategy of attrition, because they had greater amounts of manpower, industry and economic control over the world, resorting to many of the methods used by Falkenhayn in Russia in 1915 and France in 1916. As the cost of fighting the war increased, the war aims of the Entente expanded, to include the overthrow of the political elites of the Central Powers and the ability to dictate peace to a comprehensively defeated enemy, which was achieved by a strategy of attrition.
During his term as the Chief of the General Staff, one staff officer wrote that Falkenhayn had lacked decisiveness and foresight in the matters of organization and tactics. All sources portray Falkenhayn as a loyal, honest and punctilious friend and superior. His positive legacy is his conduct during the war in Palestine in 1917. As his biographer Holger Afflerbach wrote, “An inhuman excess against the Jews in Palestine was prevented only by Falkenhayn’s conduct, which against the background of the German history of the 20th century has a special meaning, and one that distinguishes Falkenhayn”.
I am really enjoying watching The Crown on Netflix at the minute I think it has been really good so far. I am up to episode 7 on Season 2 so I have three more episode’s to watch on Season 2. I have 44 more episode’s to watch all together on all of the rest of the seasons. Season 2 is from 1956 to 1963 to 64 all from before I was born.
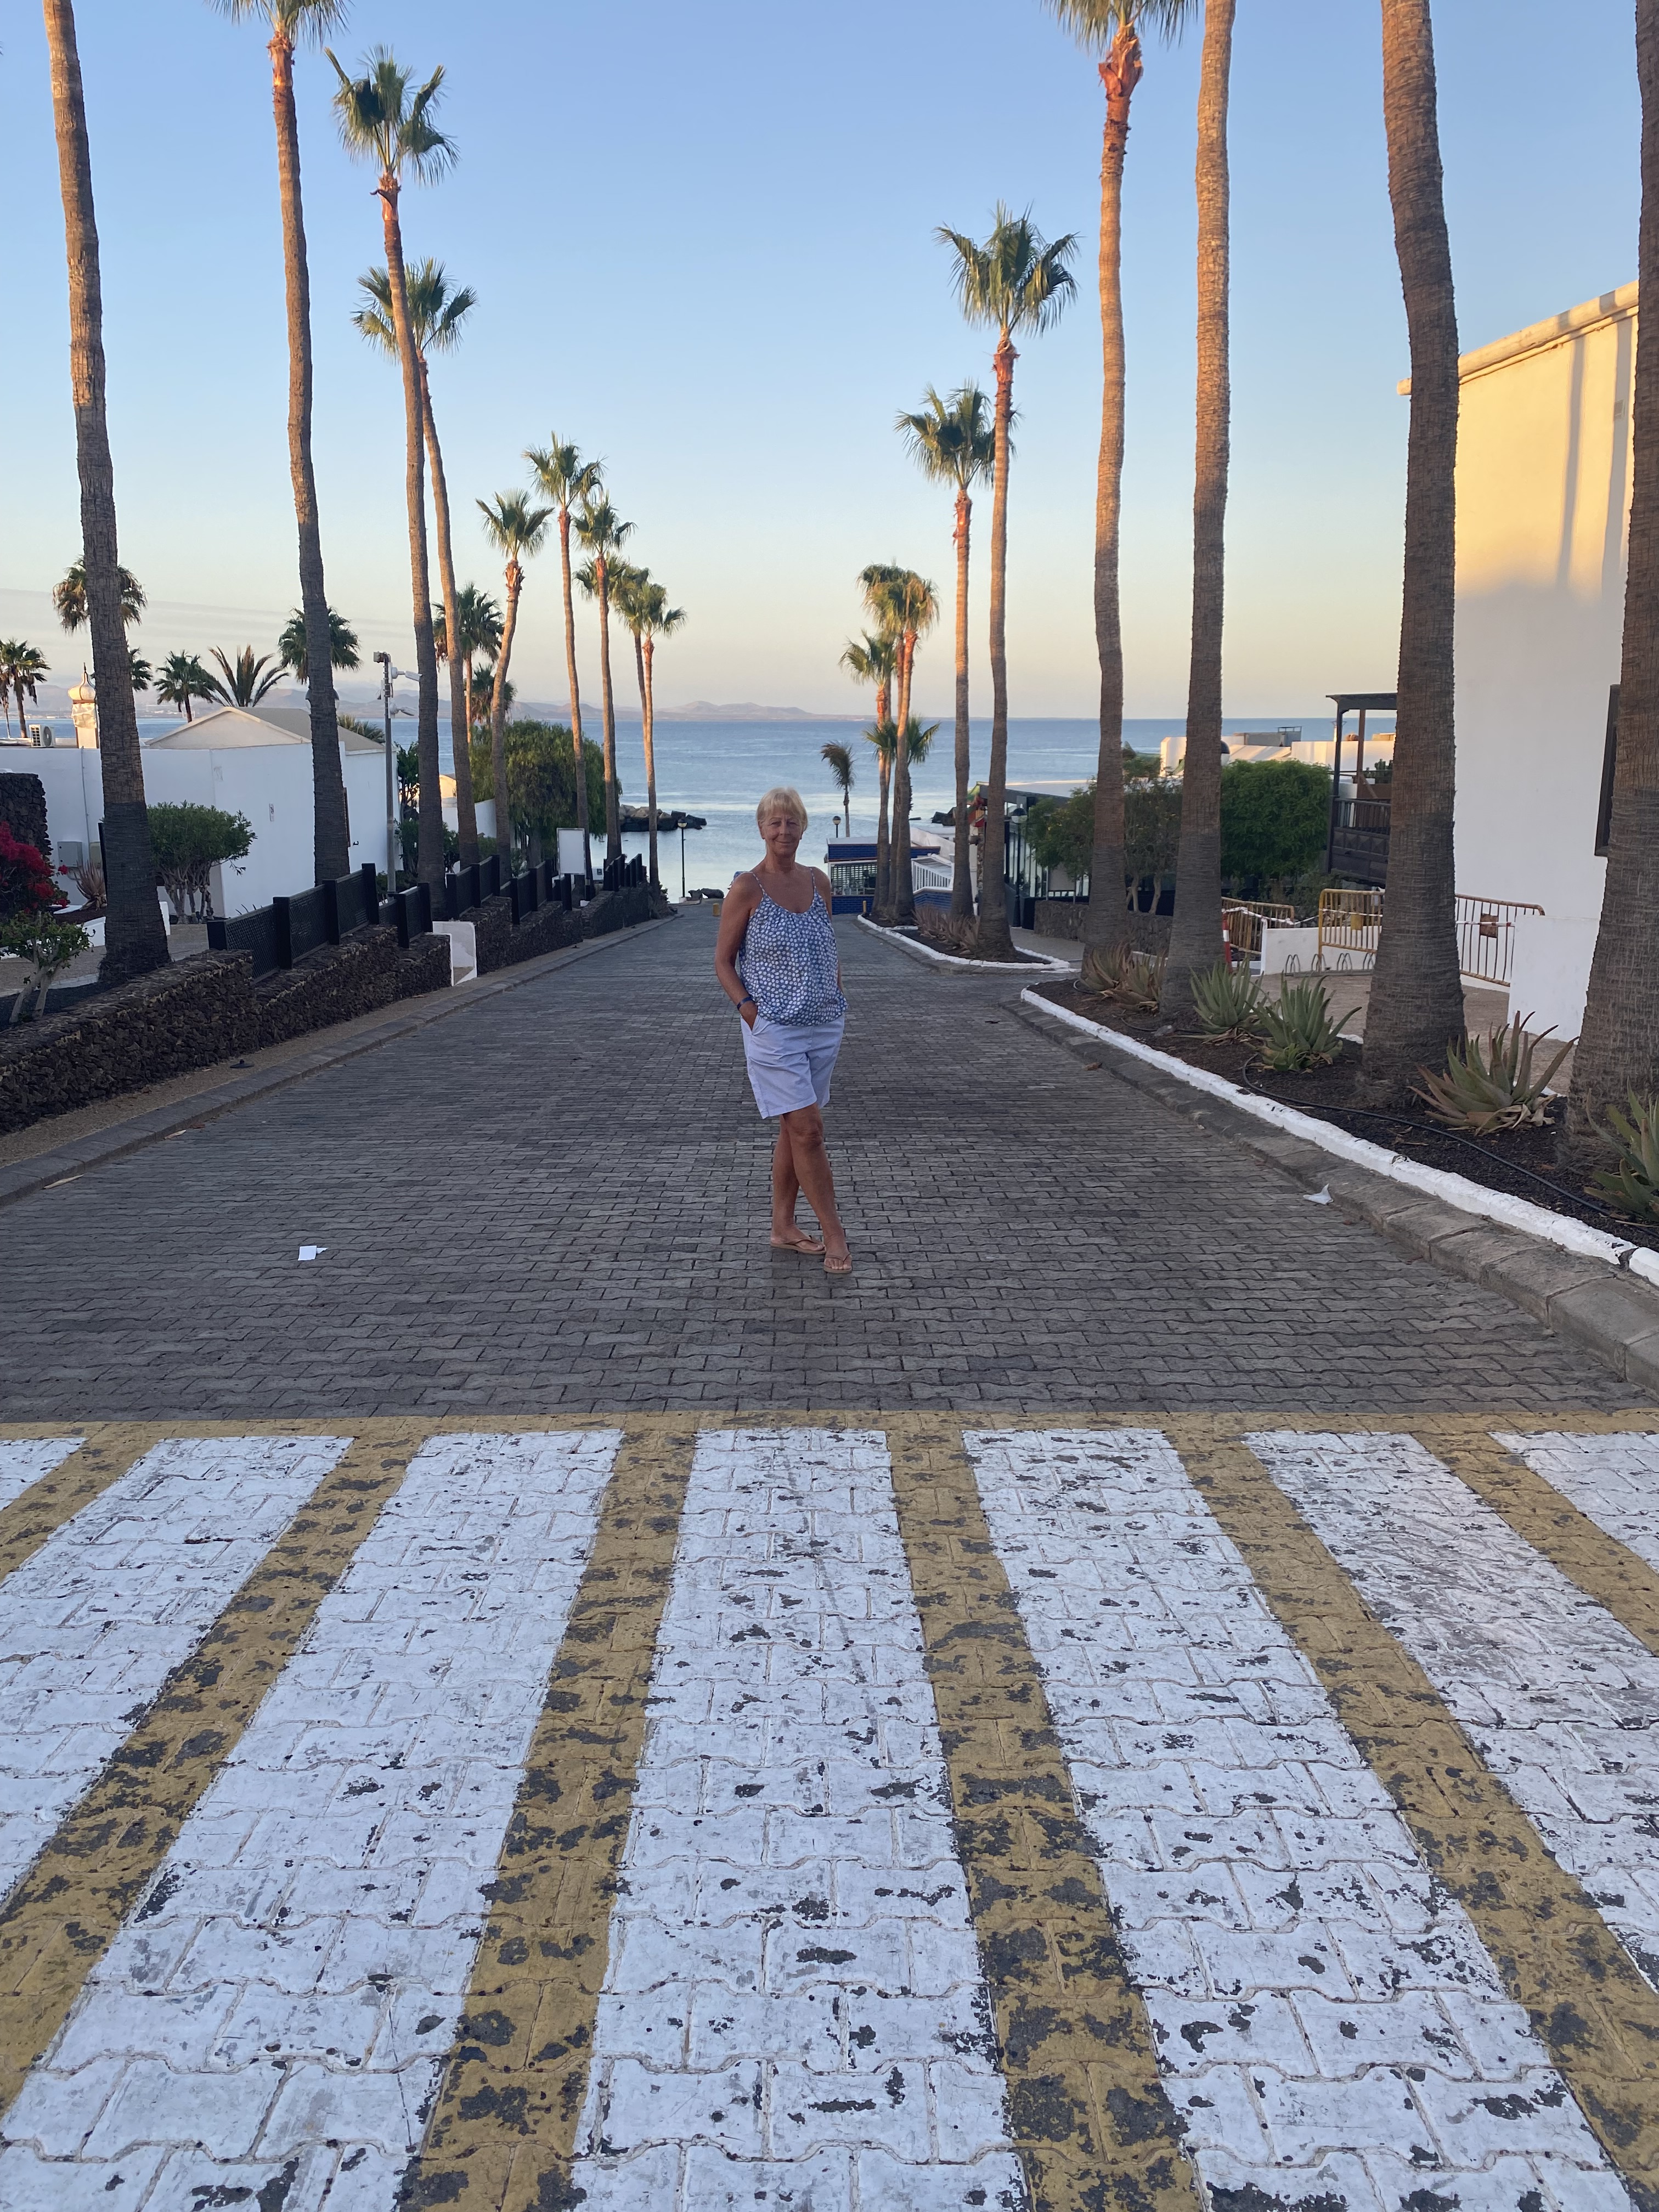
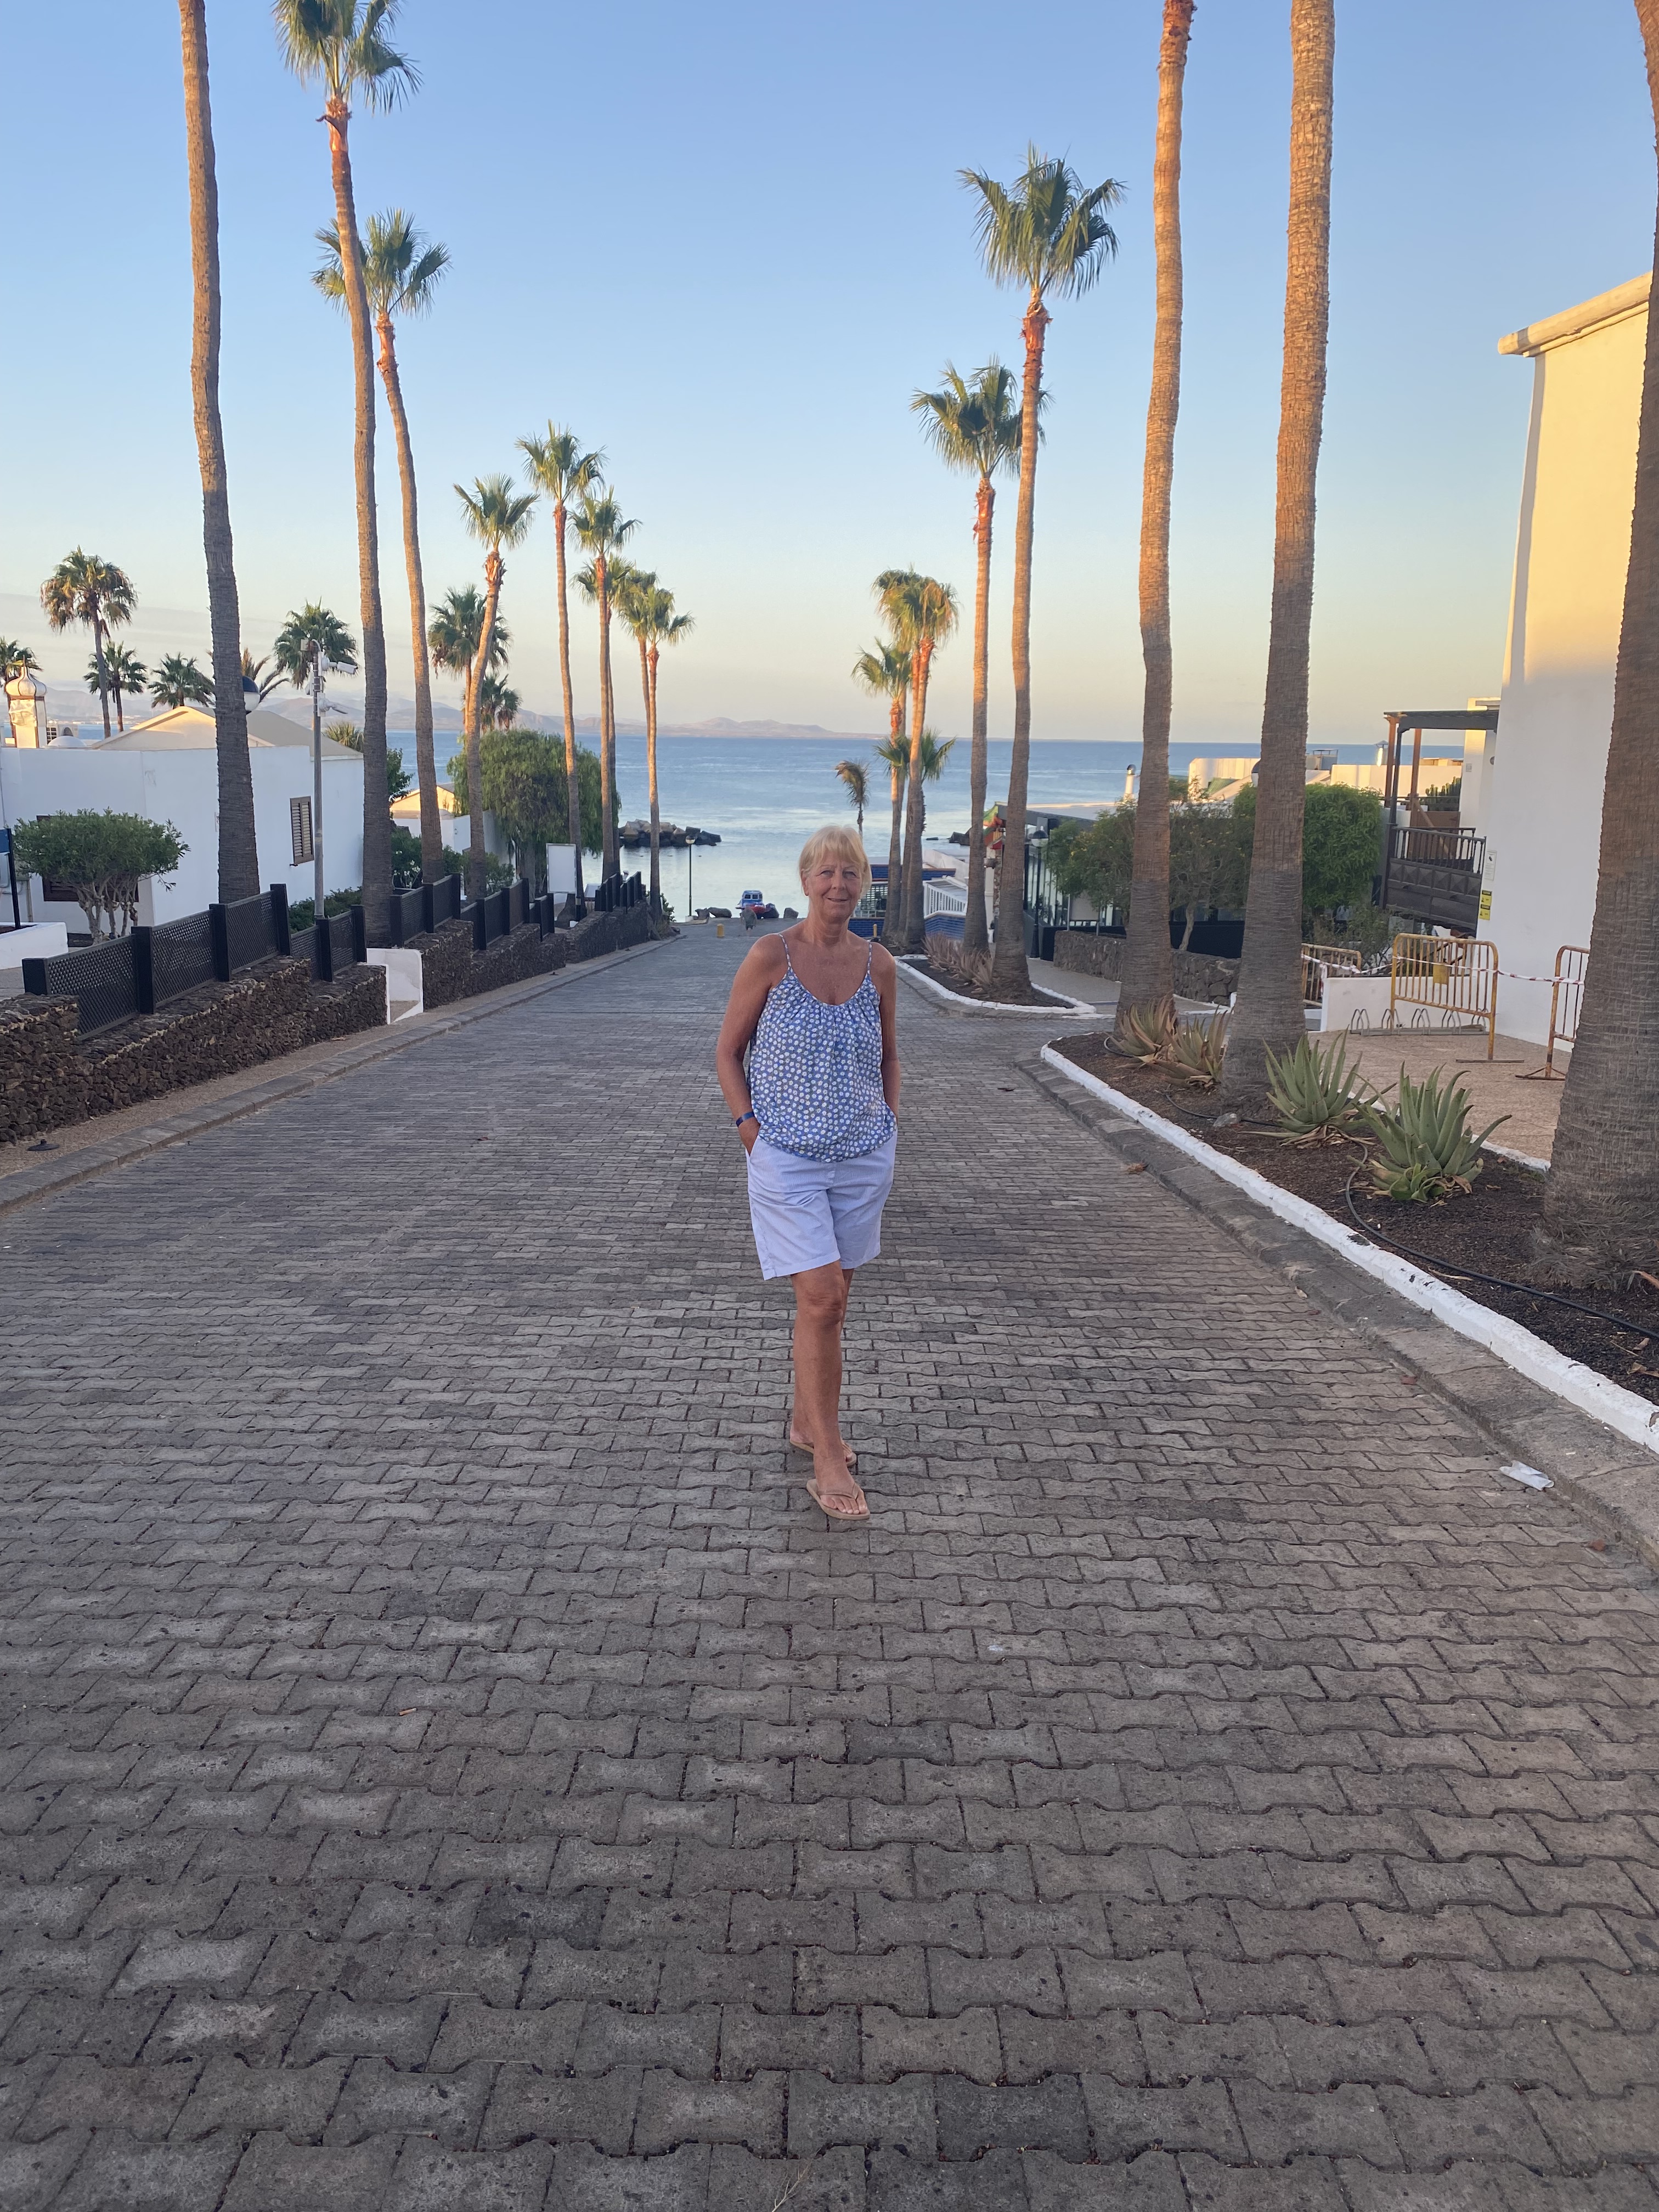
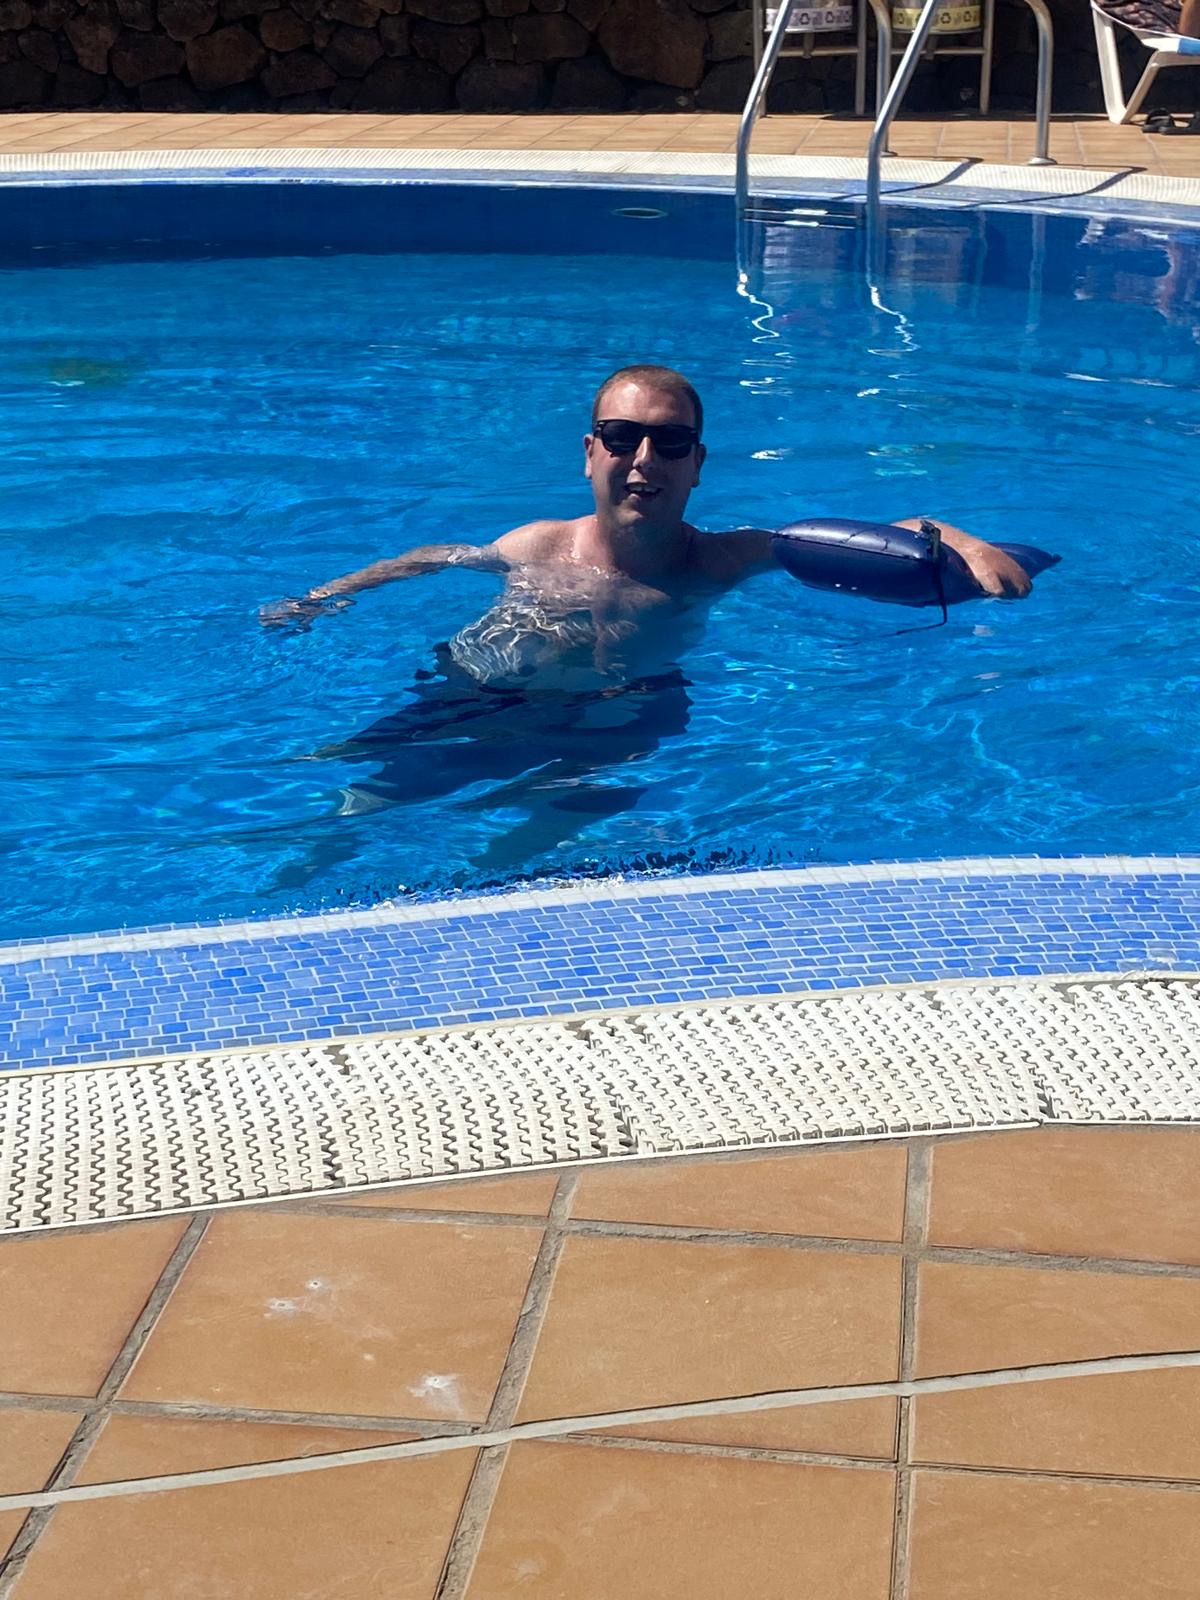
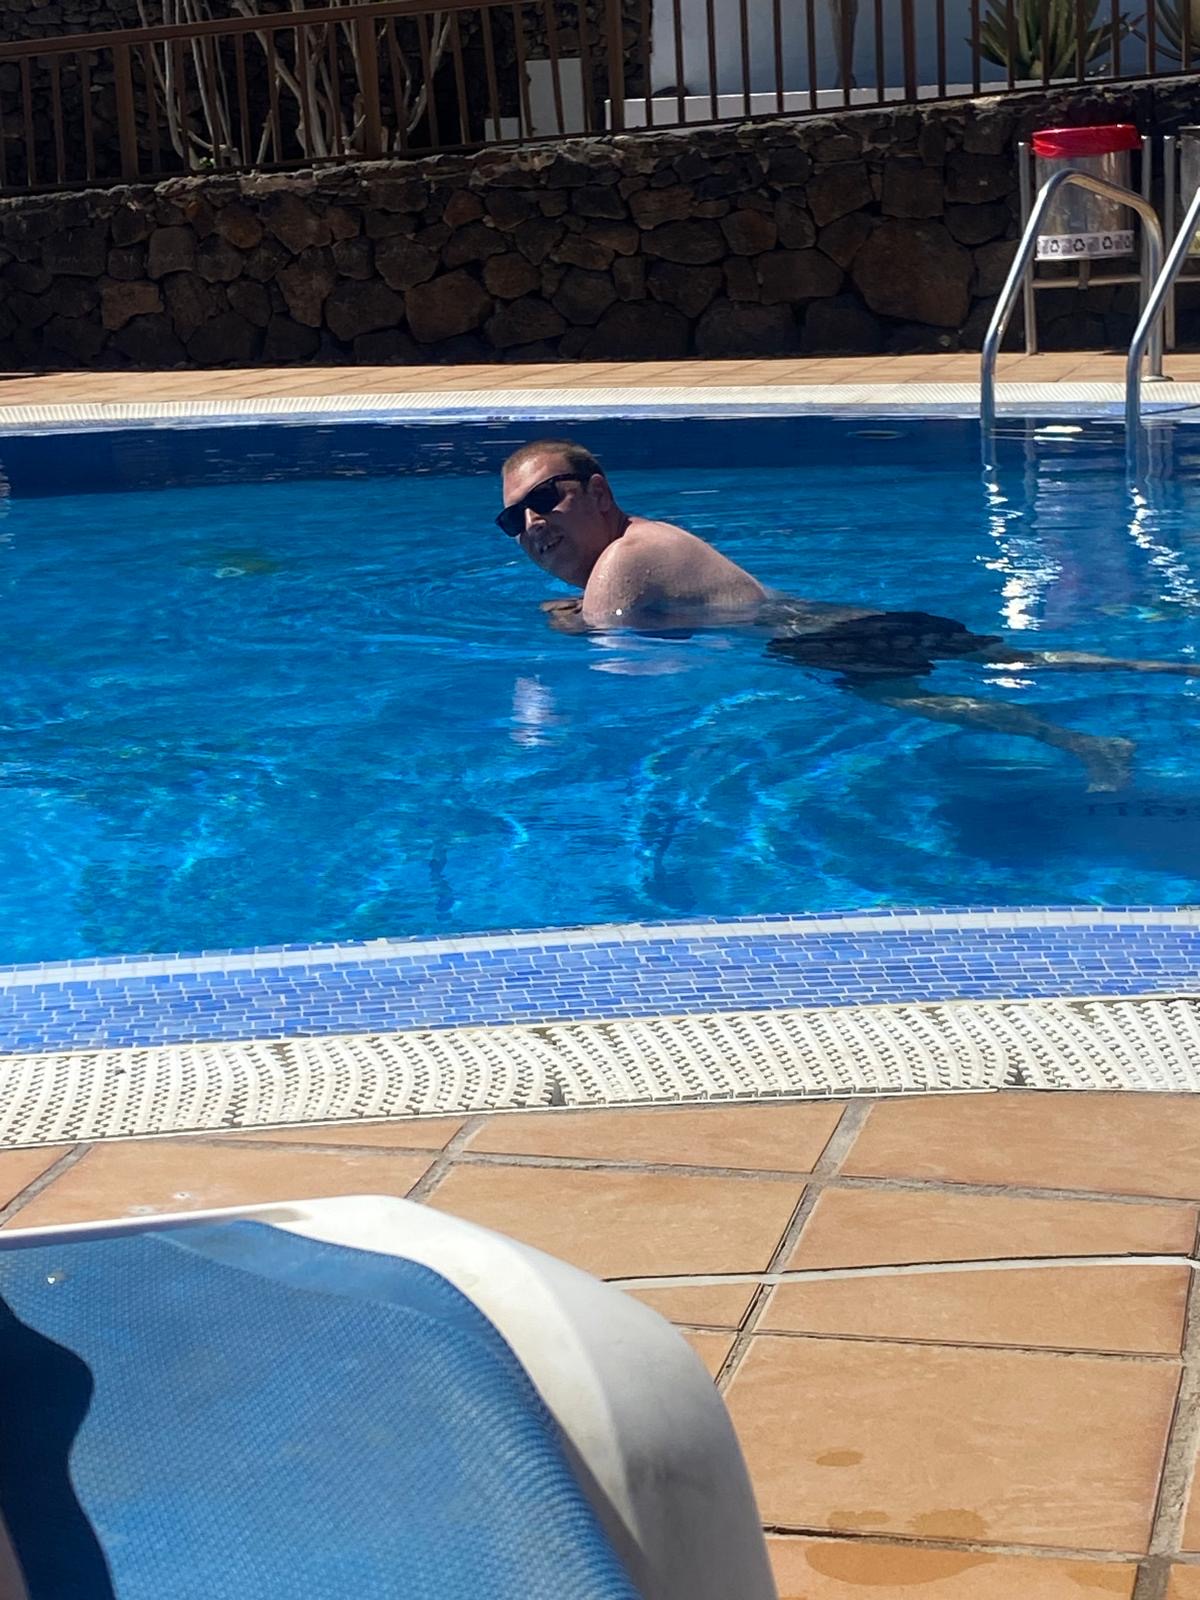
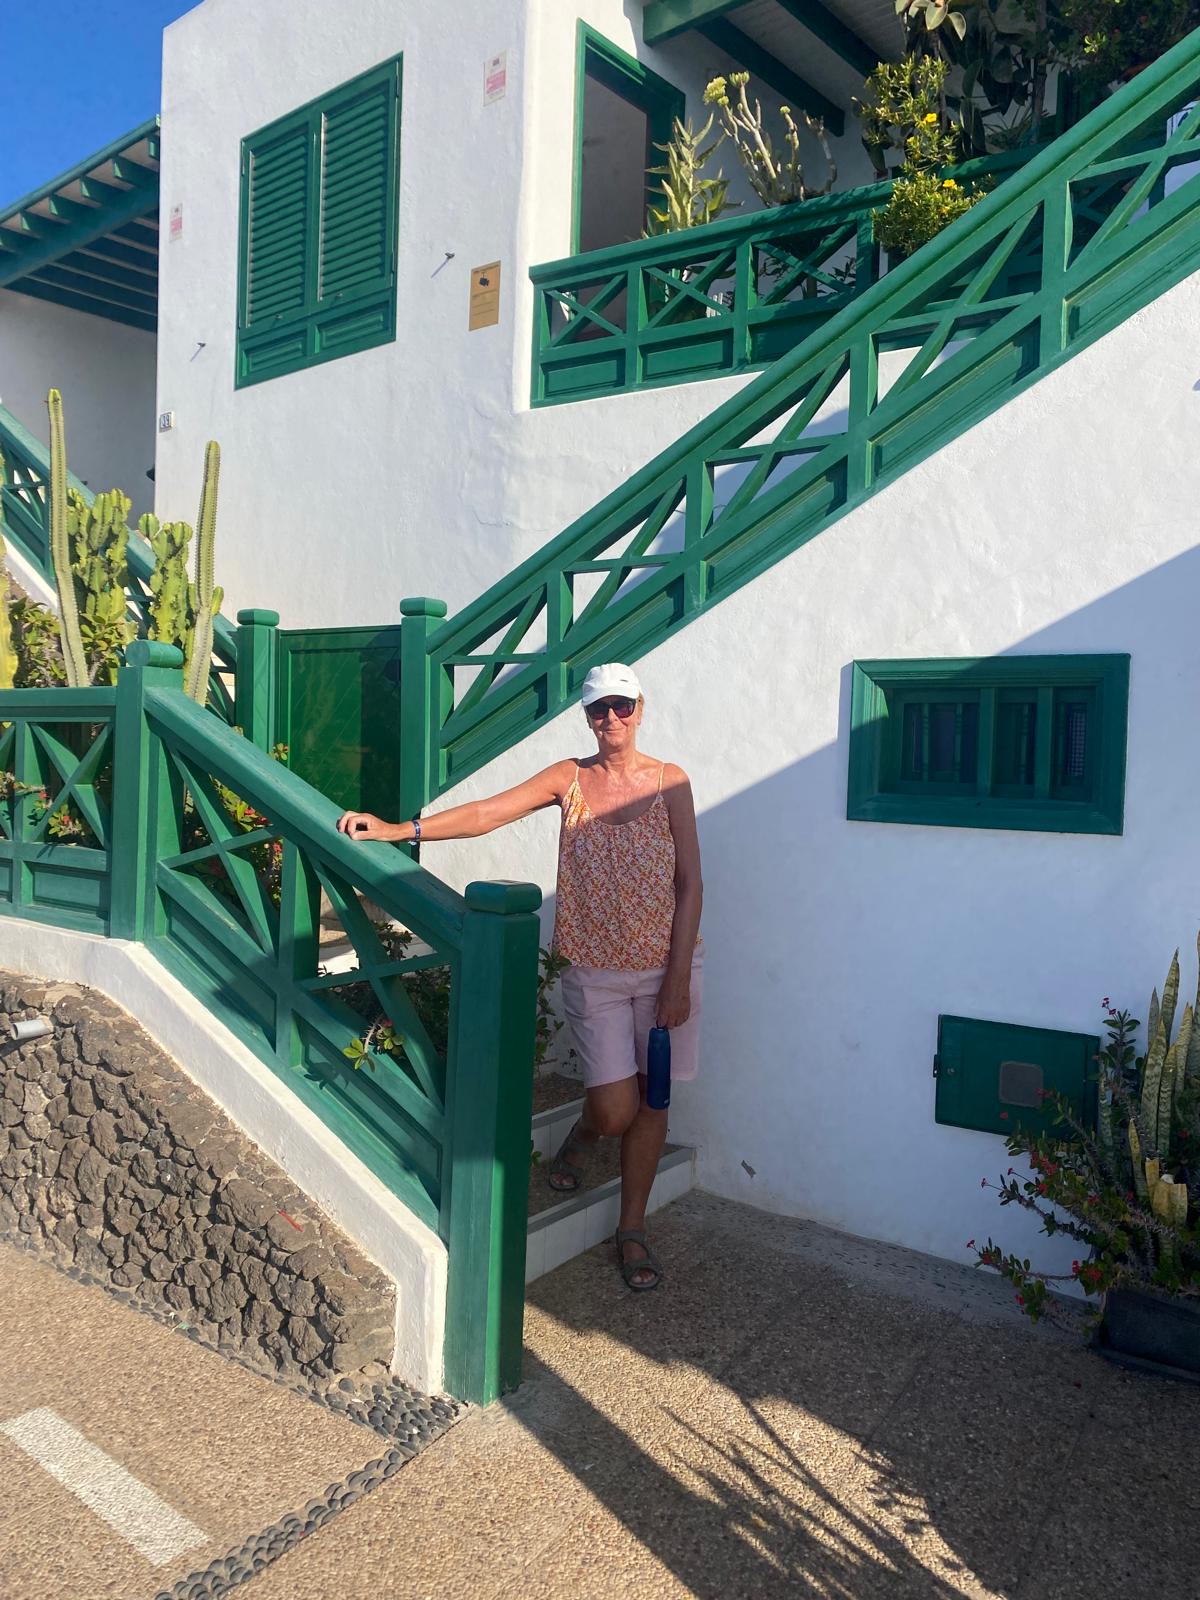
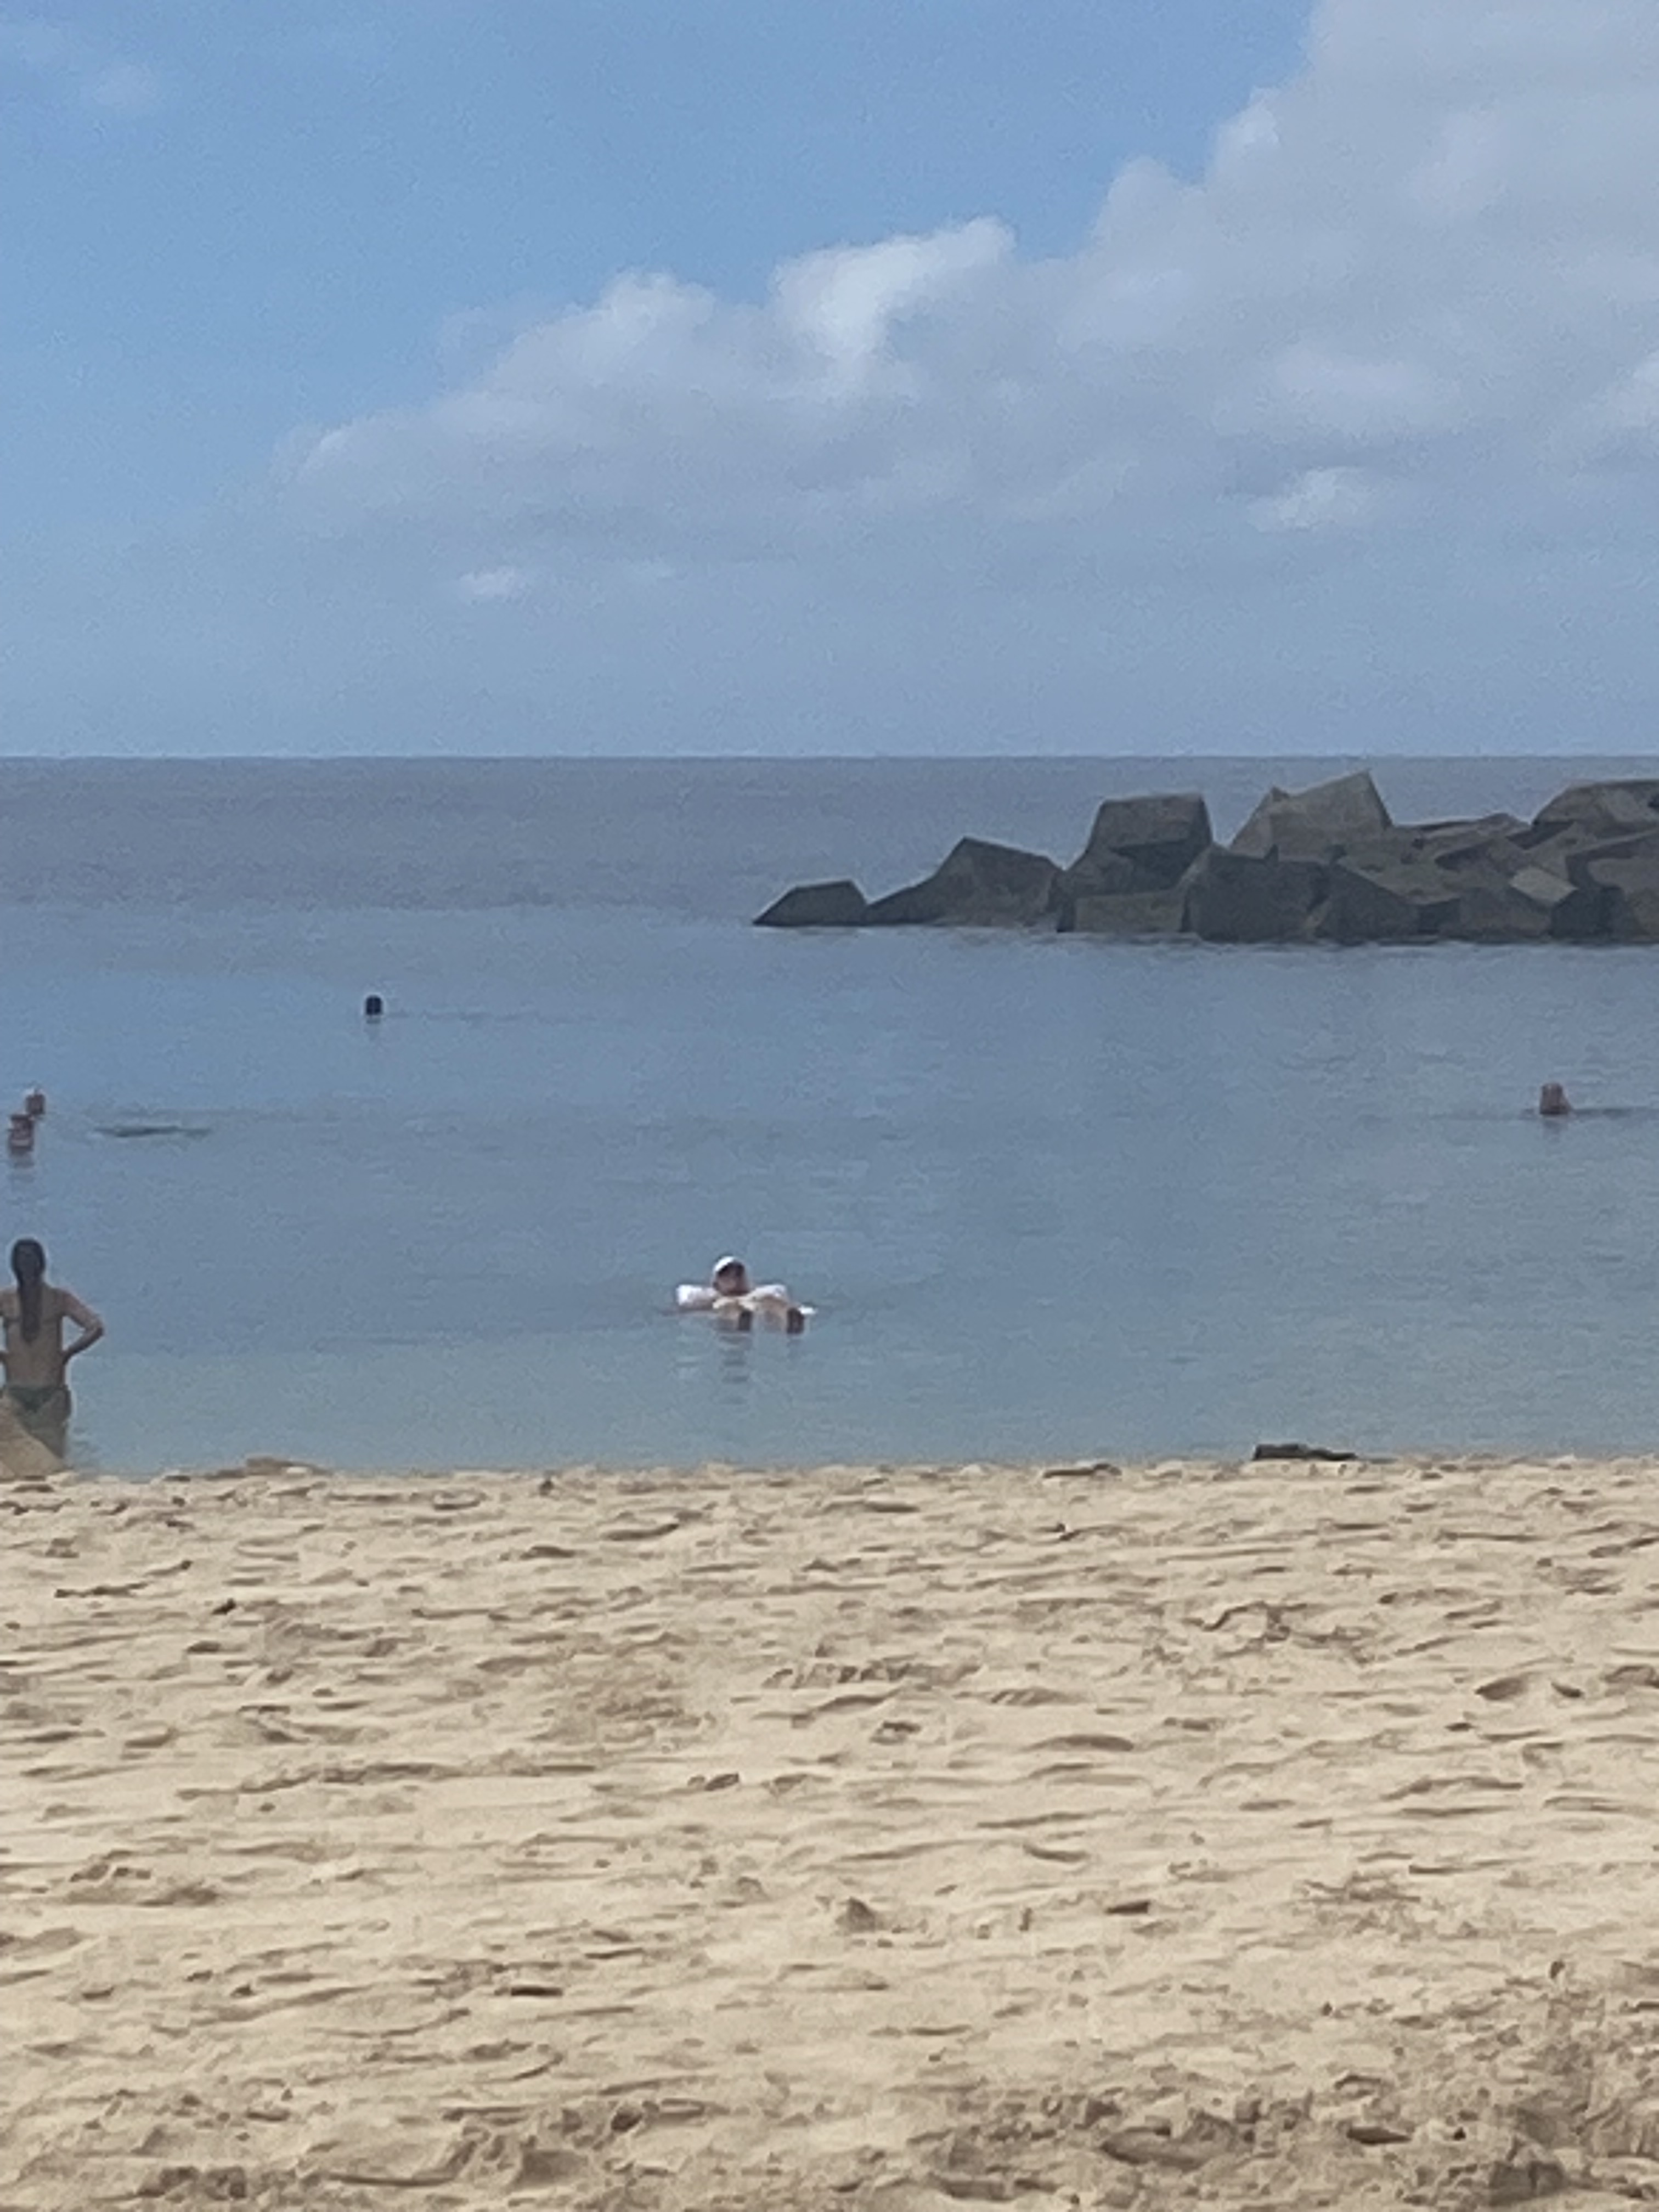
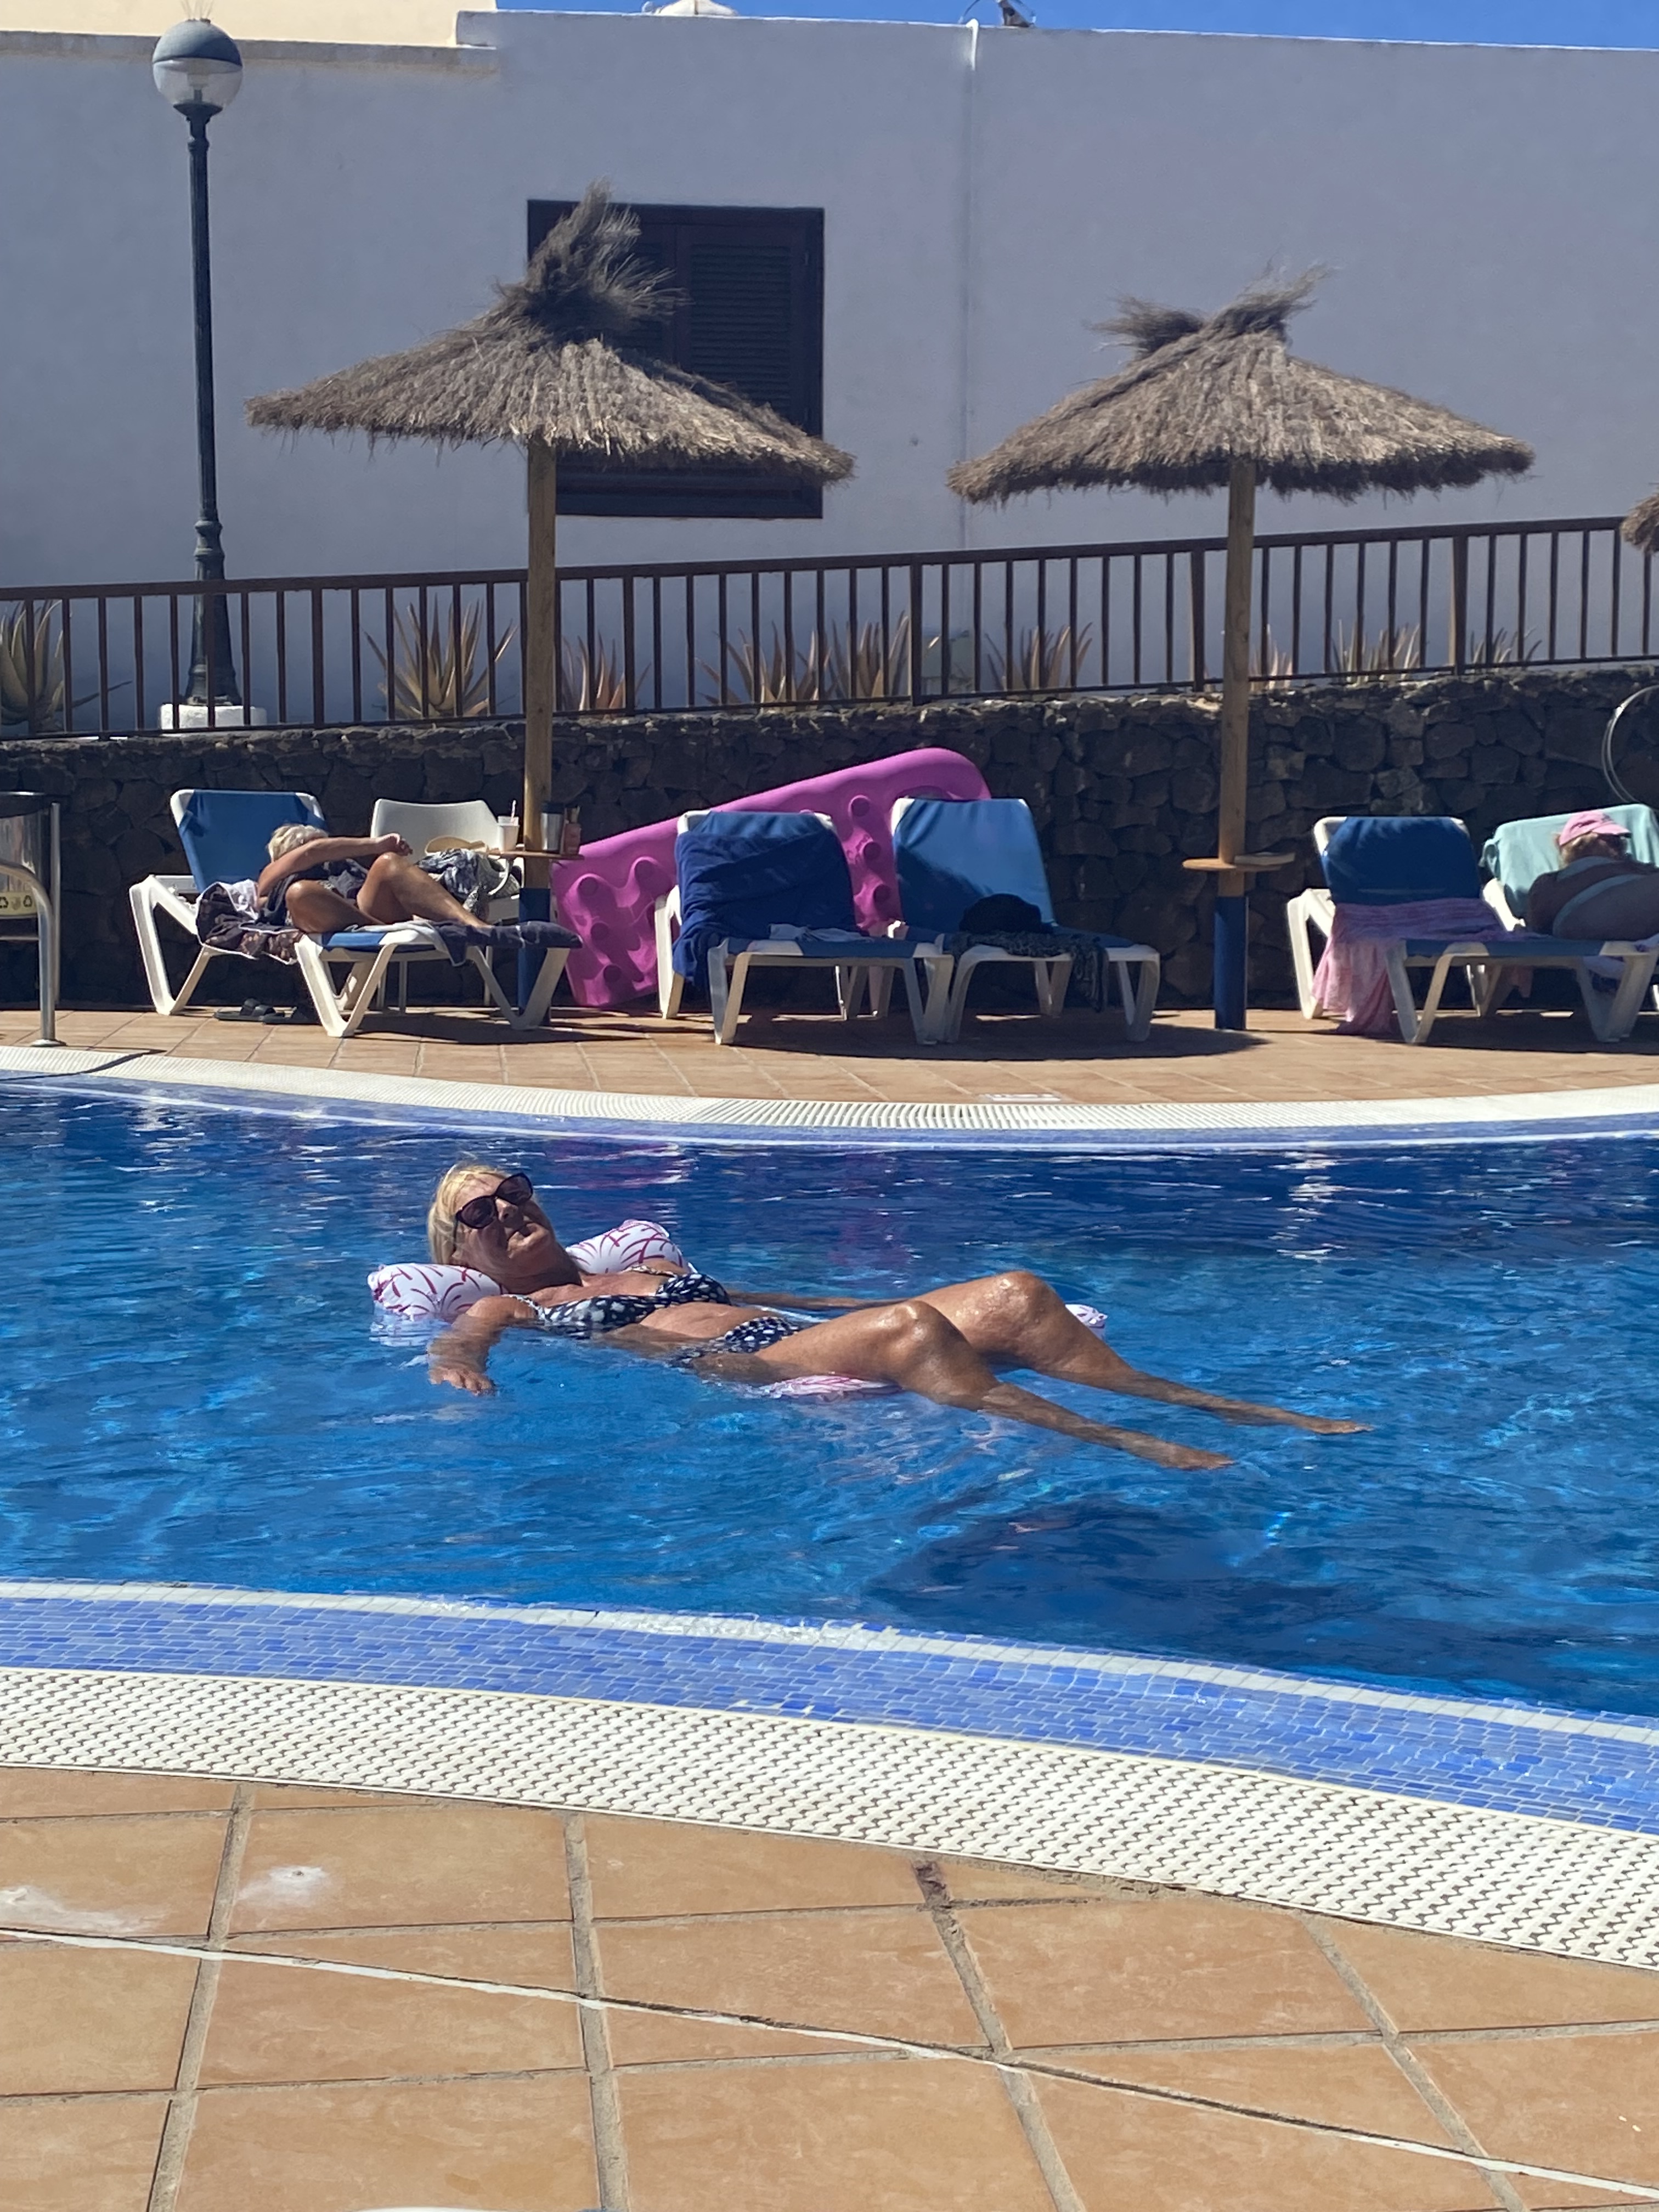
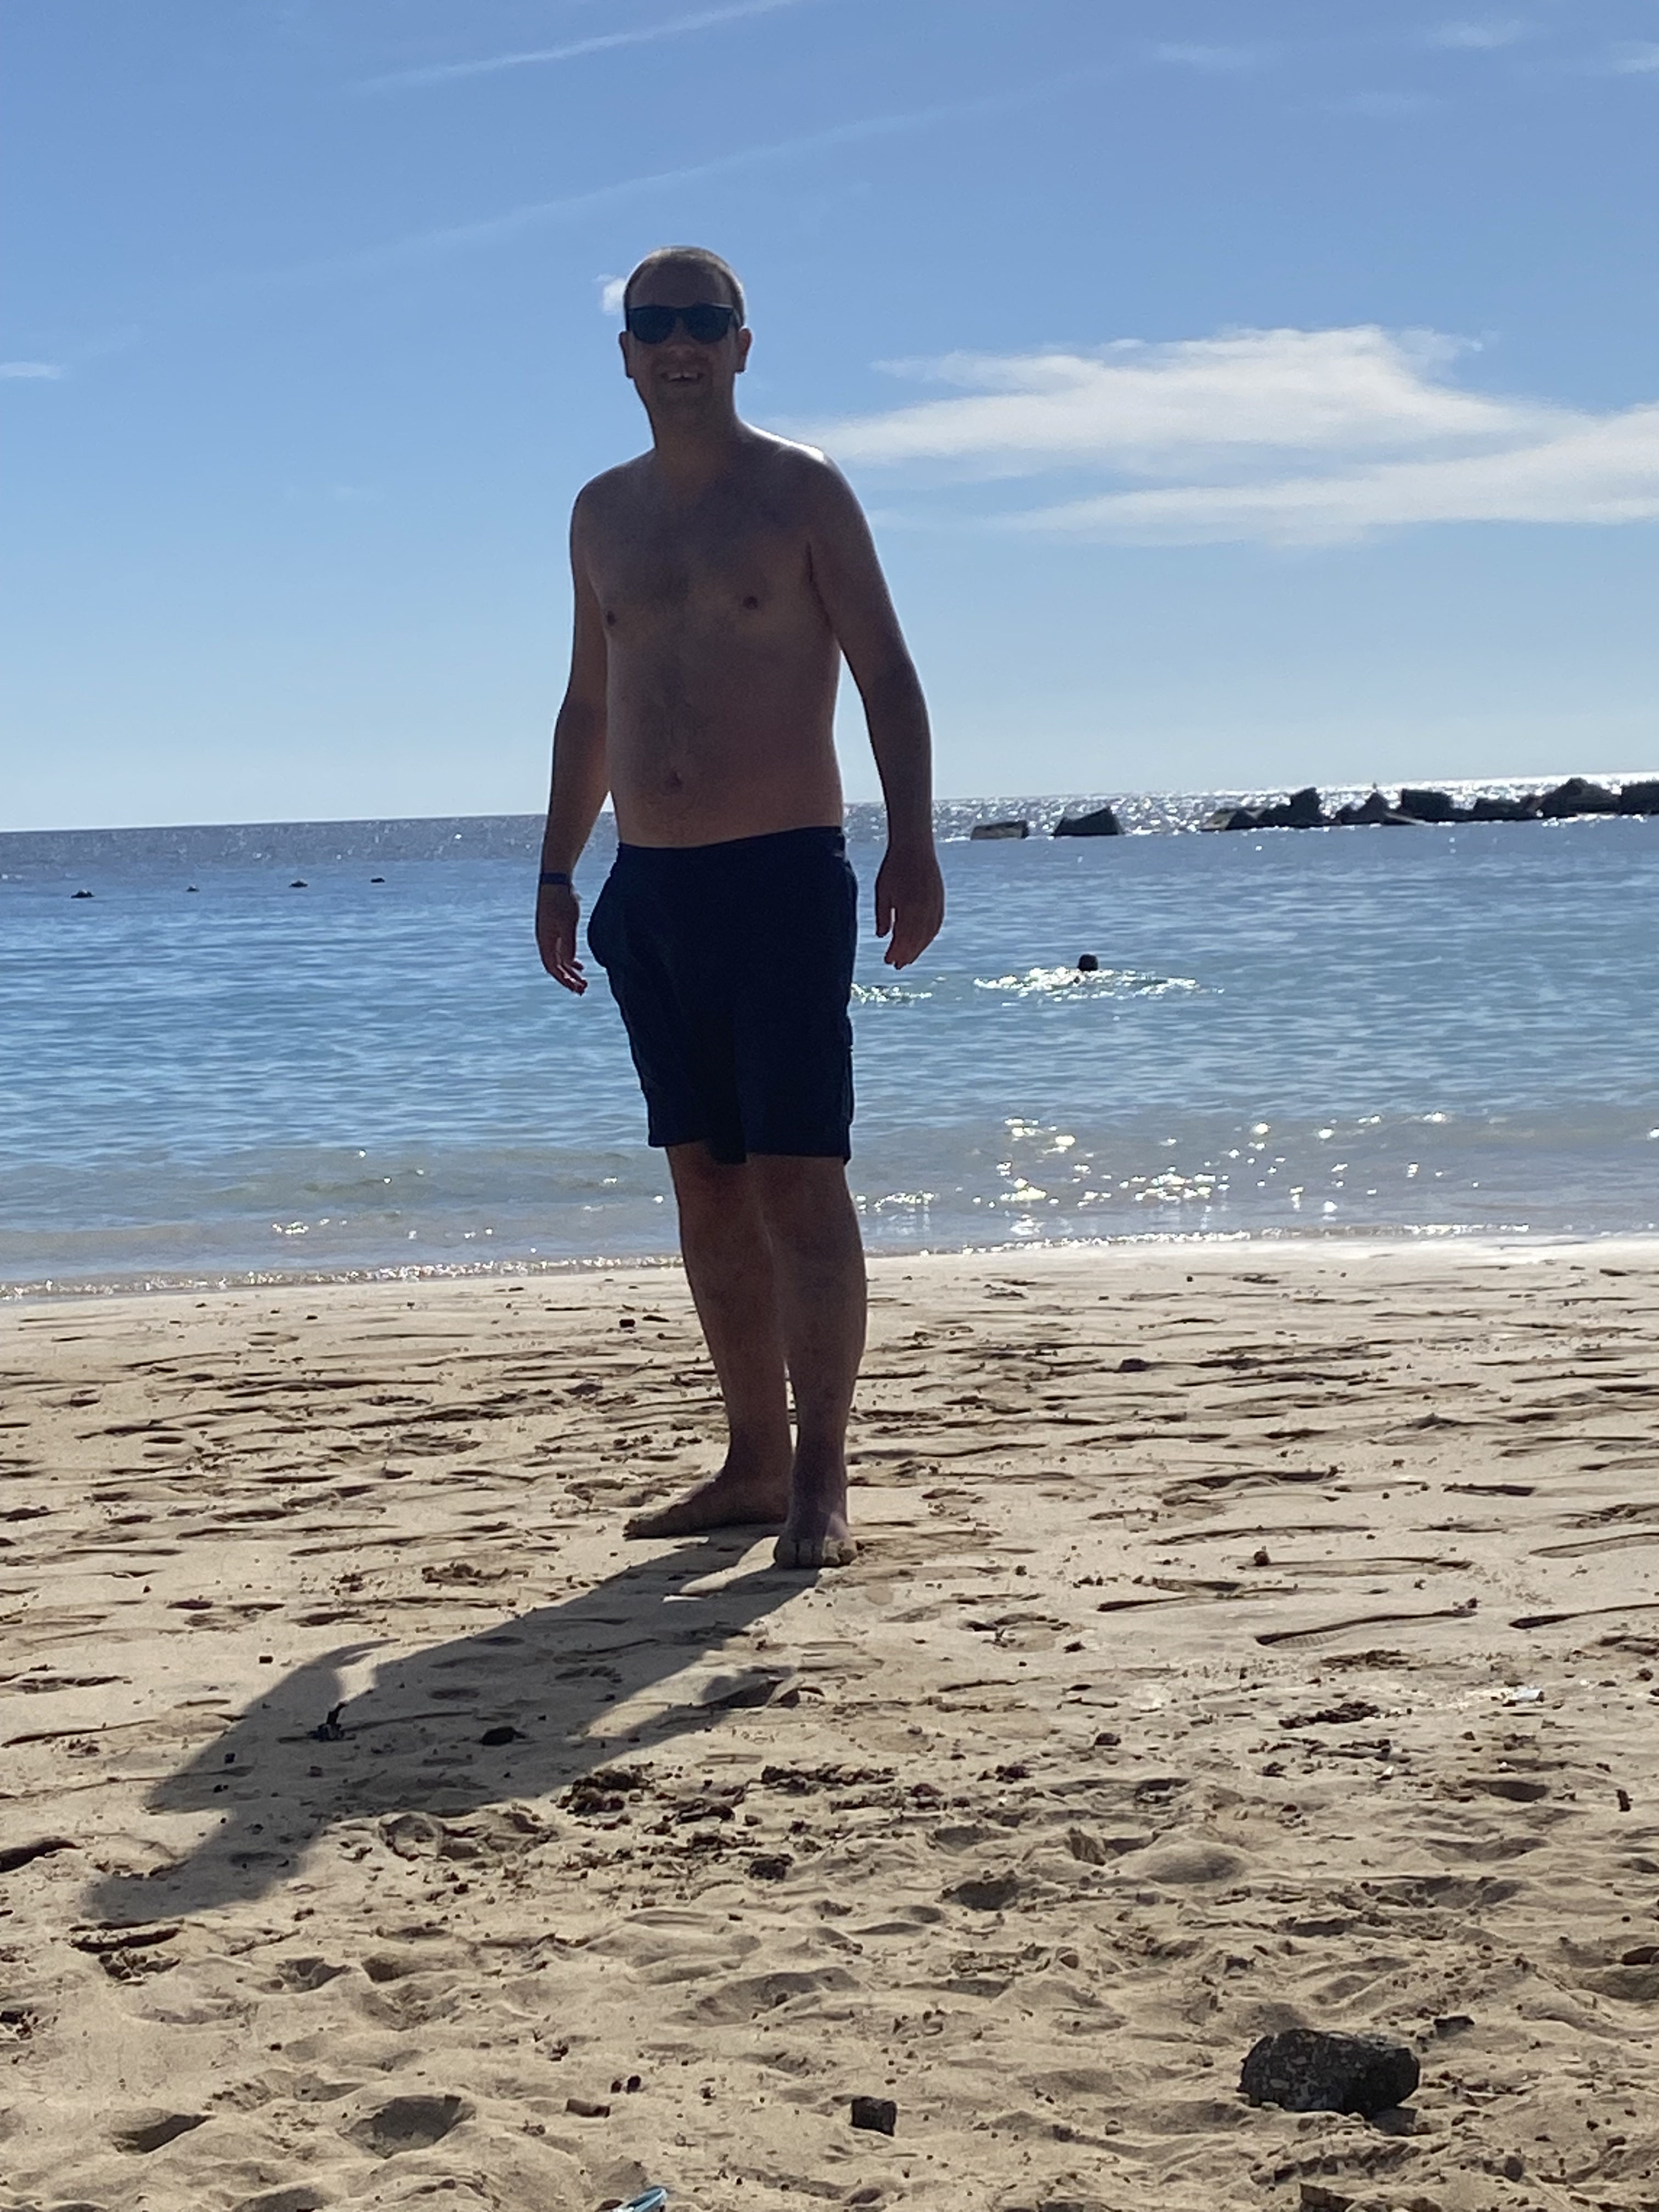
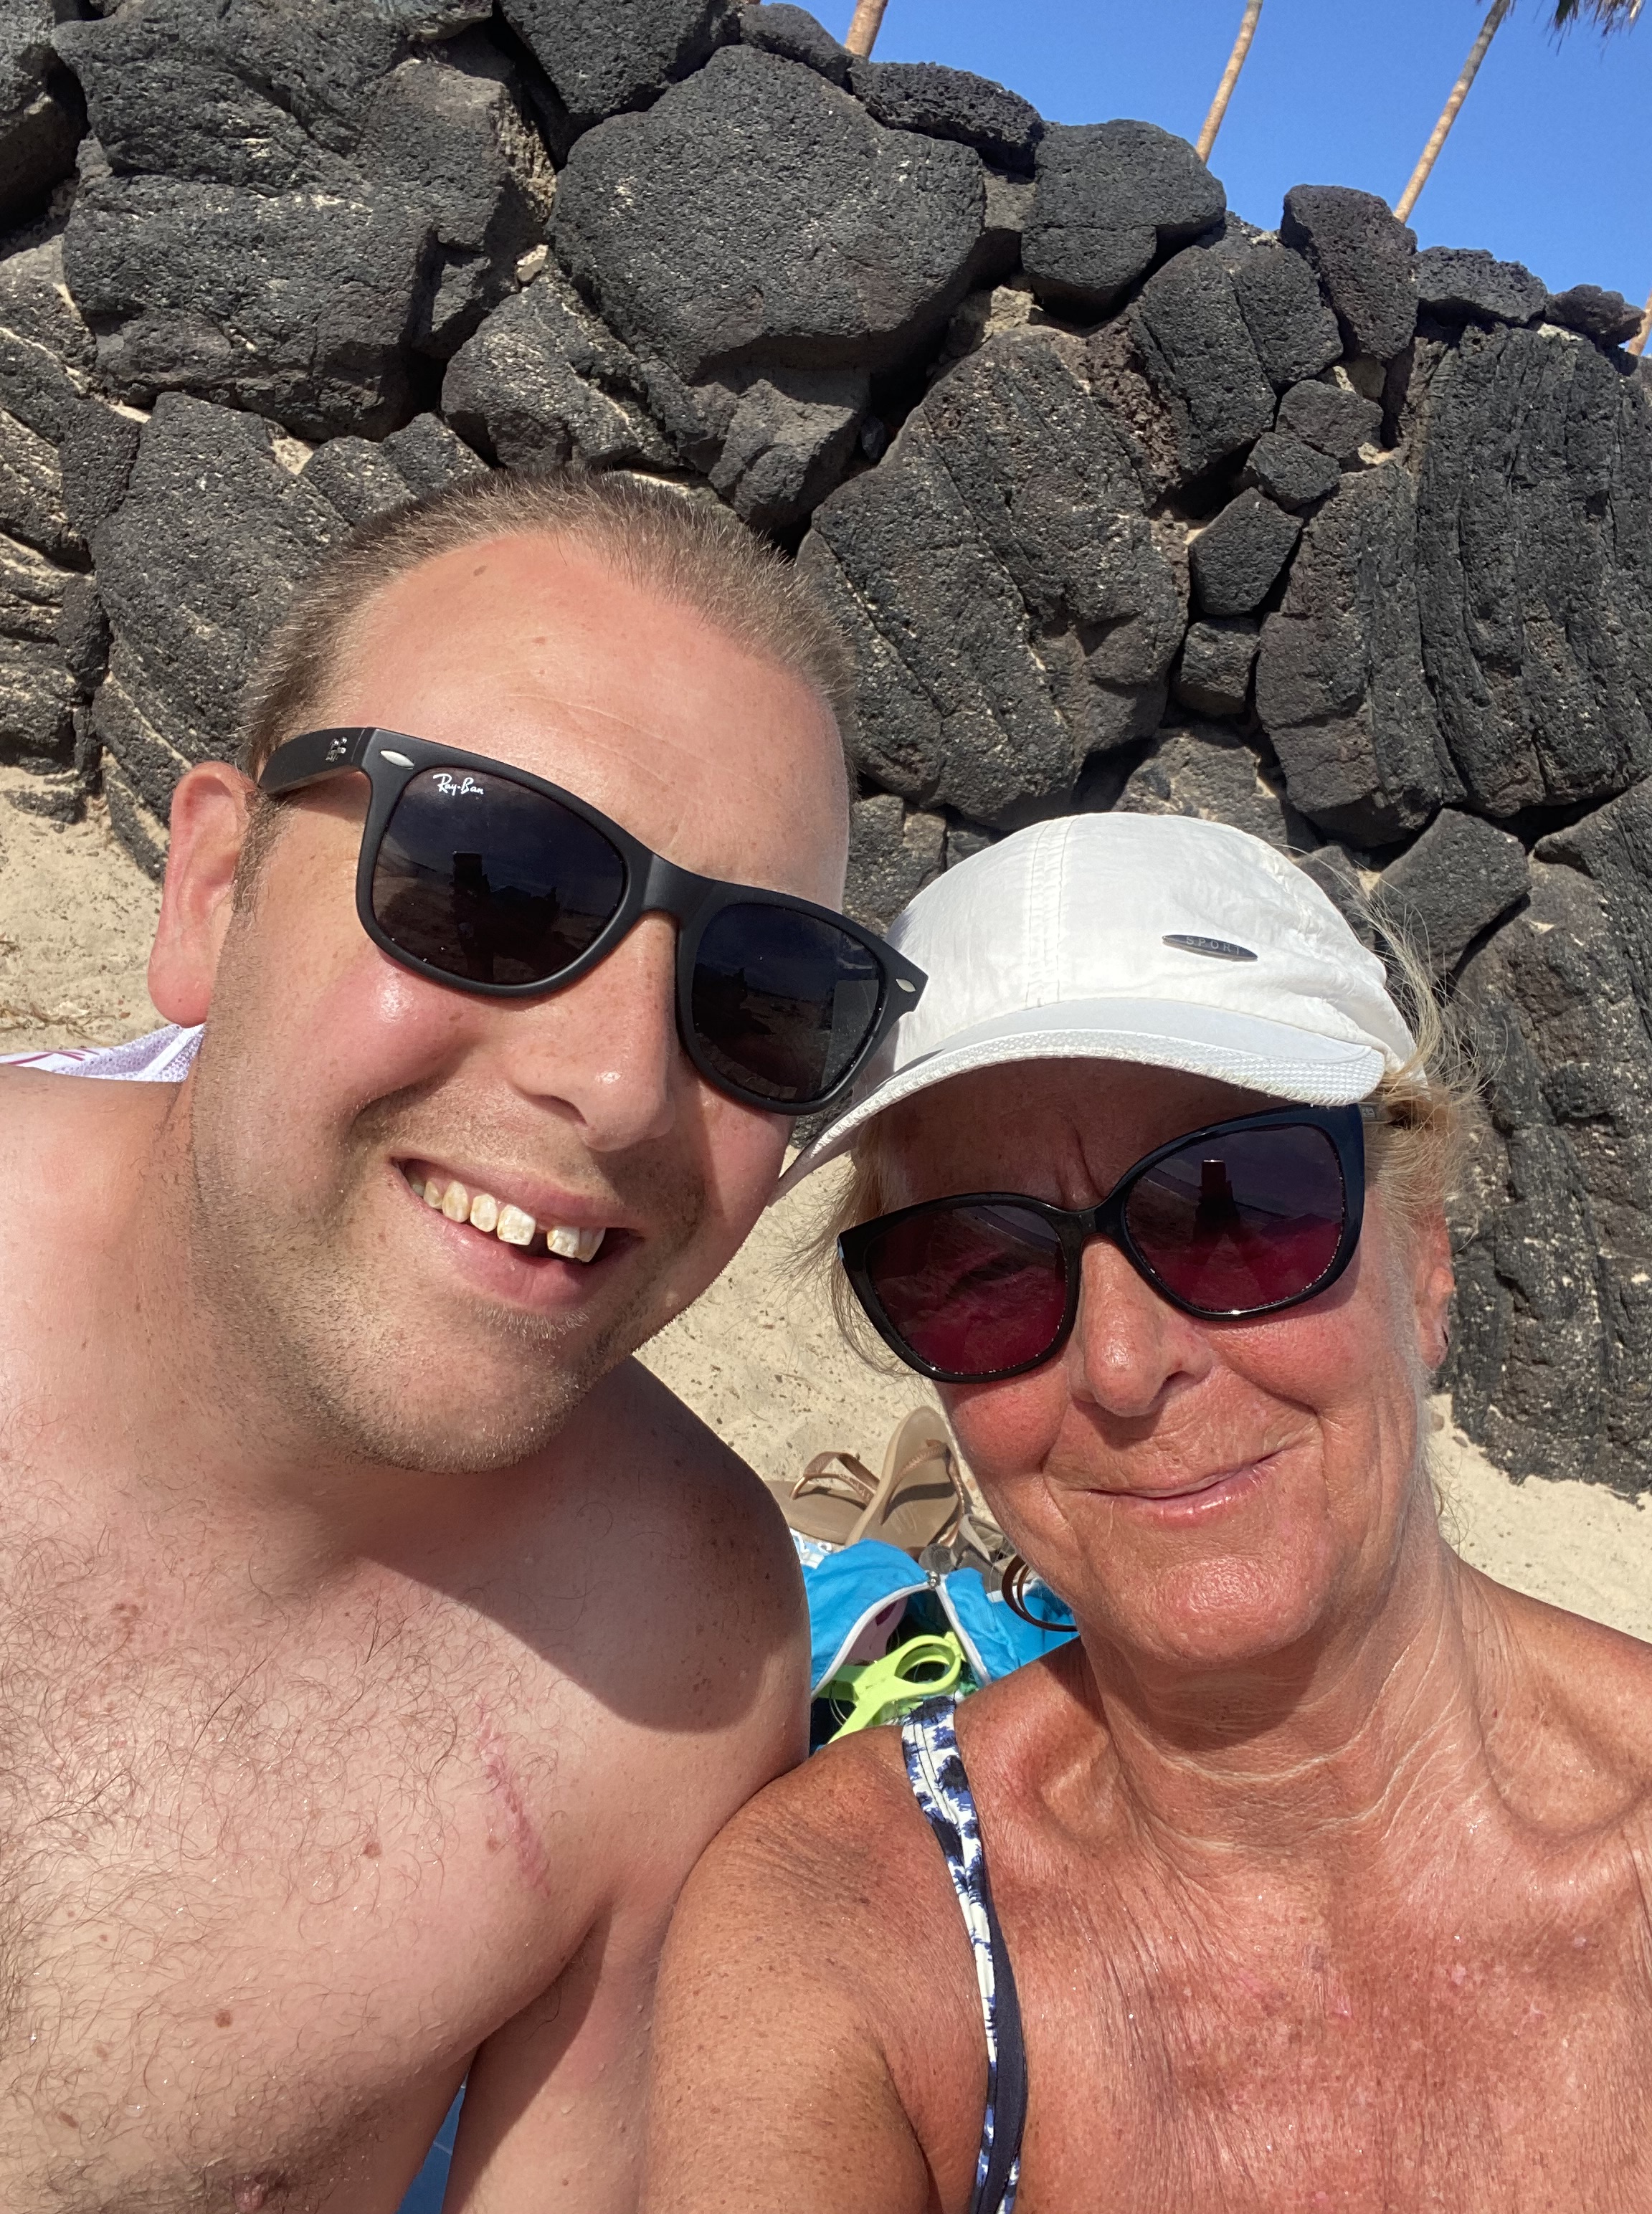
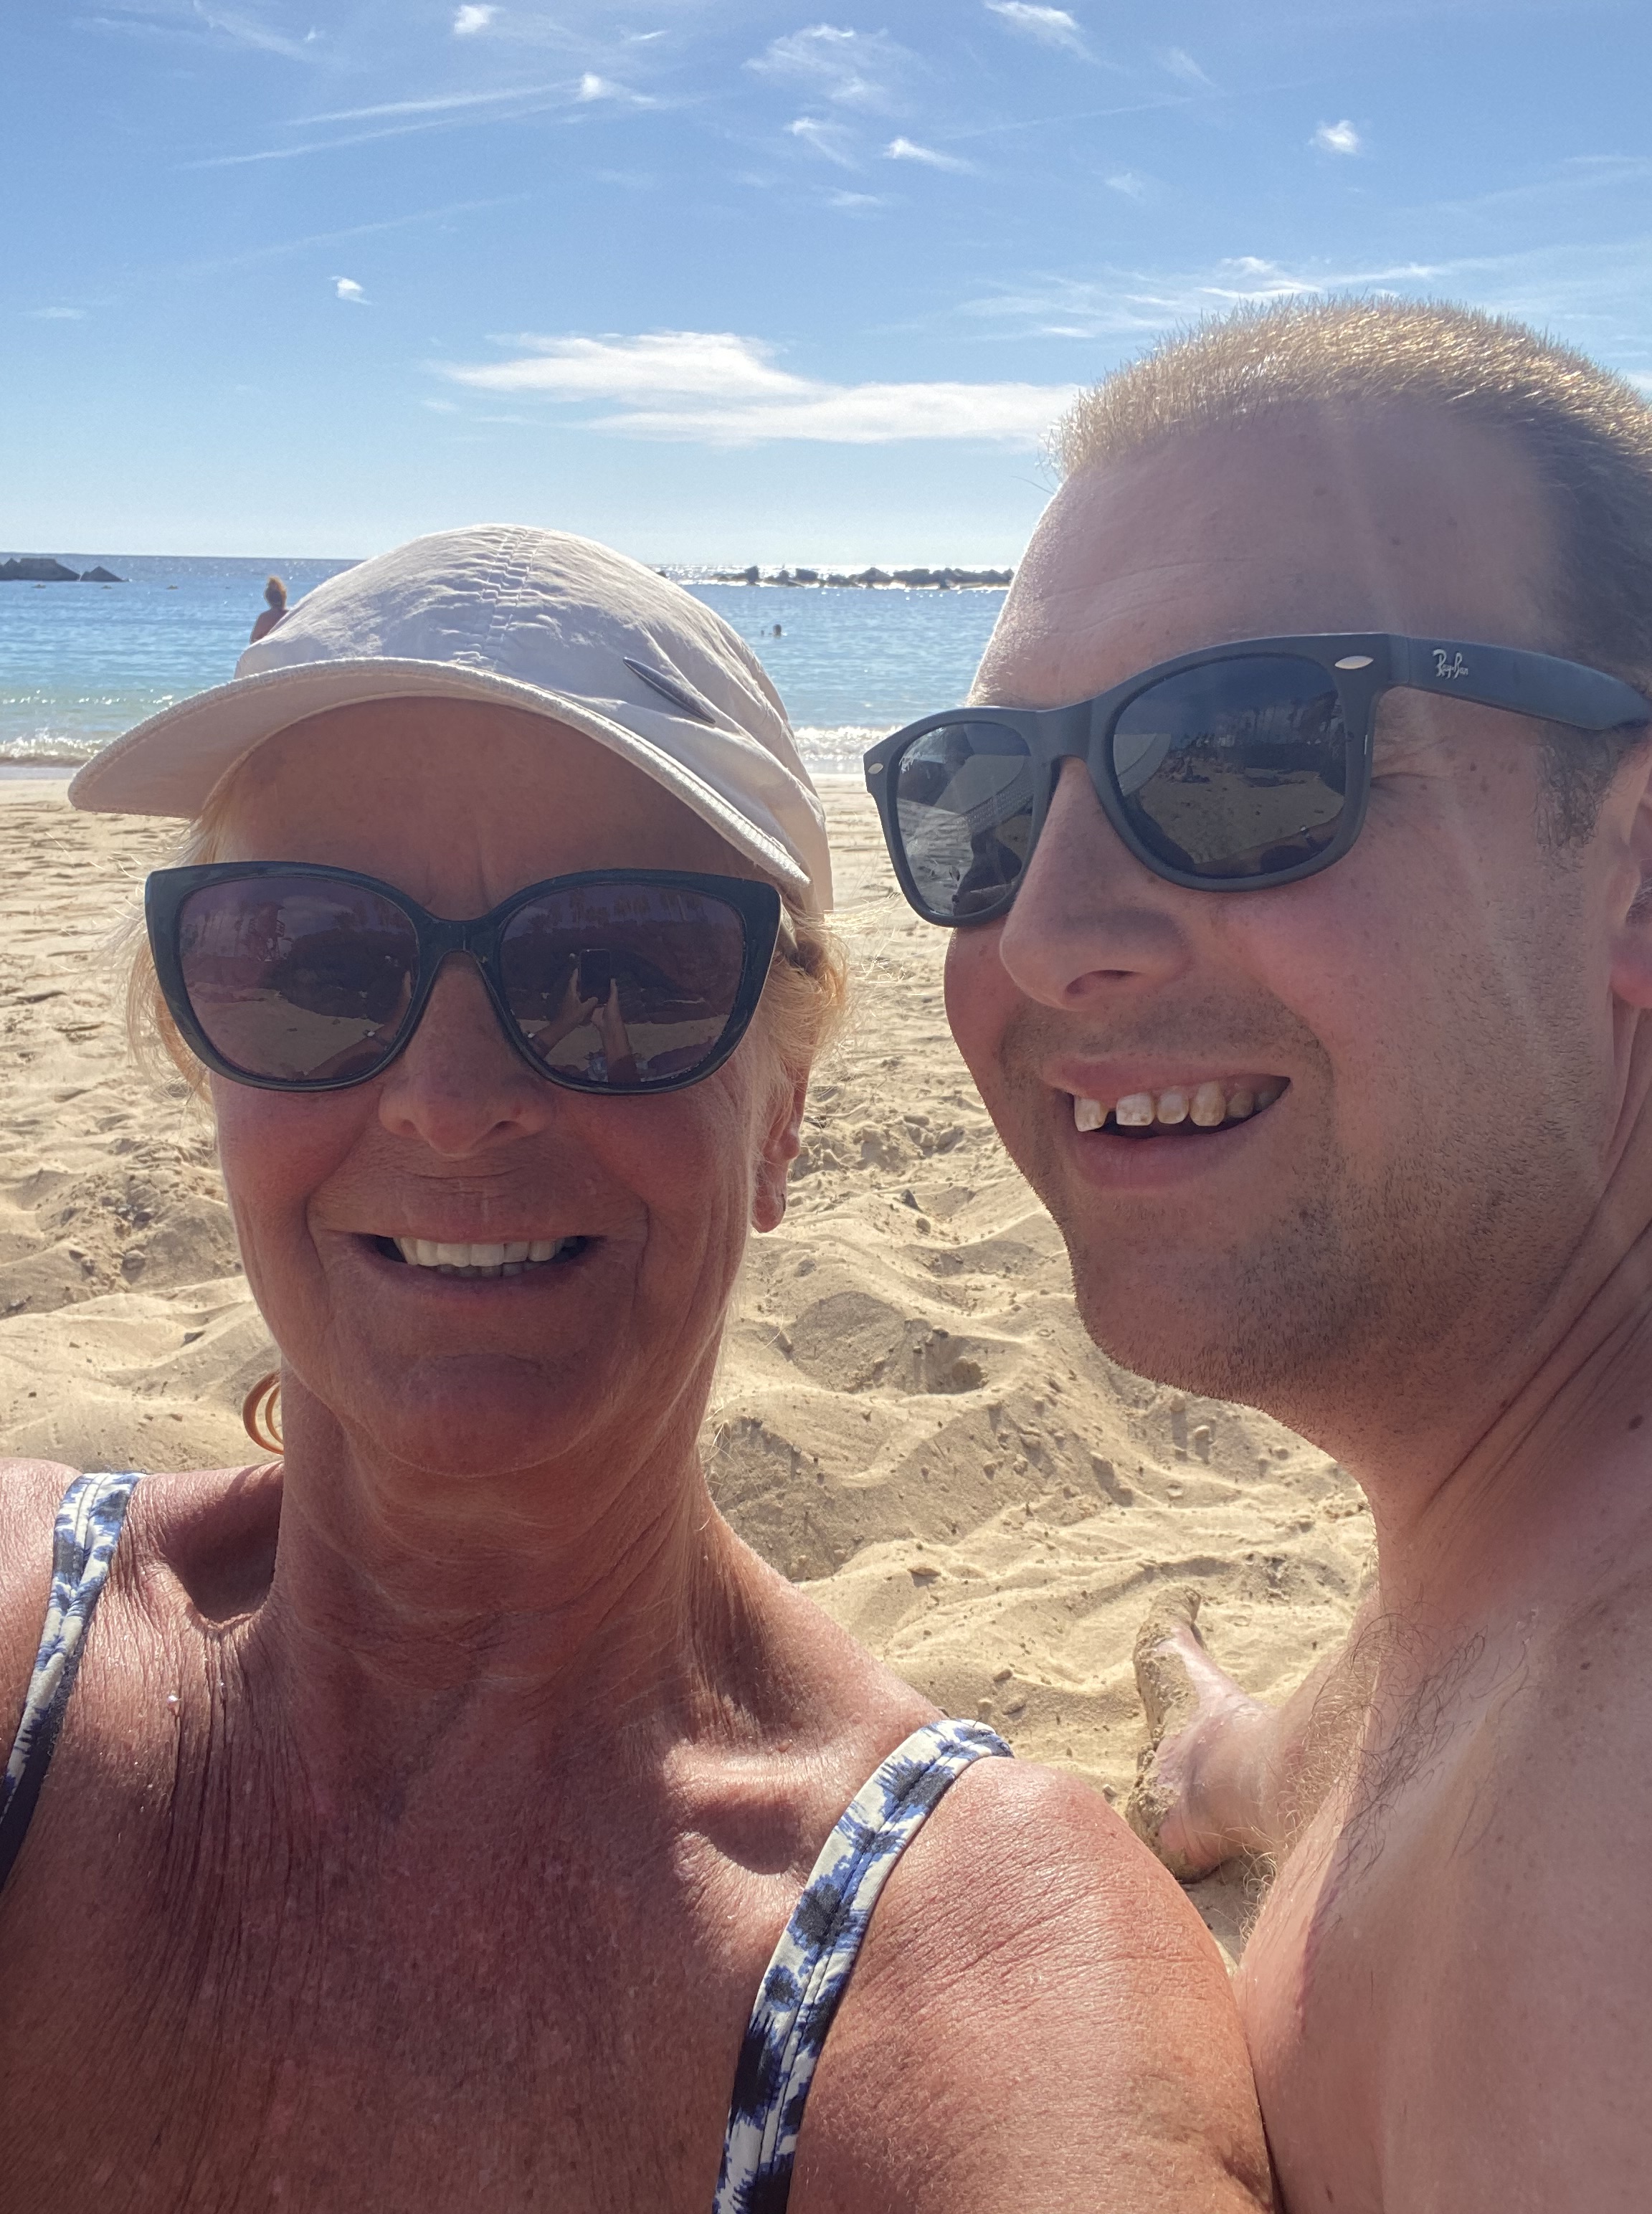
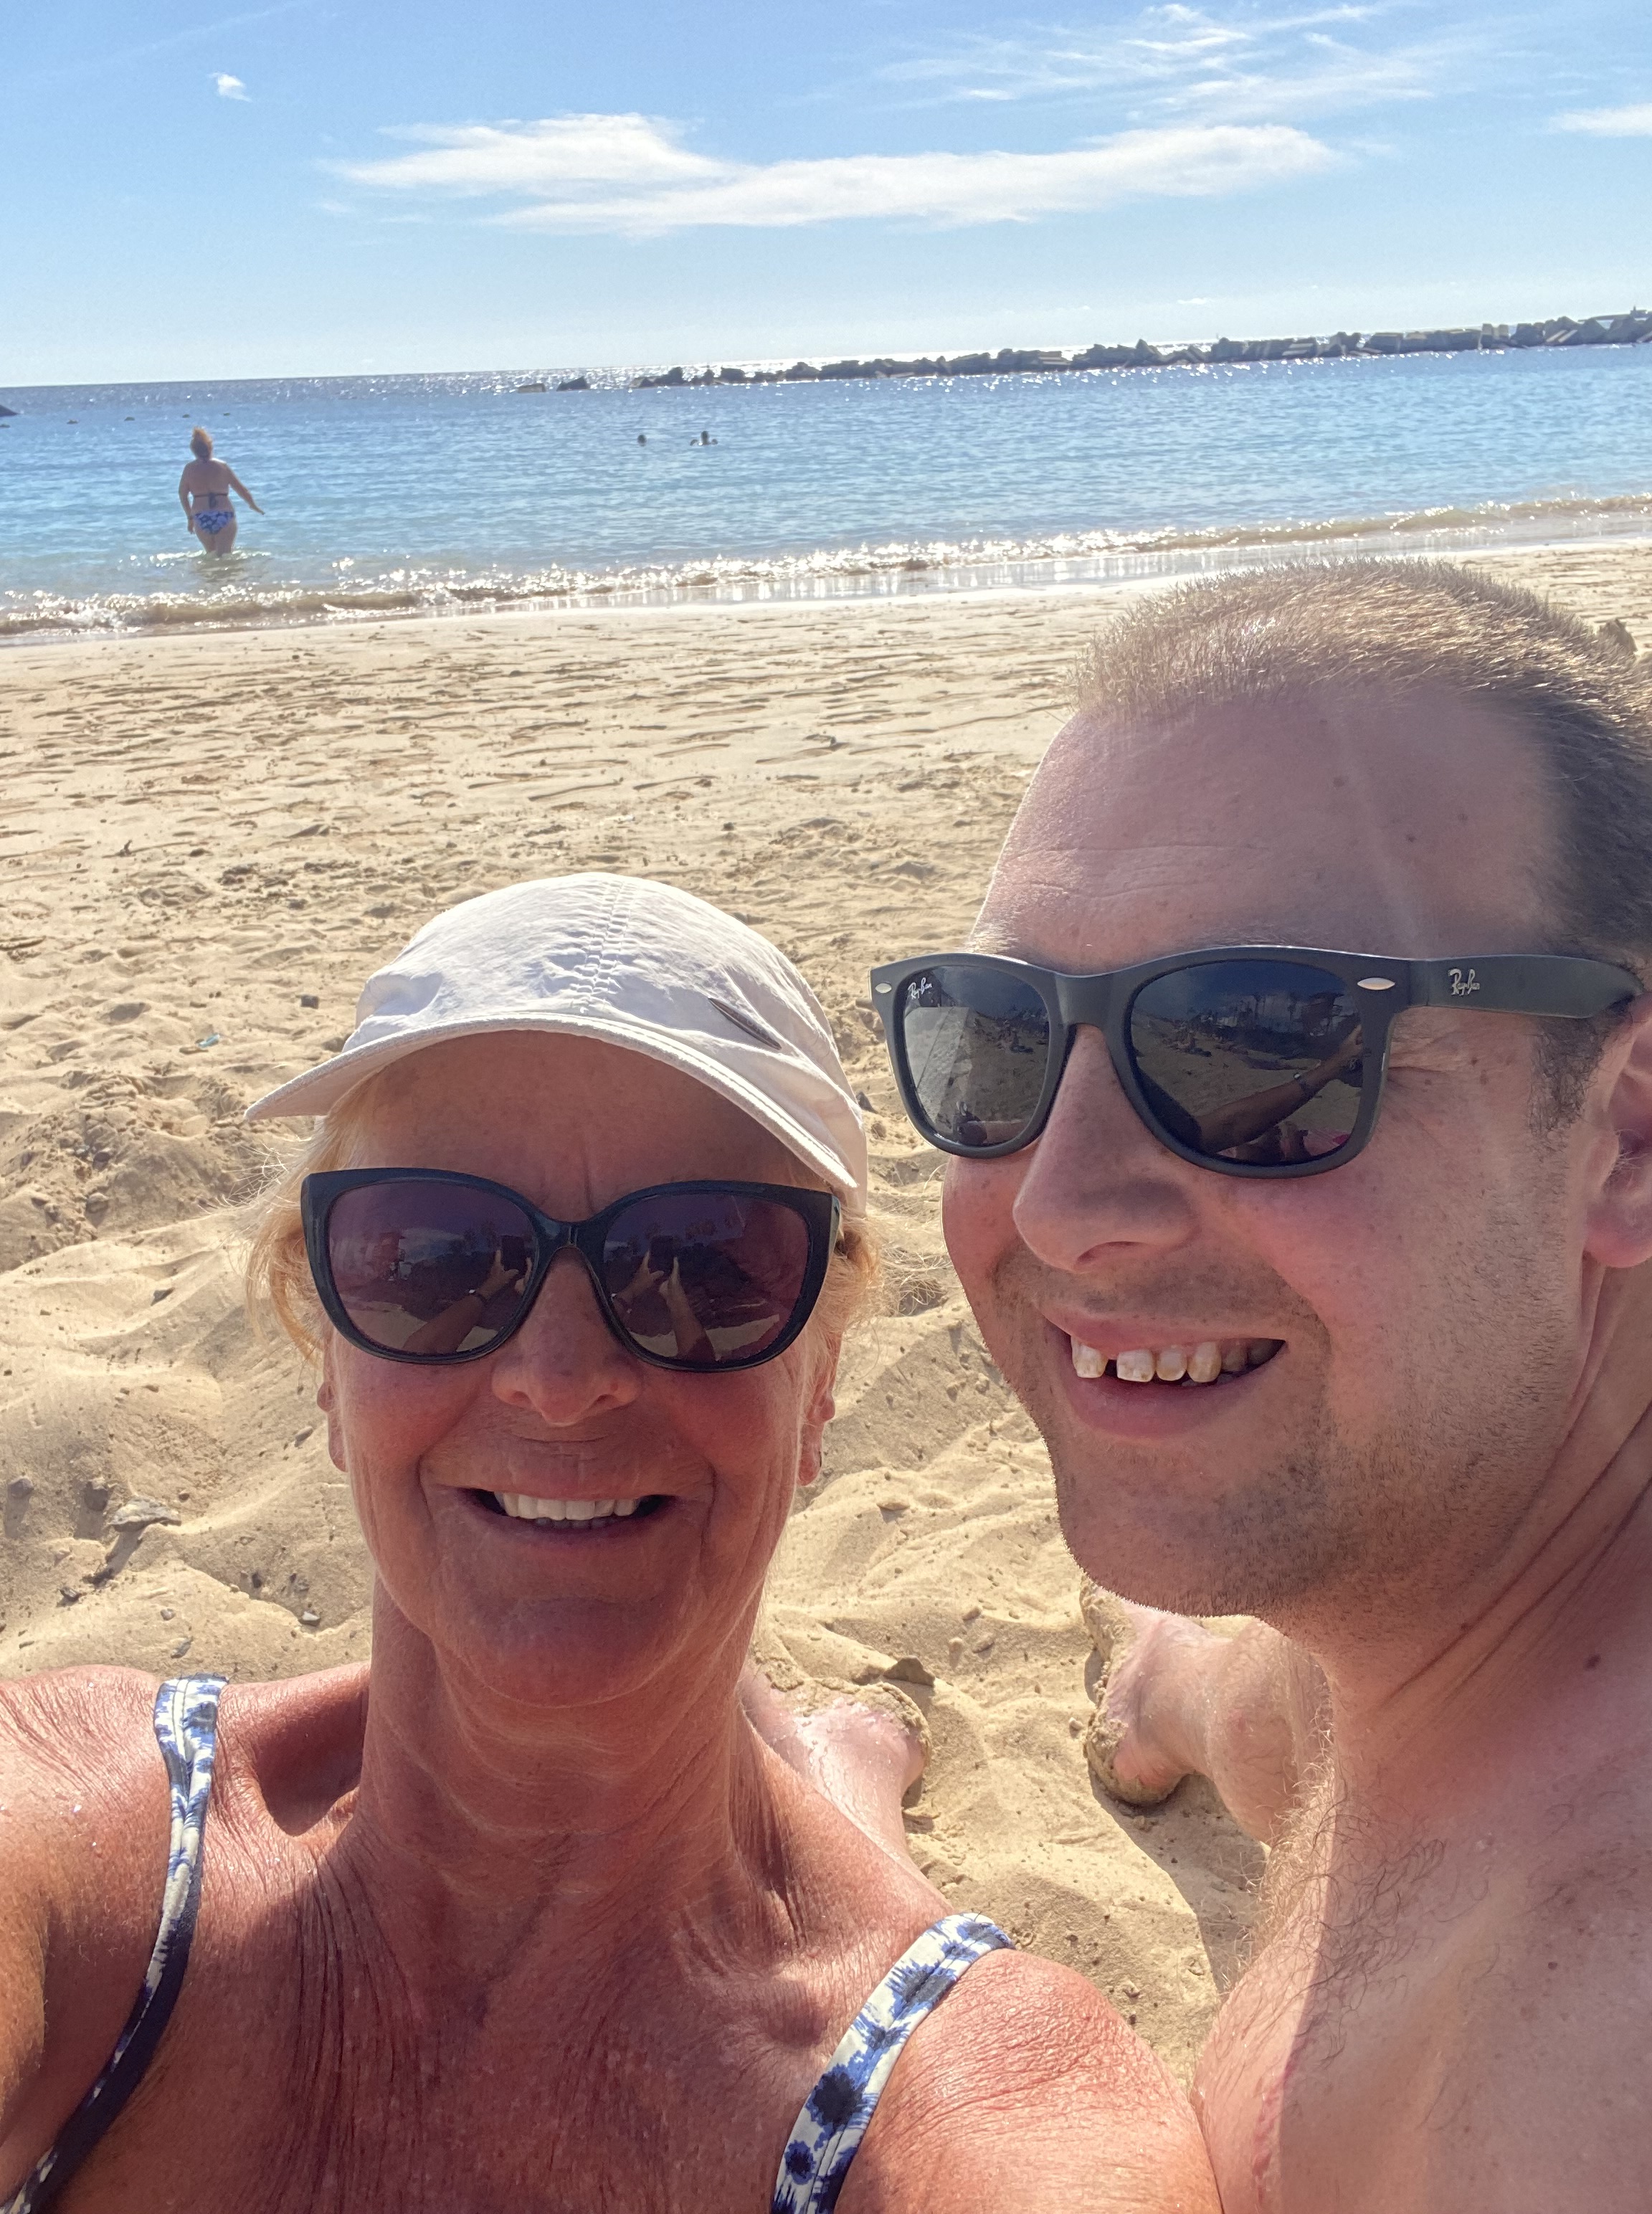
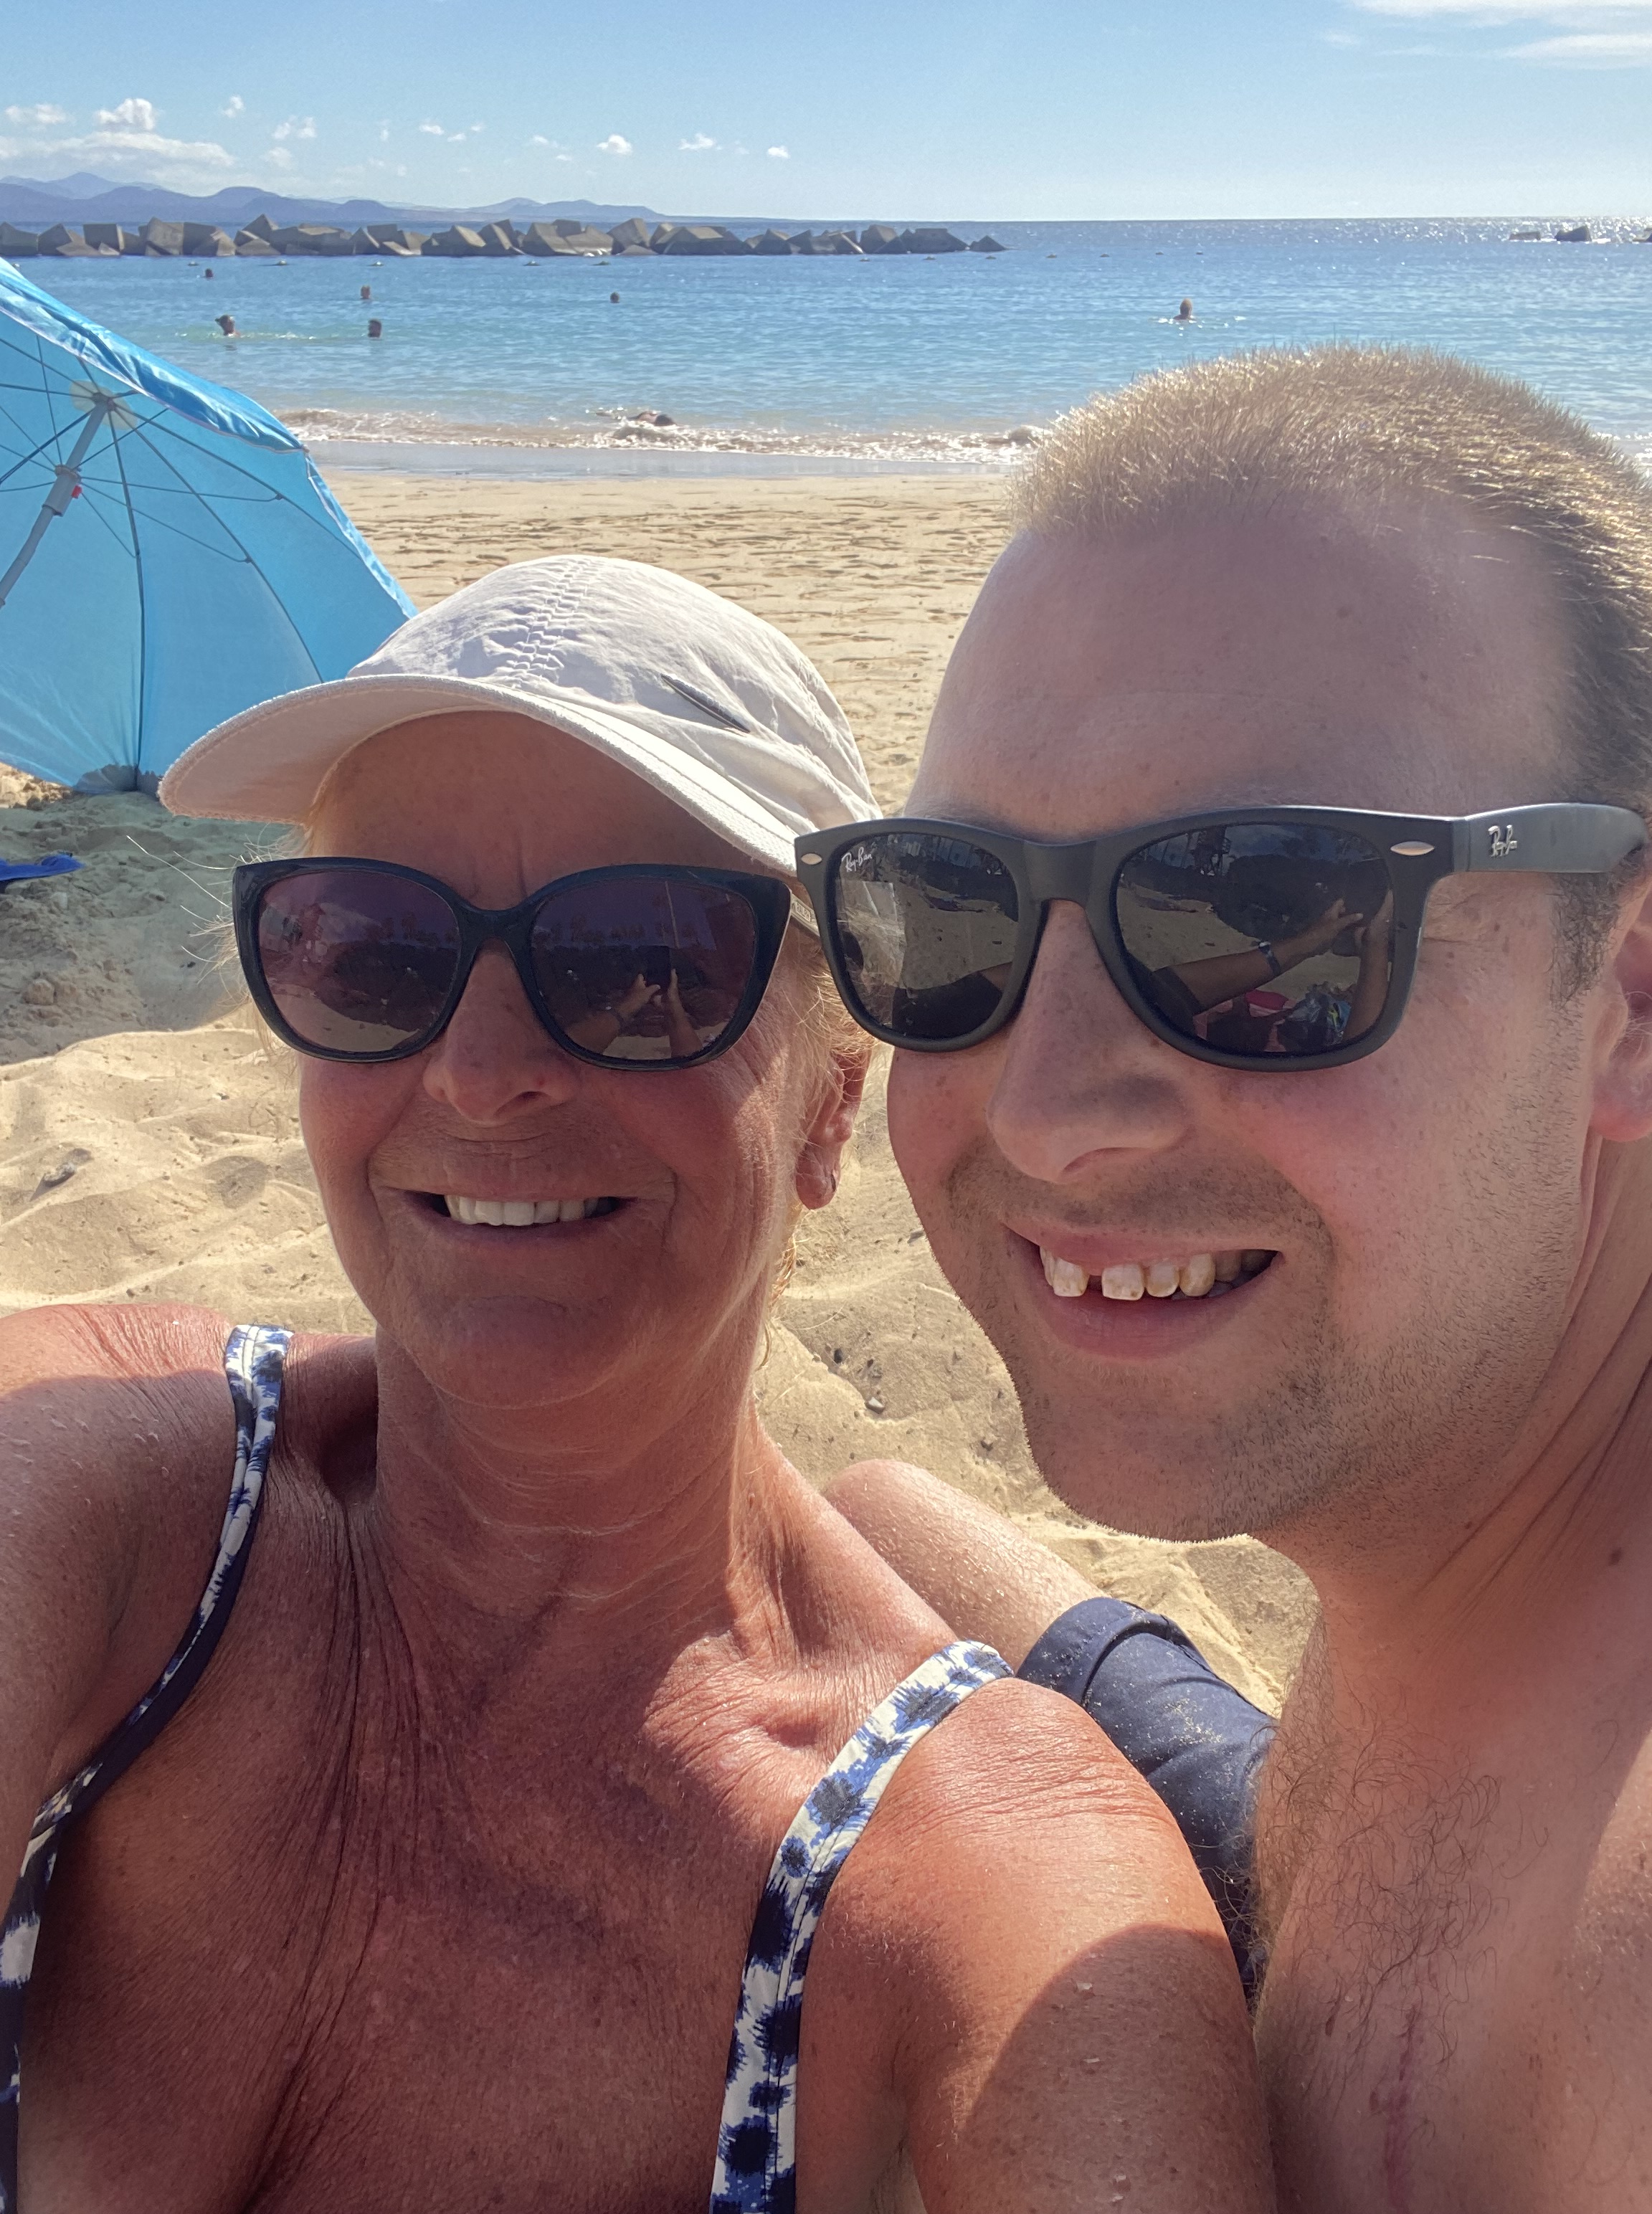
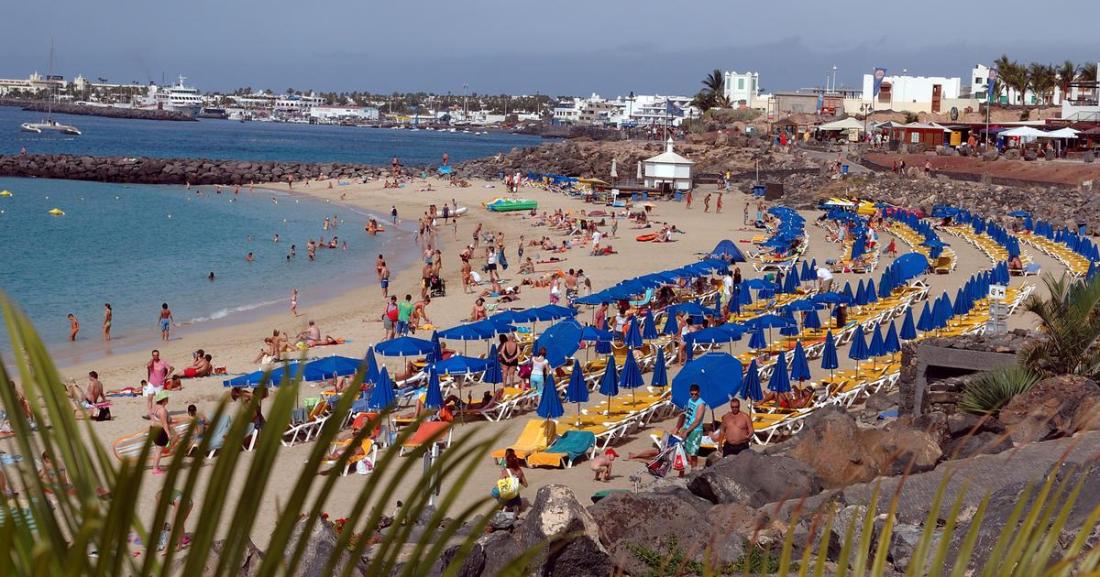
This is me and my Mum on the zebra crossing outside of our Hotel and up from where The Beach is and down from where The Restaurant is. Also this is me in The Pool and by The Pool I also really enjoyed sitting on the balcony every night when we came in from from dinner having a pint and a couple of pints sometimes too. Behind where I am sitting is room number 39A which was mine and my Mum’s room where we were staying in. I also enjoyed having my Cocktails on The Balcony I am also sitting on the wall up from The Beach. The Cocktail Bar was up from The Pool I am just on my way back from The Cocktail Bar with The Sex On The Beach drinks in my hands where I am standing next to The Pool. I really enjoyed swimming in The Pool we also had a nice view from The Balcony as you can see. The Hotel had two Pools which was good and I enjoyed sunbathing on the sun bed by The Pool too.
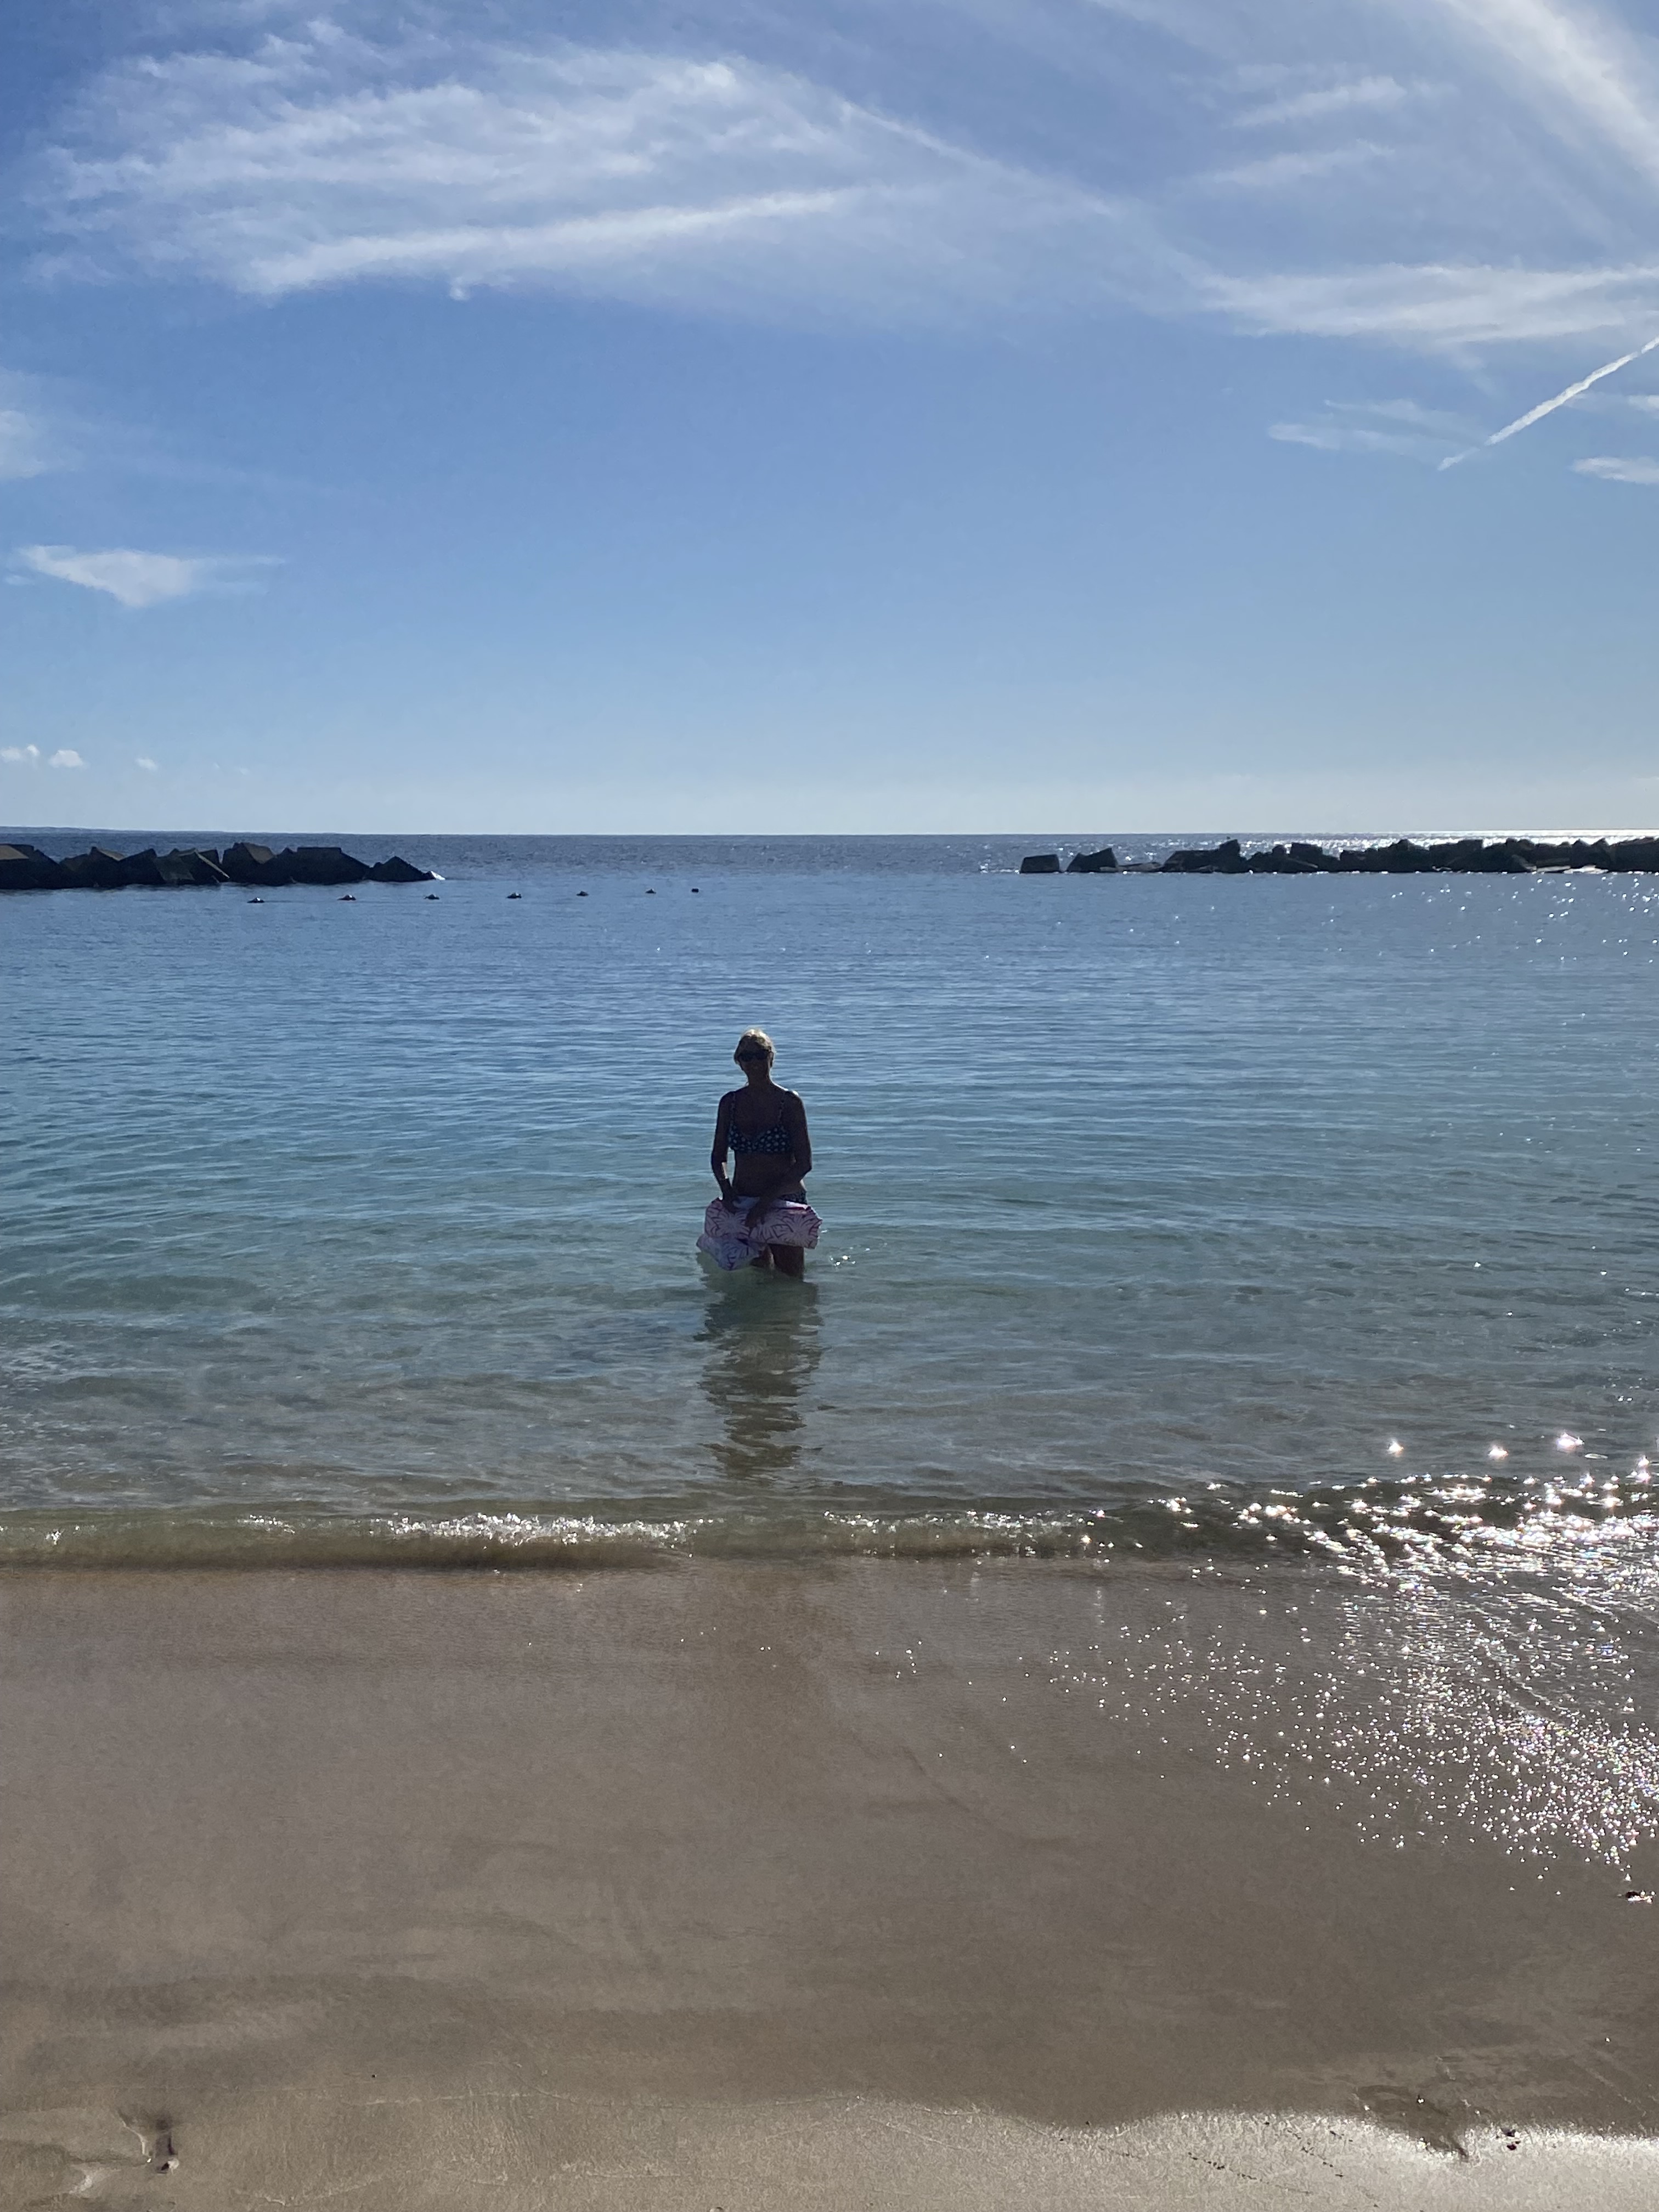
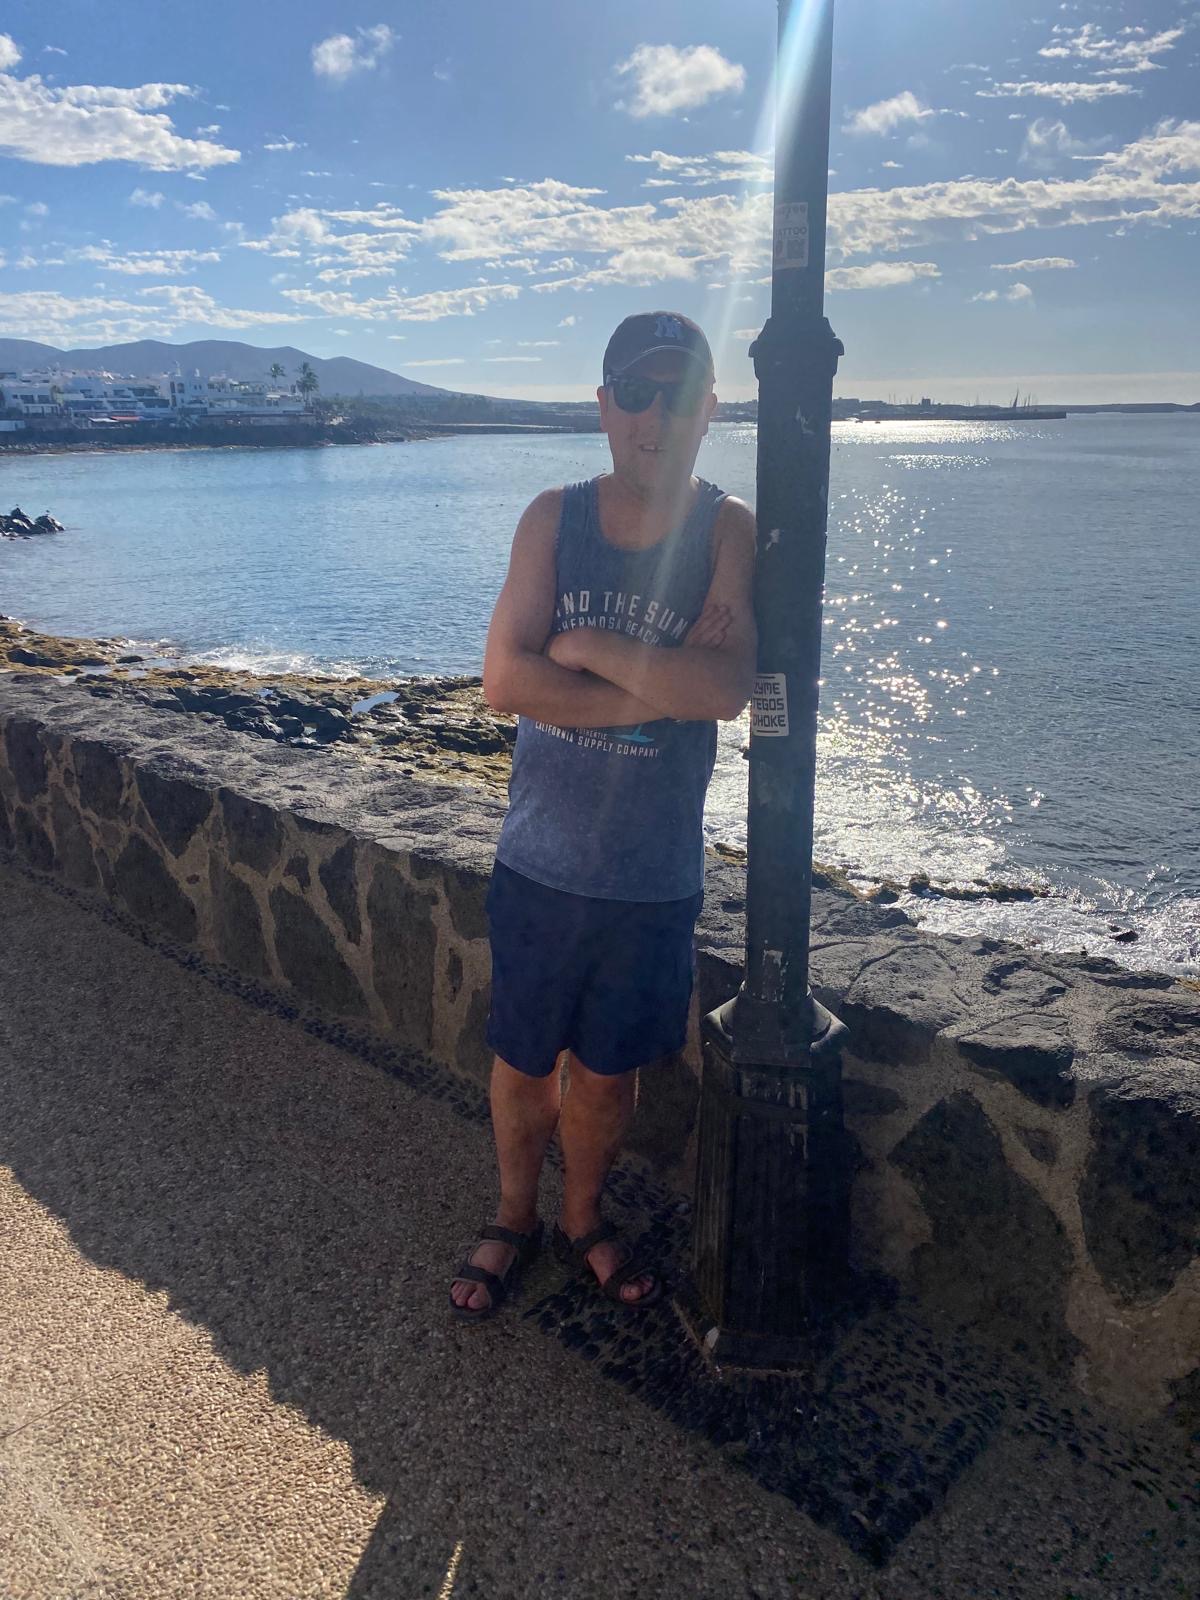
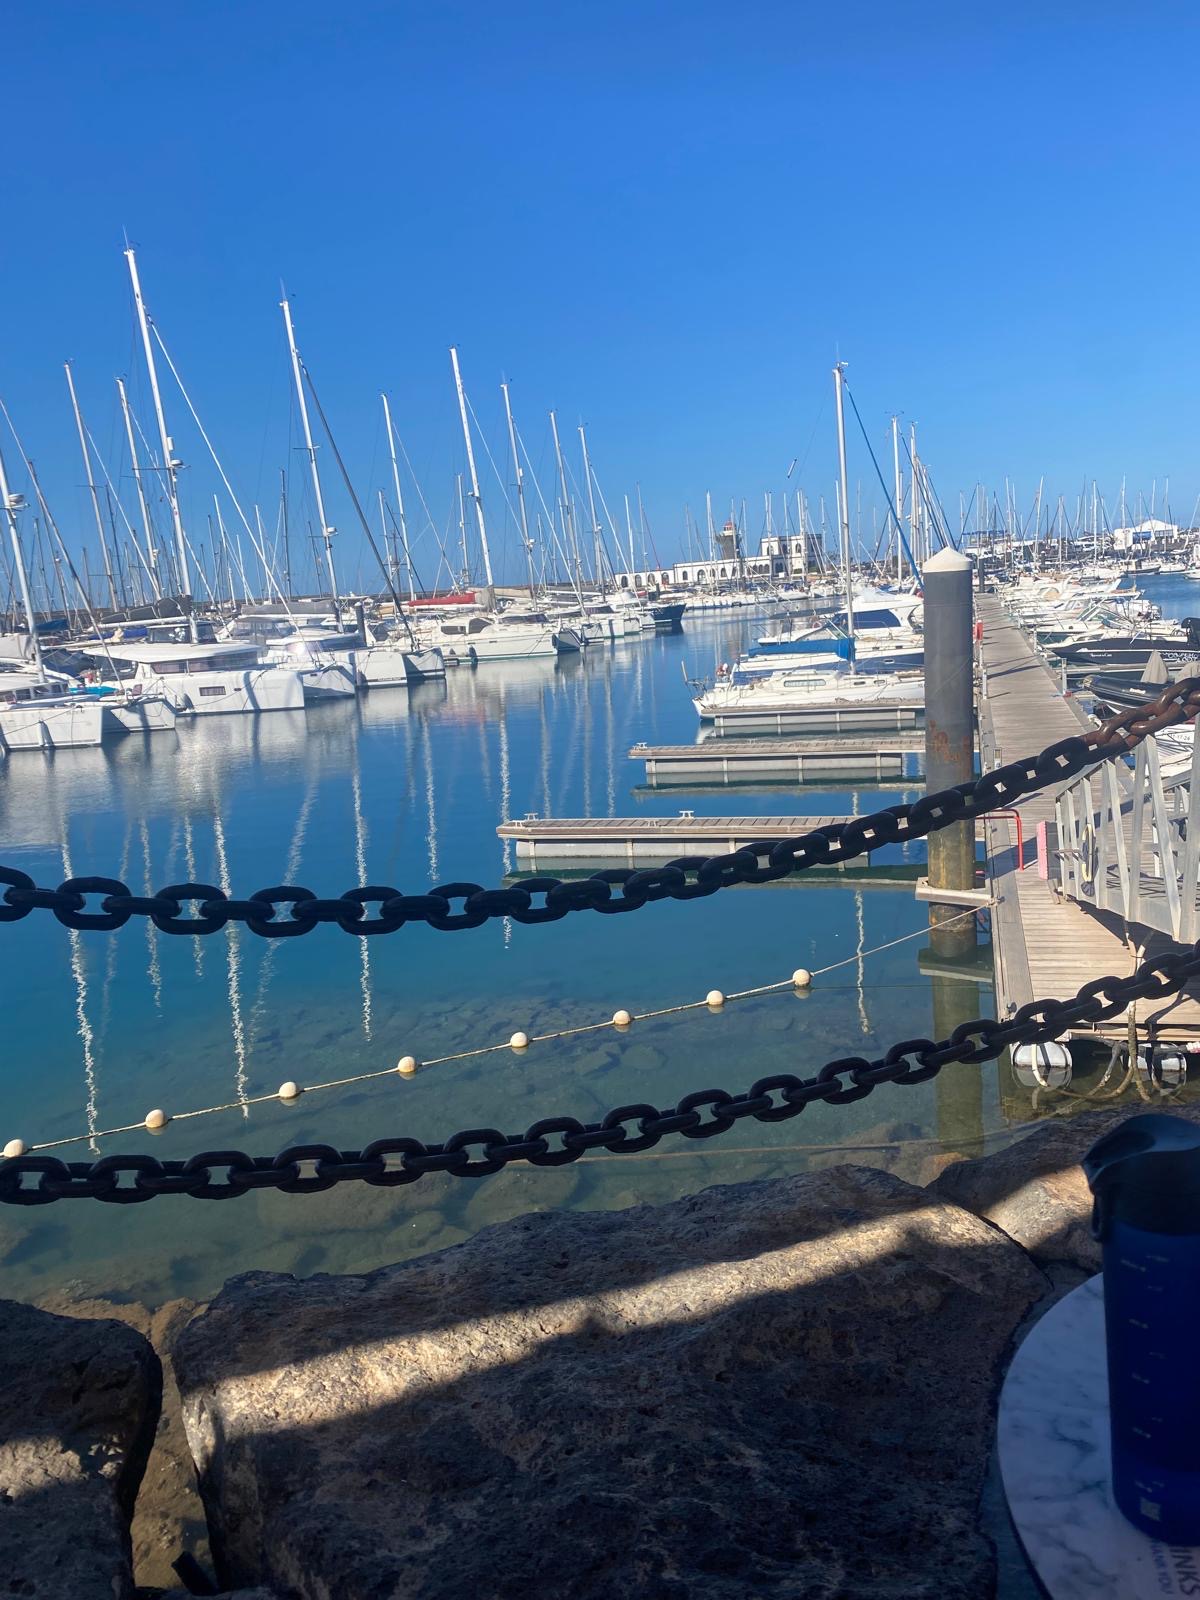
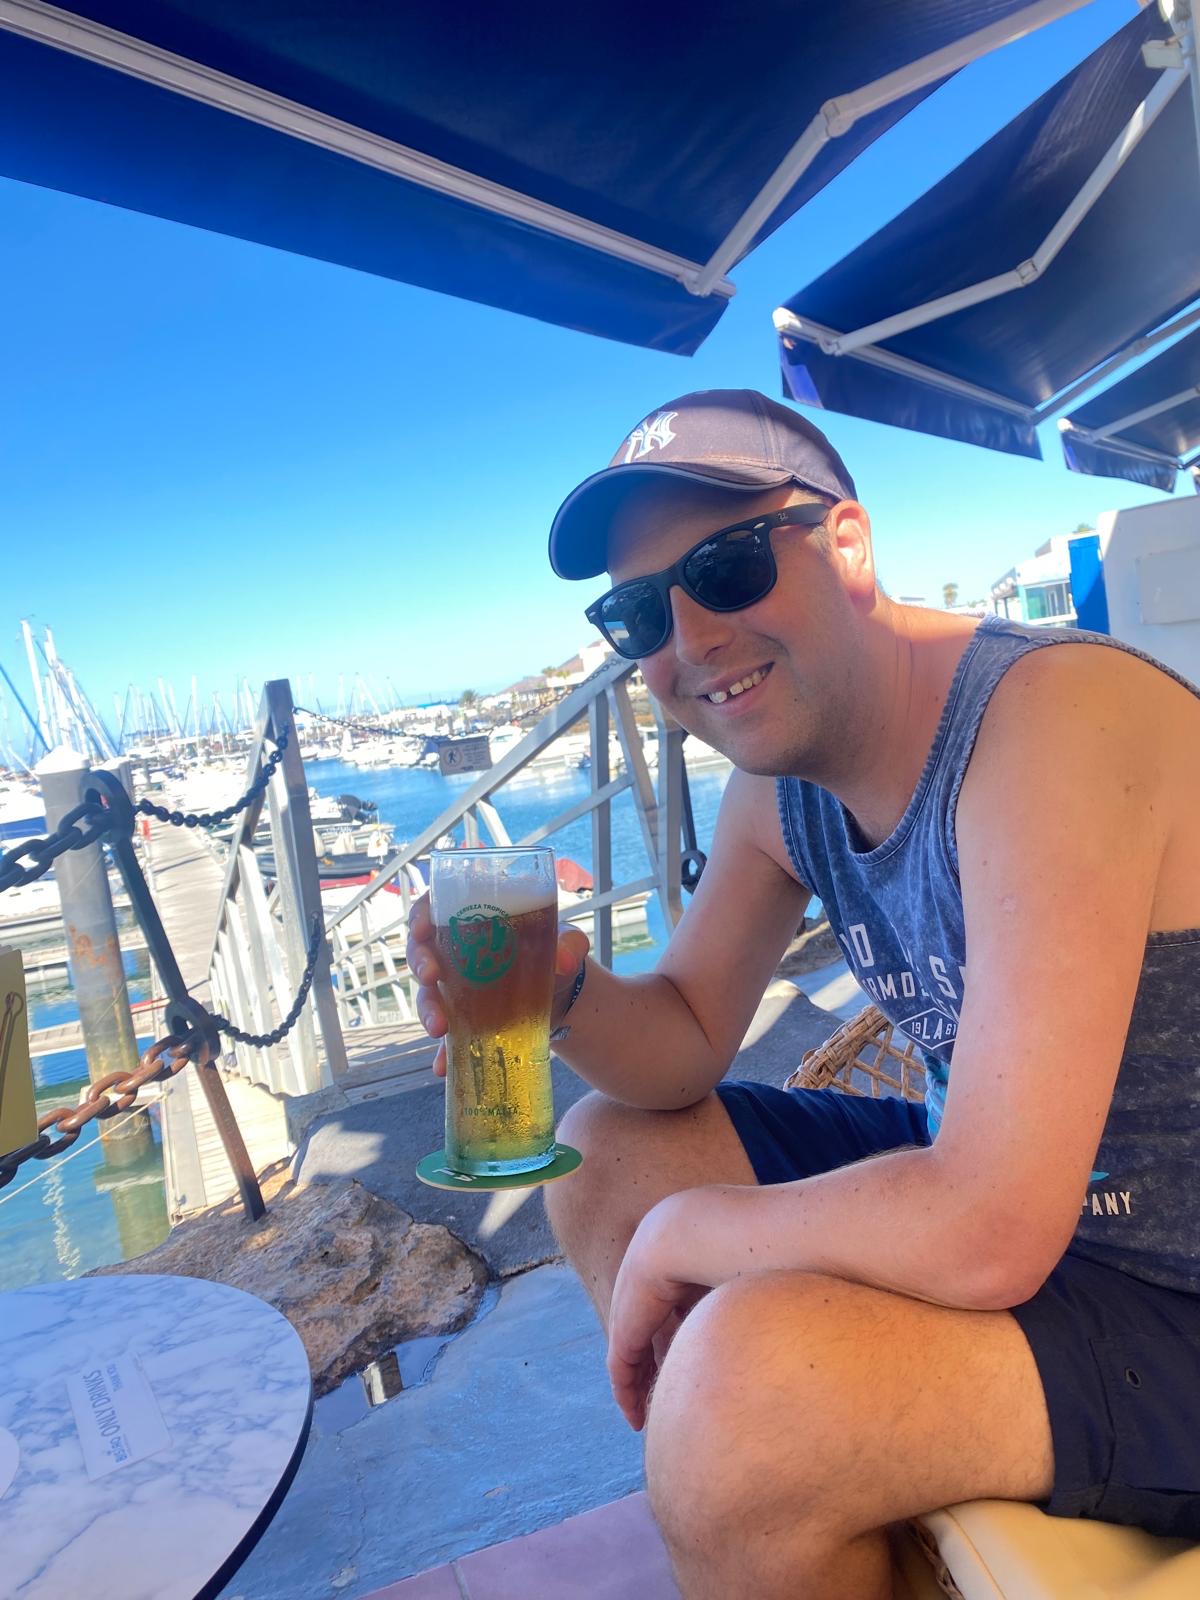
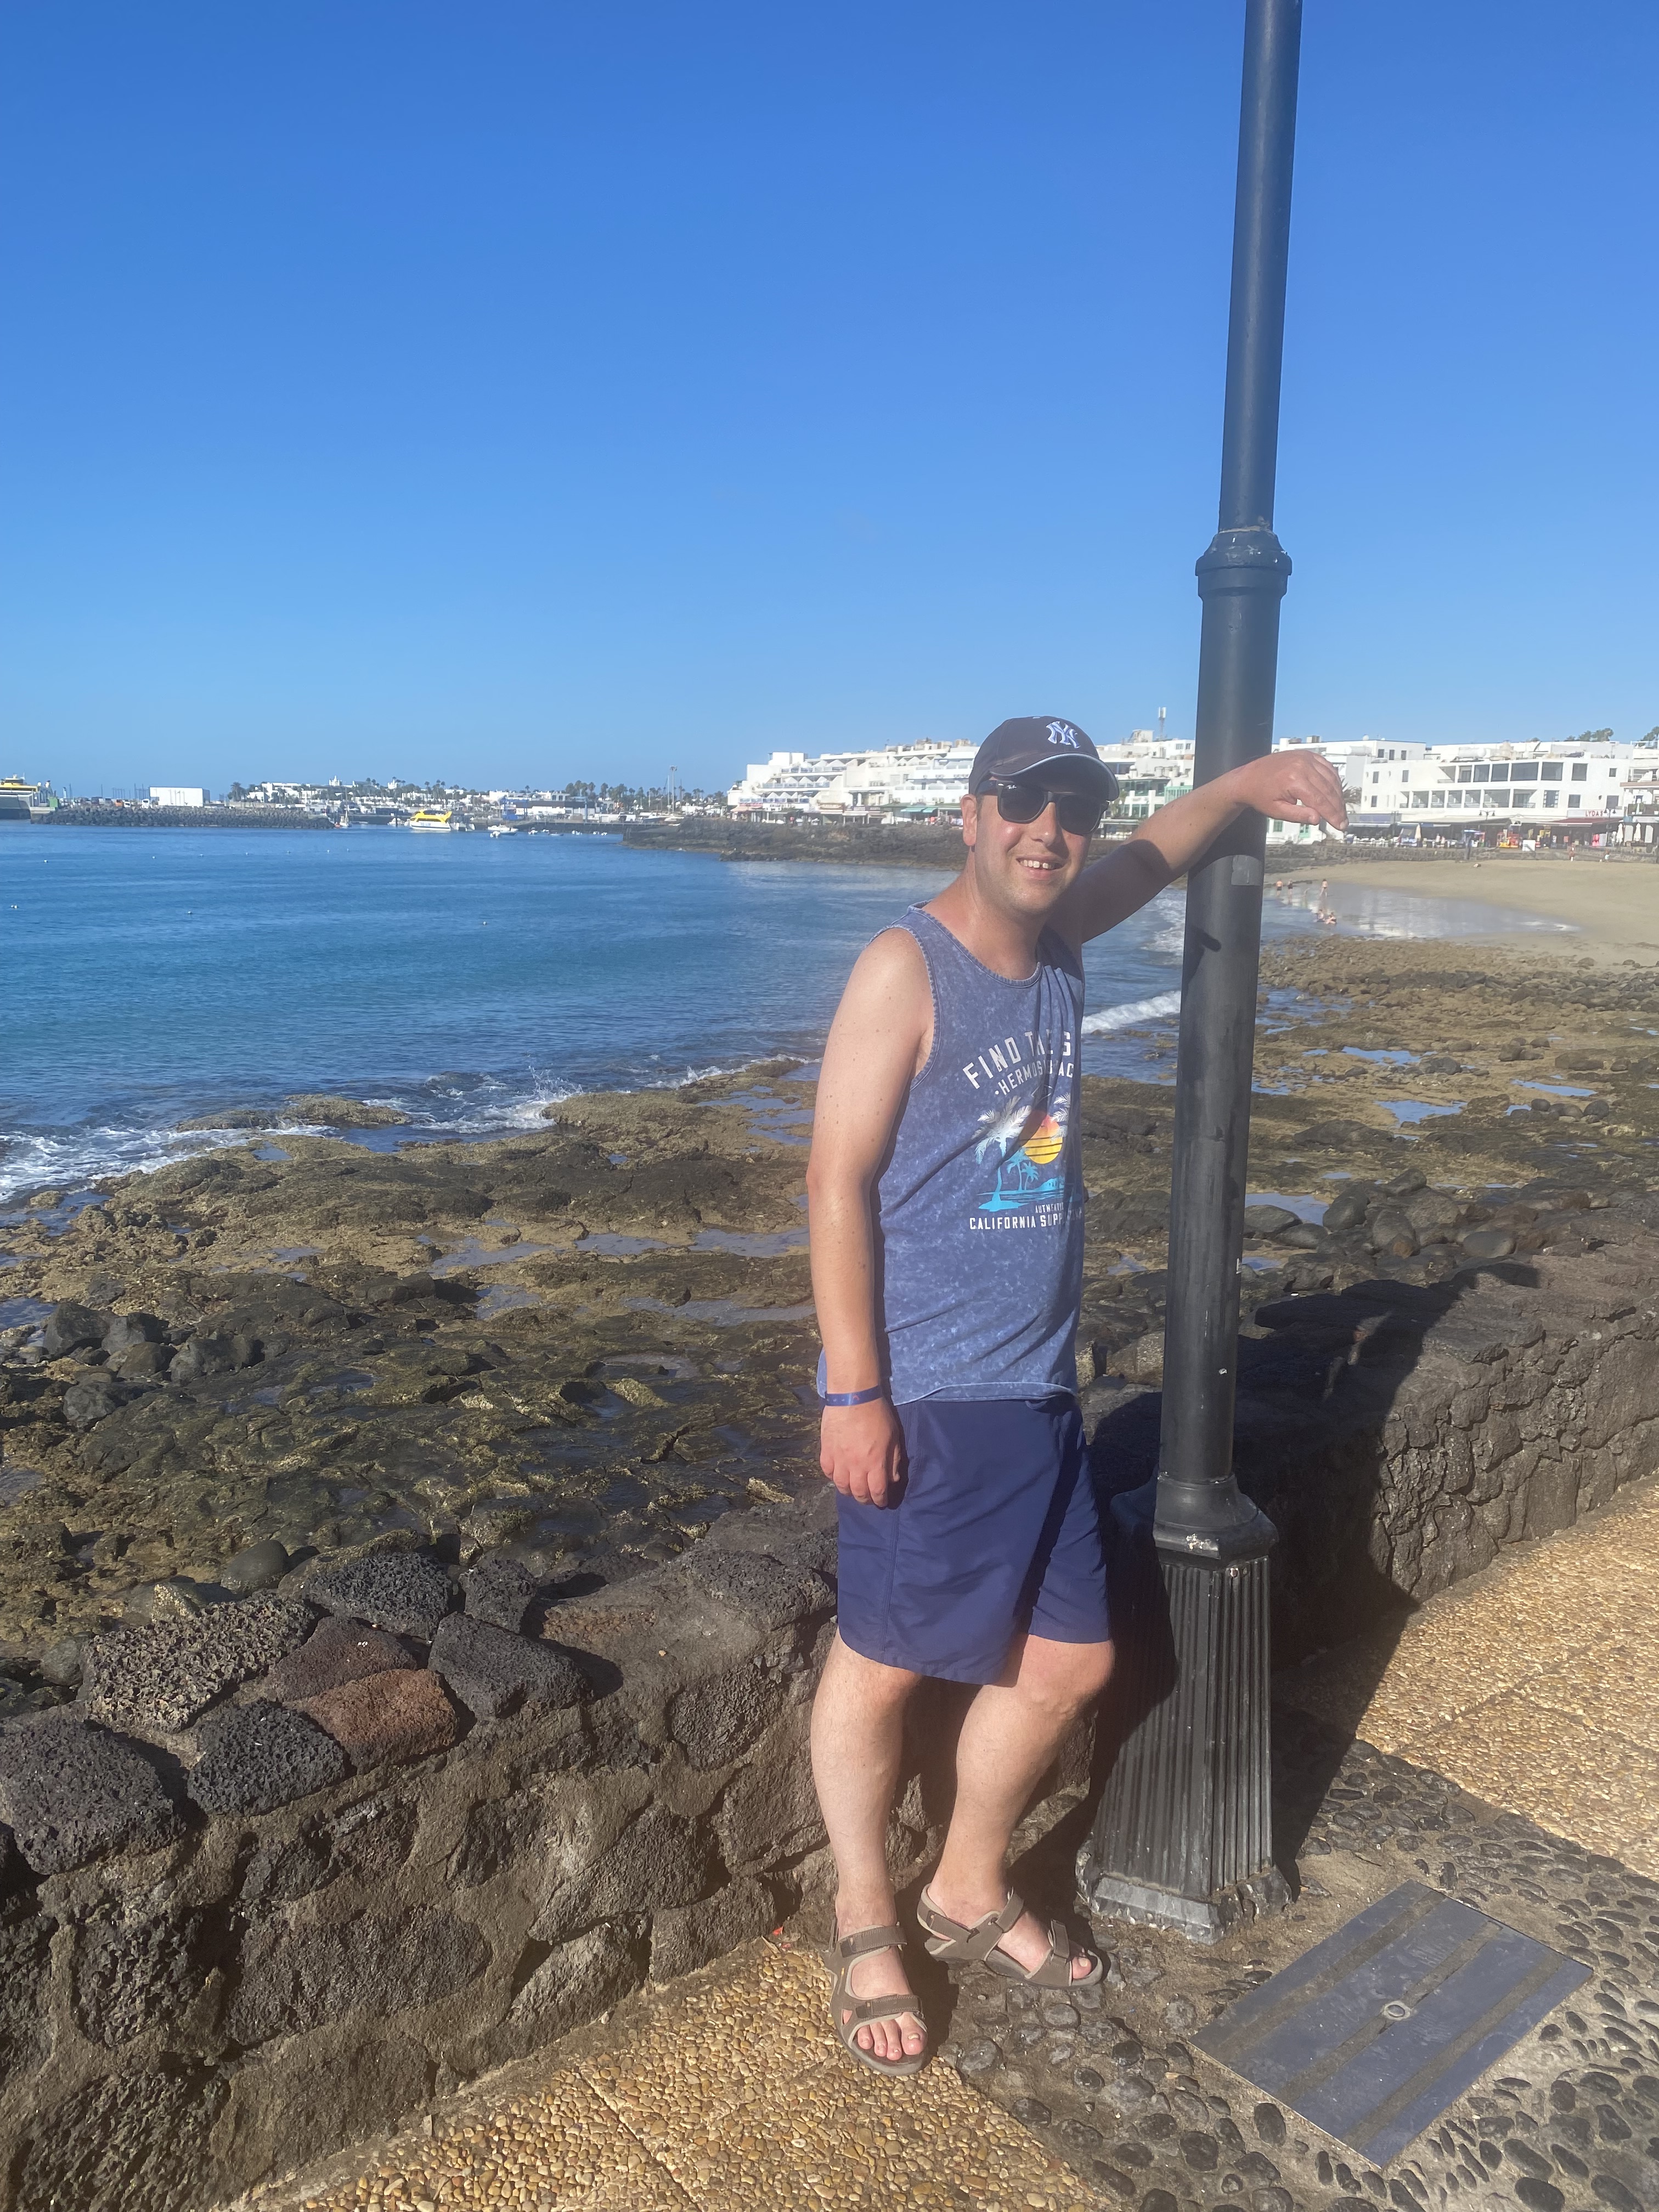
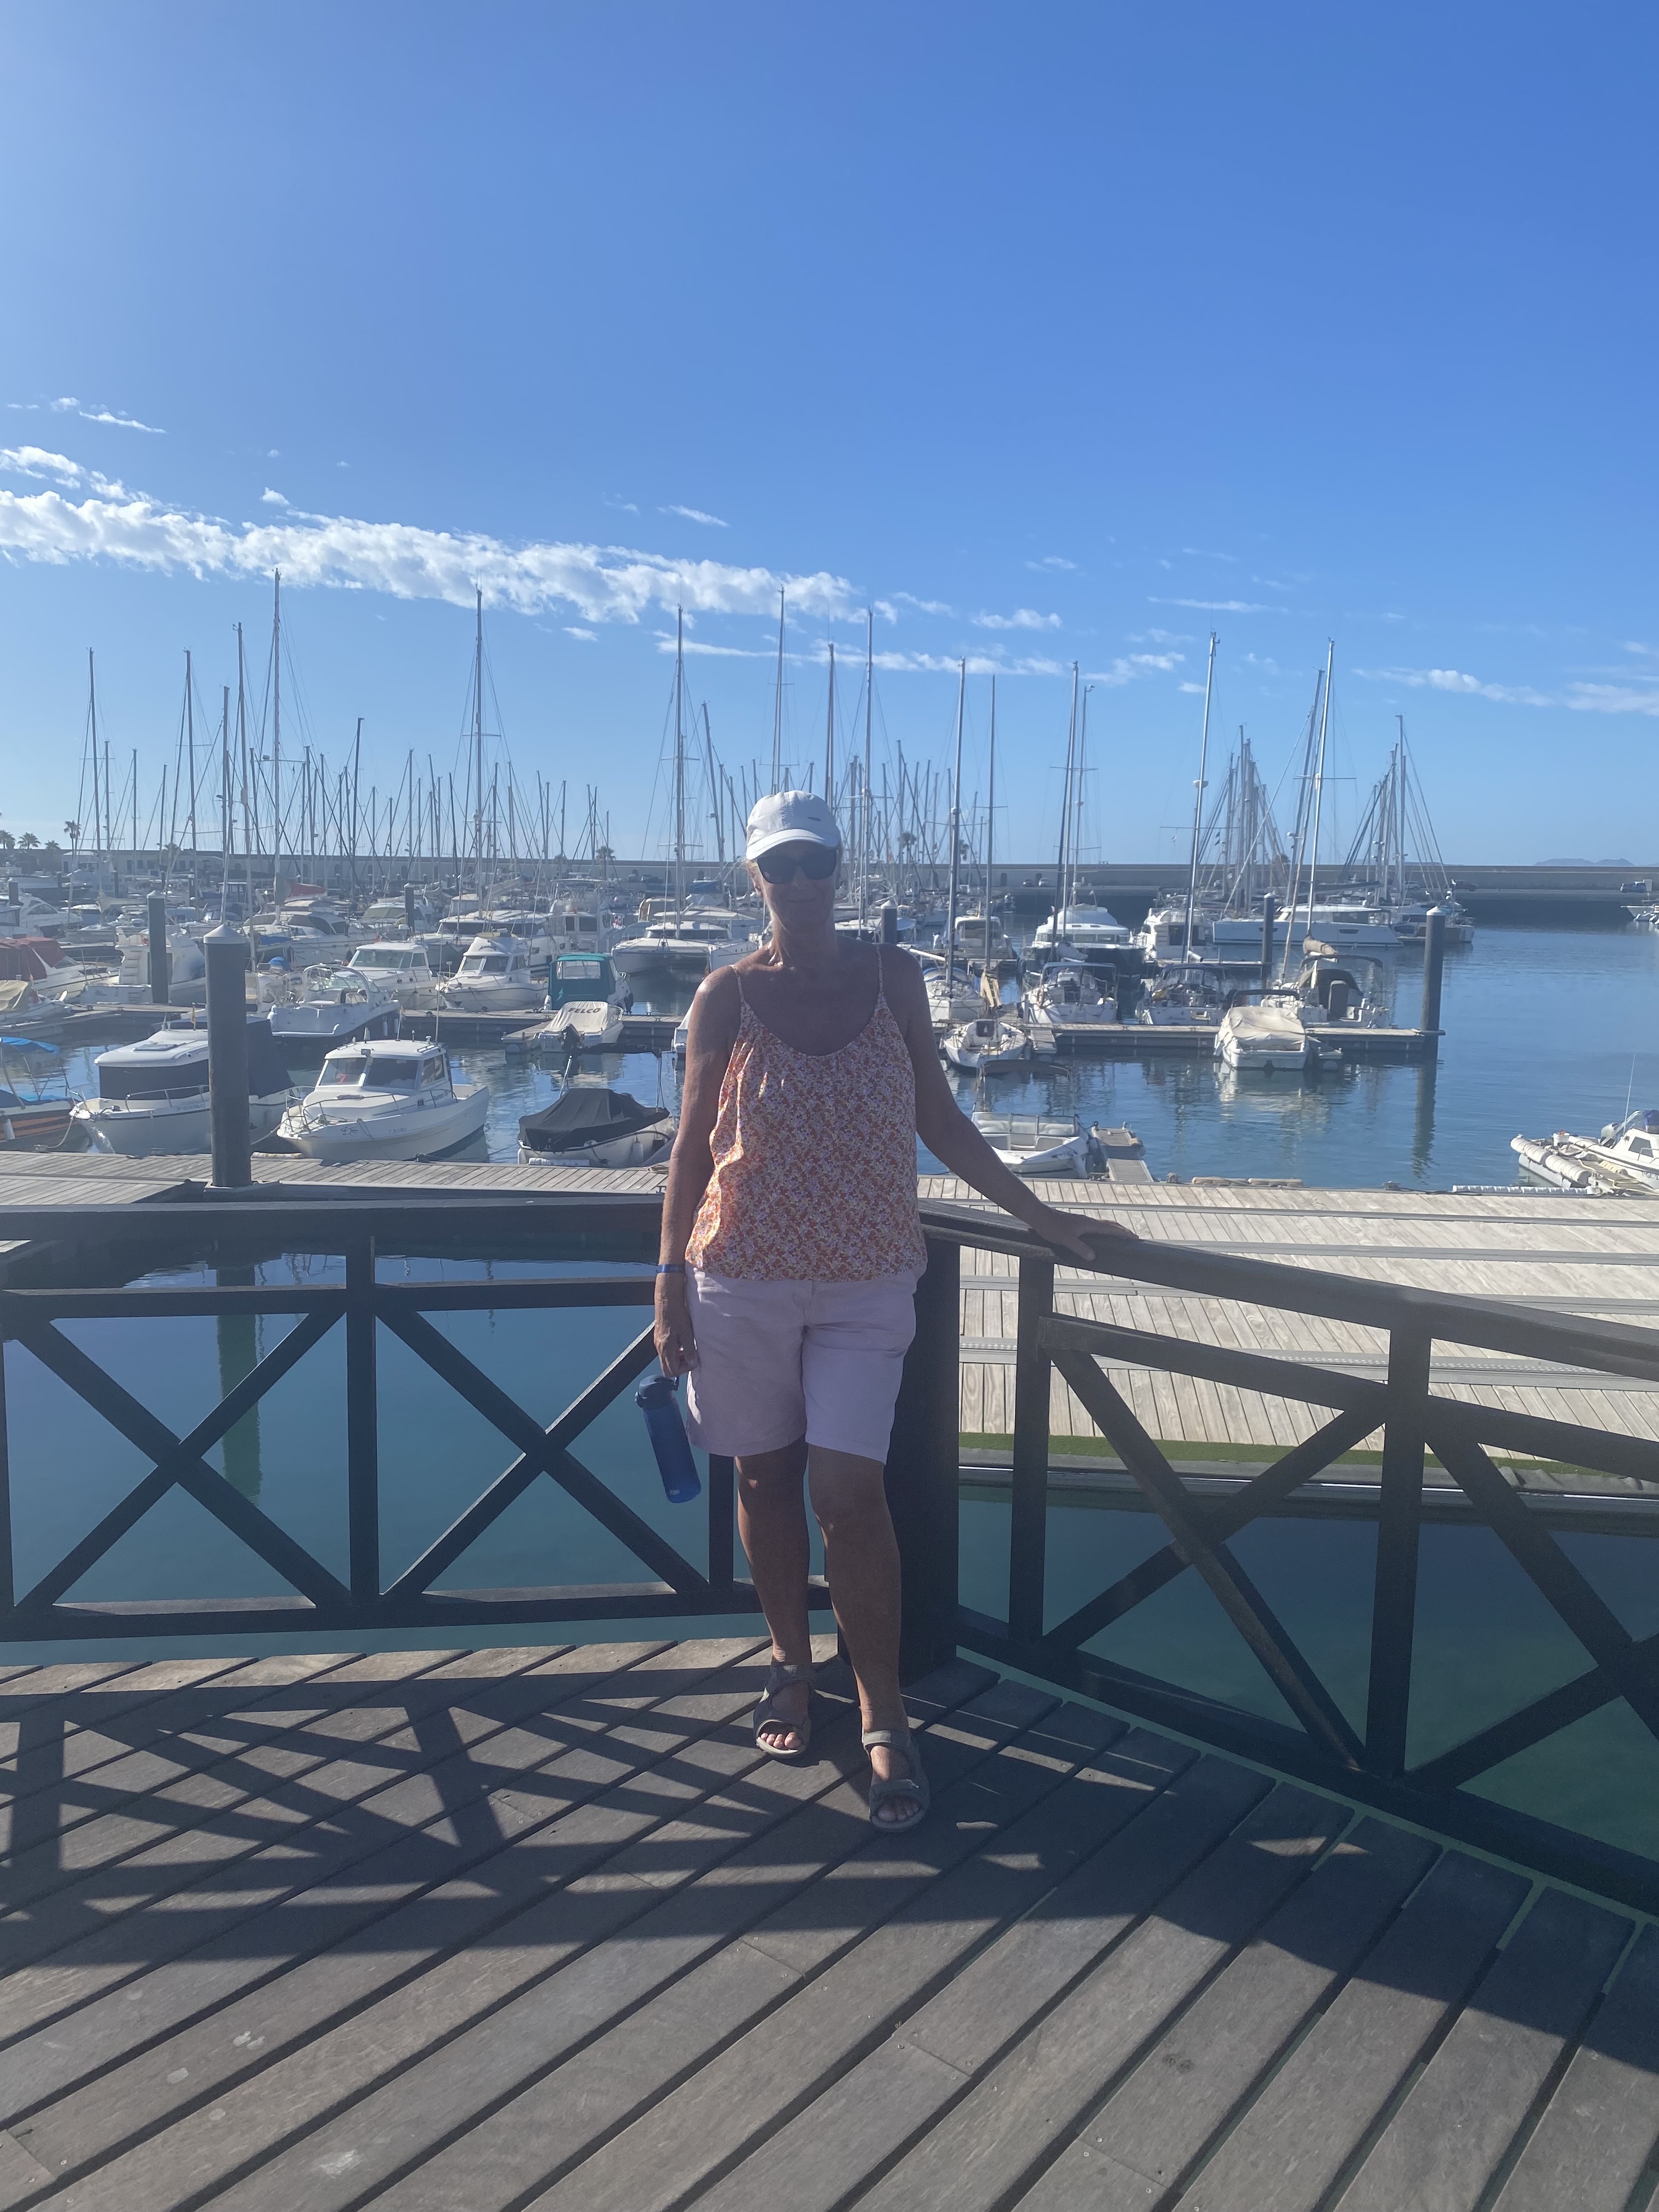
This is us at The Beach again and my Mum in The Sea and me on The Balcony outside our Hotel Room. We also went to a Pub next to where The Sea and The Yachts were. We got a Taxi back to our Hotel from where I had a pint and from where The Yachts were. The photo is me by The Pool on the way to dinner and the one next to the lamppost is when me and my Mum went walking around The Town.
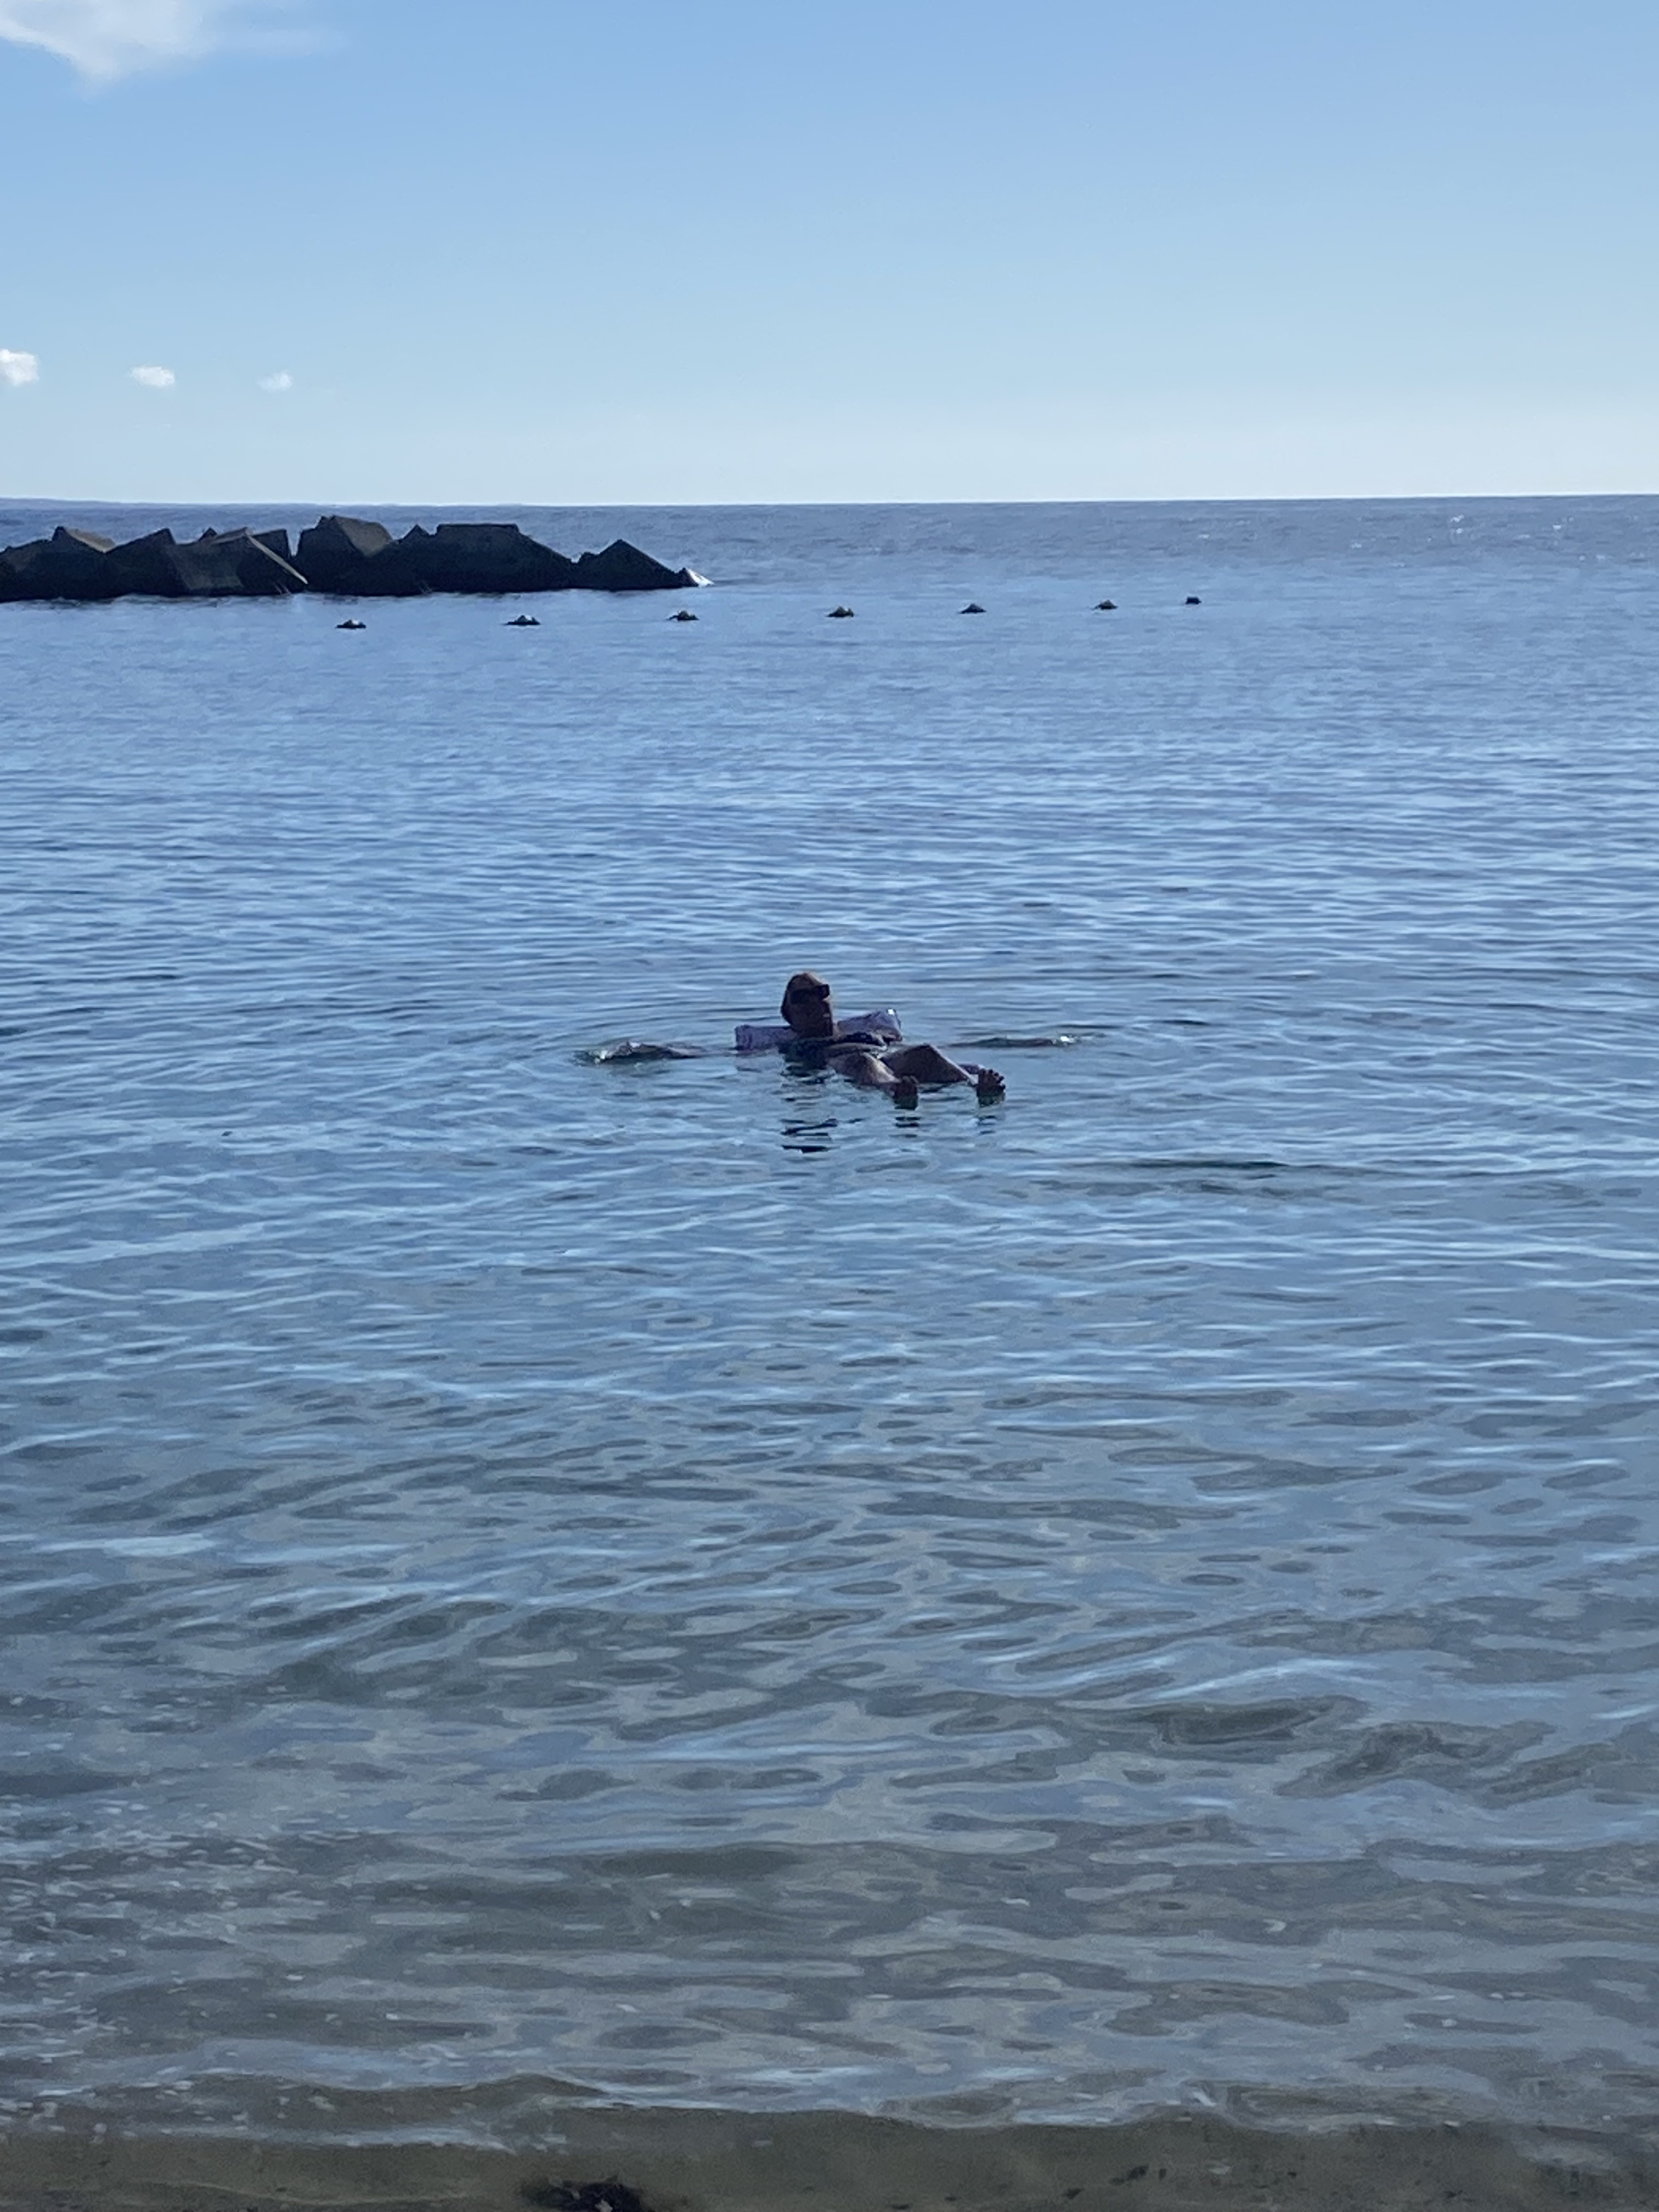
This is me and my Mum at The Beach and in The Pool and The Sea. I really enjoyed going in The Sea and The Pool. We also walked past The Boats and The Yachts I really enjoyed the food in The Restaurant we also sunbathed on The Beach too we had very nice hot warm weather.
This is The Beach me and Mum went to The Beach was just outside of our Hotel where we were staying in. This is me and my Mum on our balcony we walked all the way down to The Ships where The Boats were too. I am in The Restaurant in our Hotel having having an Orange Juice before our dinner.
Get online is an annual national event aimed at assisting individuals in getting online for the first time or exploring new ways to utilize the internet and enhance their digital skills. In the UK, more than 20% of the population still face challenges in accessing the internet or require support in utilizing digital services.
These events are open to all, no matter what your existing skill or experience. We just want to help you develop your online skills. To find out more just telephone 01914771667.
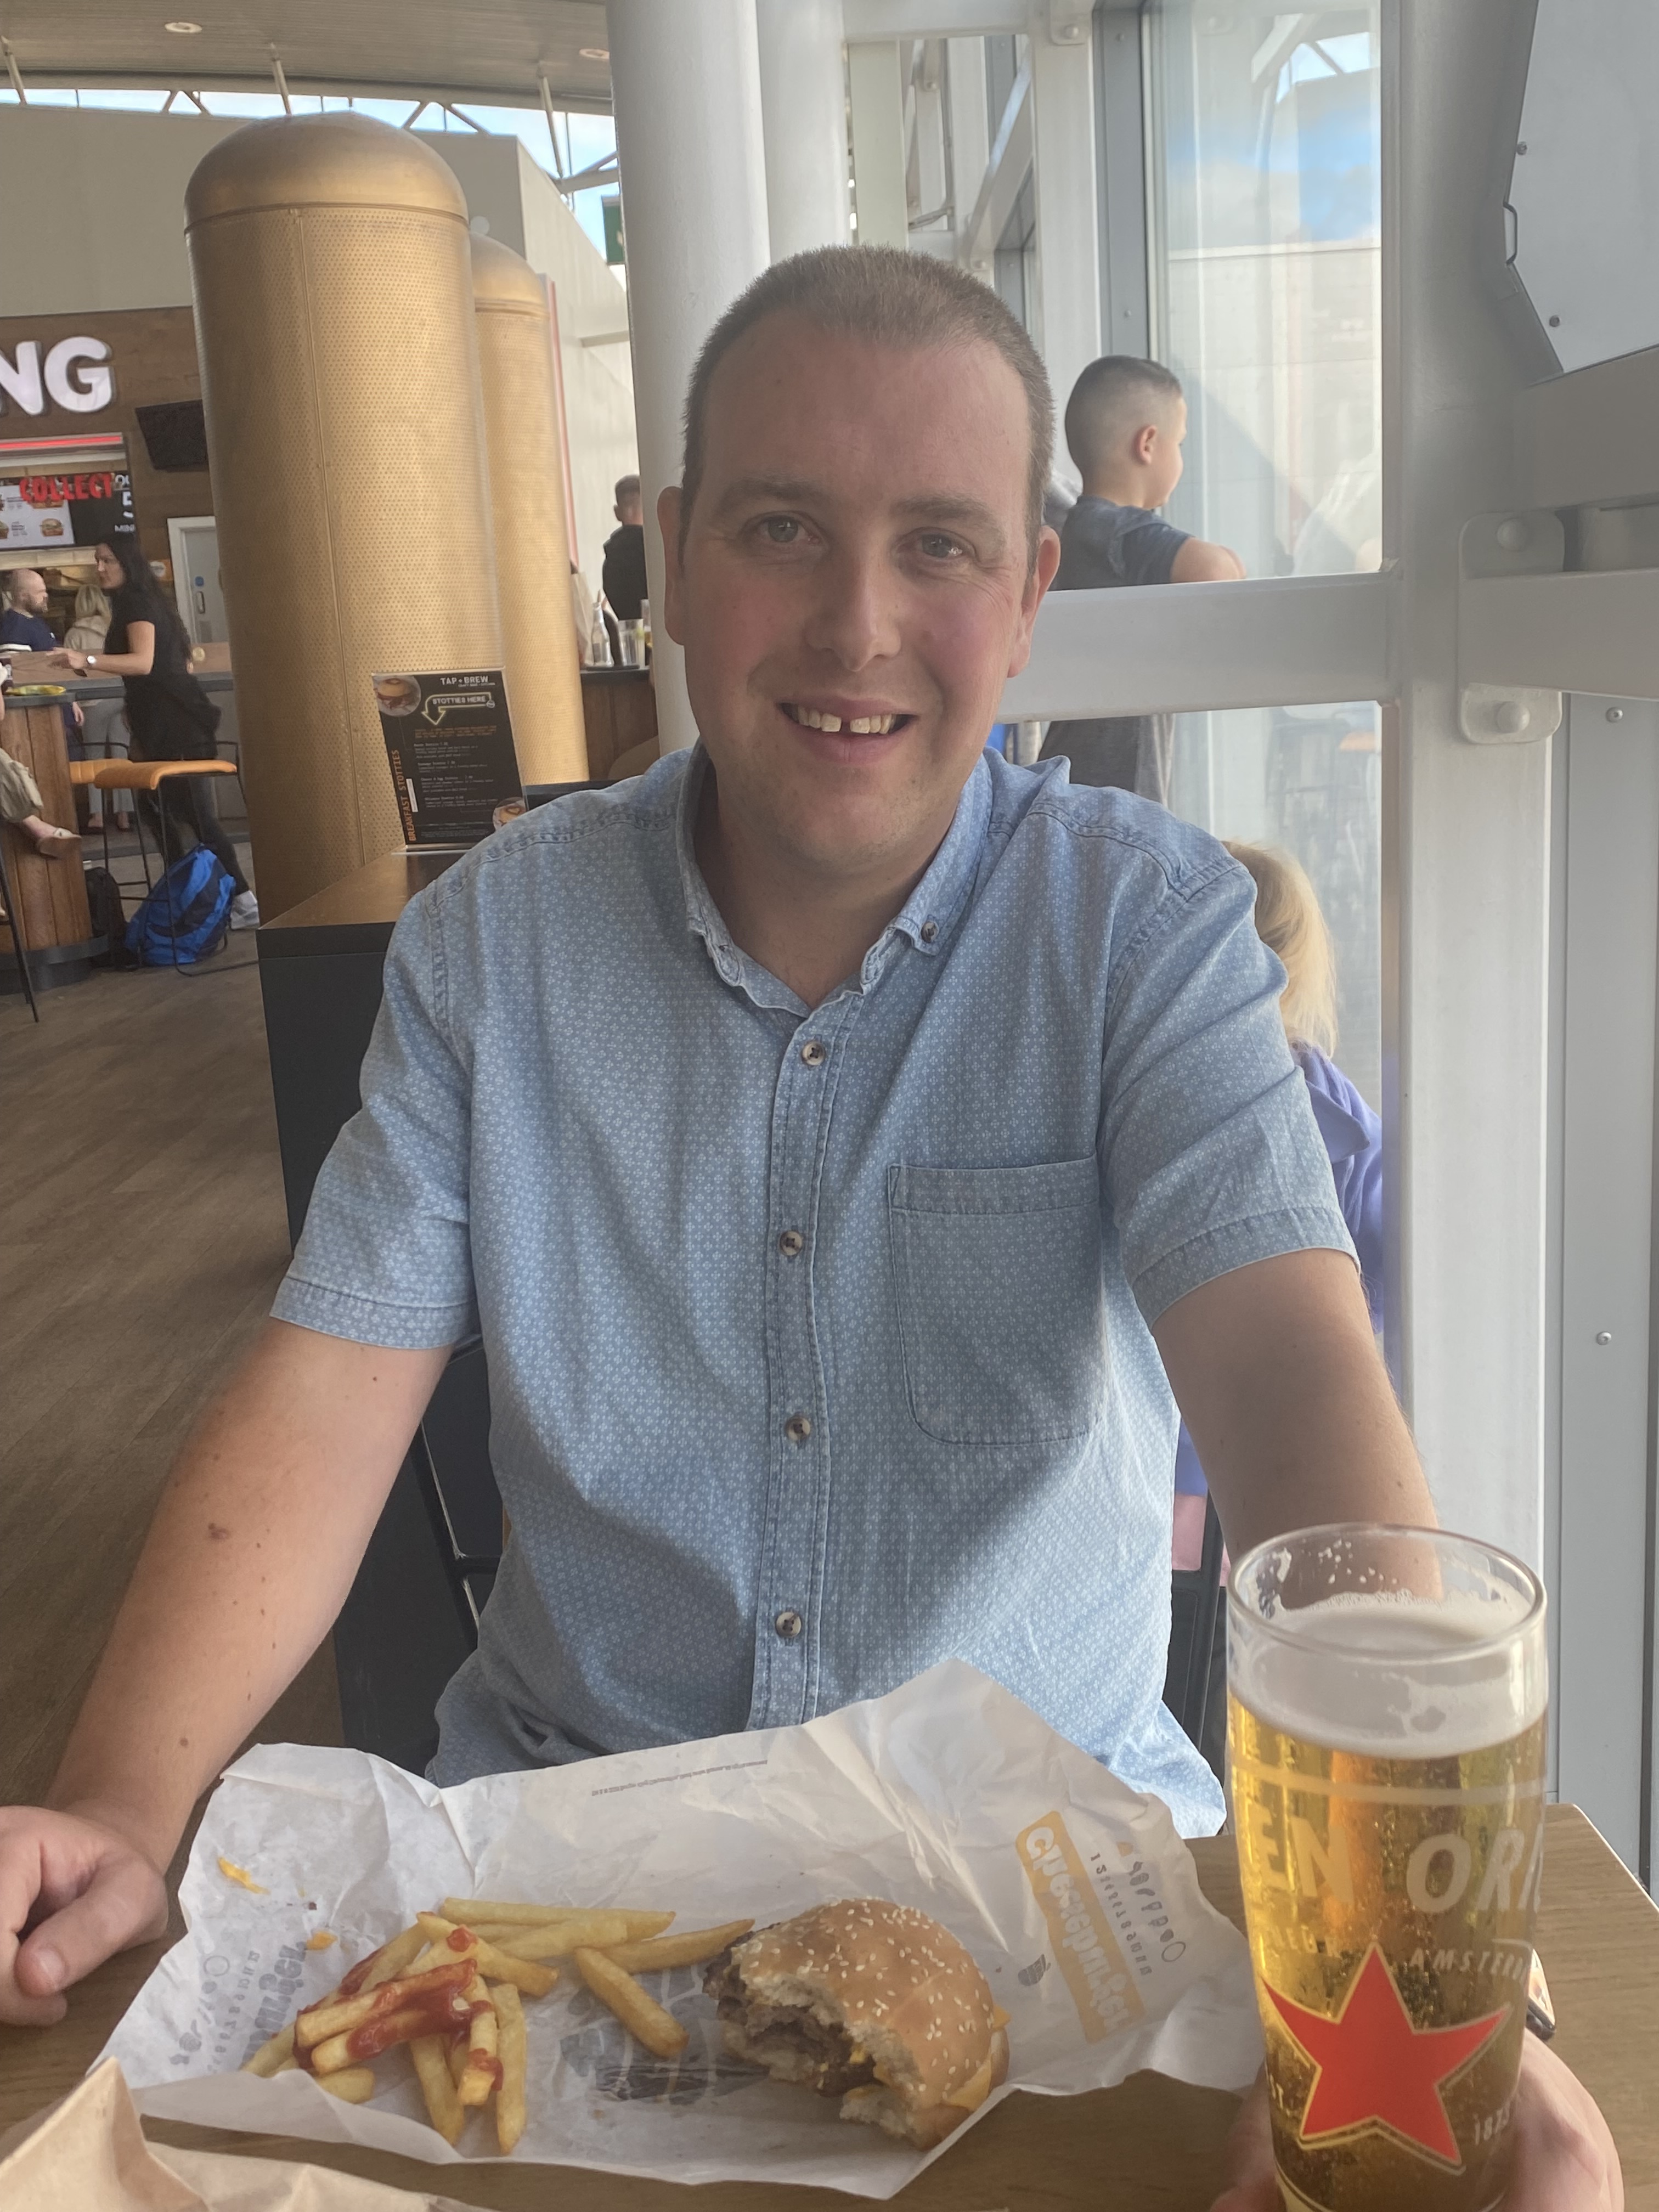
I enjoyed my Cheese Burger and Chips at The Airport before me and my Mum got on The Airplane the two other photos is me sitting waiting for our Airplane. The other photos are of me next to our swimming pool before we went to dinner at The Restaurant. Me and my Mum enjoyed The Entrainment Room at night time sitting having a couple of pints watching all the Entertainment. We also enjoyed walking down The Street and down The Town.
I had a really good time on holiday with my Mum we stayed in a really nice Hotel and went down to The Beach with my Mum and went in The Sea and swam in The Sea a lot. We had two swimming pools outside our The Hotel. The Food was very nice too I really enjoyed The Beer and Cocktails were really very nice too. I enjoyed sunbathing on The Beach and going in The Sea The Entertainment at night time was really good too. I also enjoyed having a pint on The Balcony at night before I went to bed and went to sleep.
The use of horses in World War I marked a transitional period in the evolution of armed conflict. Cavalry units were initially considered essential offensive elements of a military force, but over the course of the war, the vulnerability of horses to modern machine gun, mortar, and artillery fire reduced their utility on the battlefield. This paralleled the development of tanks, which ultimately replaced cavalry in shock tactics. While the perceived value of the horse in war changed dramatically, horses still played a significant role throughout the war.
All of the major combatants in World War I (1914–1918) began the conflict with cavalry forces. Imperial Germany stopped using them on the Western Front soon after the war began, but continued with limited use on the Eastern Front, well into the war. The Ottoman Empire used cavalry extensively during the war. On the Allied side, the United Kingdom used mounted infantry and cavalry charges throughout the war, but the United States used cavalry only briefly. Although not particularly successful on the Western Front, Allied cavalry had some success in the Middle Eastern theatre due to the open nature of the front, allowing a more traditional war of movement, in addition to the lower concentration of artillery and machine guns. Russia used cavalry forces on the Eastern Front but with limited success.
The military used horses mainly for logistical support; they were better than mechanized vehicles at traveling through deep mud and over rough terrain. Horses were used for reconnaissance and for carrying messengers as well as for pulling artillery, ambulances, and supply wagons. The presence of horses often increased morale among the soldiers at the front, but the animals contributed to disease and poor sanitation in camps, caused by their manure and carcasses. The value of horses and the increasing difficulty of replacing them were such that by 1917, some troops were told that the loss of a horse was of greater tactical concern than the loss of a human soldier. Ultimately, the blockade of Germany prevented the Central Powers from importing horses to replace those lost, which contributed to Germany’s defeat. By the end of the war, even the well-supplied US Army was short of horses.
Conditions were severe for horses at the front; they were killed by rifle and artillery fire, suffered from skin disorders among other diseases, and were injured by poison gas. Hundreds of thousands of horses died, and many more were treated at veterinary hospitals and sent back to the front. Procuring fodder was a major issue, and Germany lost many horses to starvation. Several memorials have been erected to commemorate the horses that died. Artists, including Alfred Munnings, extensively documented the work of horses in the war, and horses were featured in war poetry. Novels, plays and documentaries have also featured the horses of World War I.
Many British tacticians outside of the cavalry units realized before the war that advances in technology meant that the era of mounted warfare was coming to an end. However, many senior cavalry officers disagreed, and despite limited usefulness, maintained cavalry regiments at the ready throughout the war. Scarce wartime resources were used to train and maintain cavalry regiments that were rarely used. The continued tactical use of the cavalry charge resulted in the loss of many troops and horses in fruitless attacks against machine guns. Early in the war, cavalry skirmishes occurred on several fronts, and horse-mounted troops were widely used for reconnaissance. Britain’s cavalry were trained to fight both on foot and mounted, but most other European cavalry solely relied on the shock tactic of mounted charges. There were isolated instances of successful shock combat on the Western Front, where cavalry divisions also provided important mobile firepower. Beginning before the war, cavalry was deployed alongside armoured cars and aircraft, this was later extended to working in co-operation with tanks, notably at the Battle of Cambrai, where cavalry was expected to exploit breakthroughs in the lines that the slower tanks could not. This plan never came to fruition due to missed opportunities by command. At Cambrai, troops from Great Britain, Canada, India and Germany participated in mounted actions Cavalry was still deployed late in the war, with Allied cavalry troops harassing retreating German forces in 1918 during the Hundred Days Offensive, when horses and tanks continued to be used in the same battles “Cavalry was literally indispensable” on the Eastern front and in the Middle East.
The Cavalry Manual, written in 1912, was unchanged throughout the war as the tactics within were still effective, more so than many authors and commentators have given credit for. The ambitions of senior officers however, Haig in particular, was that the cavalry arm could also be effective strategically. This was proven to be wrong and the blame is laid with the higher echelons who were unable to establish a Command, Control and Communications structure which could effectively involve the use of cavalry divisions or corps. Cavalry was also used with good effect in Palestine, at the Third Battle of Gaza and Battle of Megiddo British cavalry officers, far more than their continental European counterparts, persisted in using and maintaining cavalry, believing that mounted troops would be useful for exploiting infantry breakthroughs, and under the right circumstances would be able to face machine guns.
Britain had increased its cavalry reserves after seeing the effectiveness of mounted Boers during the Second Boer War (1899–1902). Horse-mounted units were used from the earliest days of World War I: on August 22, 1914, the first British shot of the war in France was fired by a cavalryman, Corporal Edward Thomas of the 4th Royal Irish Dragoon Guards, near Casteau, during a patrol in the buildup to the Battle of Mons. Within 19 days of Britain beginning mobilization for war, on August 24, 1914, the 9th Lancers, a cavalry regiment led by David Campbell, engaged German troops with a squadron of 4th Dragoon Guards against German infantry and guns. Campbell obeyed his orders to charge, although he believed the more prudent course of action would have been to fight dismounted. The charge resulted in a British loss of 250 men and 300 horses. On September 7, Campbell’s troops charged again, this time towards the German 1st Guard Dragoons, another lancer cavalry regiment.
The Cavalry Training Manual of 1912 continued to be used by junior commanders to great effect (significantly Douglas Haig was a contributor) and wasn’t changed significantly during the war years. What did change however, to the advantage of small cavalry formations, was how the German army changed tactics (to deep defence) allowing the cavalry more freedom on the battlefield. The last British fatality from enemy action before the armistice went into effect was a cavalryman, George Edwin Ellison, from C Troop 5th Royal Irish Lancers. Ellison was shot by a sniper as the regiment moved into Mons on November 11, 1918.
Horses proved indispensable to the British war effort in Palestine, particularly under Field Marshal Edmund Allenby, for whom cavalry made up a large percentage of his forces. Most of his mounted troops were not British regular cavalry, but the Desert Mounted Corps, consisting of a combination of Australian, New Zealand, Indian units and English Yeomanry regiments from the Territorial Force, largely equipped as mounted infantry rather than cavalry. By mid-1918, Ottoman intelligence estimated that Allenby commanded around 11,000 cavalry. Allenby’s forces routed the Ottoman armies in a running series of battles that included the extensive use of cavalry by both sides. Some cavalry tacticians view this action as a vindication of cavalry’s usefulness, but others point out that the Ottoman were outnumbered two to one by late 1918, and were not first-class troops. Horses were also ridden by the British officers of the Egyptian Camel Transport Corps in Egypt and the Levant during the Sinai and Palestine Campaigns.
It is clear that between 1914 and 1918 the cavalry were effective in combat at a tactical level, in spite of the prevailing conditions of the battlefield (or as effective as their infantry counterparts, at any rate).The premise that cavalry were incapable of moving around on the battlefields of the Western Front is simply false. Advance planning was required but this was the case for all arms in the advance.
The origin of much of the discriminatory comments about cavalry on the Western Front is attributed to General Sir James Edmonds, an engineer officer who was responsible for writing much of the official history of the war. The main and recurring statements attributable to him are:
♦ The “cavalry generals” myth – that the British Army on the Western Front was dominated by general officers from the cavalry arm.
♦ The “Last Machine Gun Myth” which incorrectly stated that cavalry couldn’t operate until the last machine gun was destroyed.
♦ The “Fodder” myth which stated that cavalry resources would have been better spent in the supply of other arms.
Additionally writers such as J. F. C. Fuller and B. H. Liddell Hart were enthusiastic exponents of tank warfare and used similar statements to discredit cavalry as “traditional and outdated”
The curious aspect of these allegations is that, despite being proven wrong on many occasions over the decades since WW1, these myths persist in the psyche of some authors and indeed with the general public.
India
Indian cavalry participated in actions on both the Western and Palestinian fronts throughout the war. Members of the 1st and 2nd Indian Cavalry Divisions were active on the Western Front, including in the German retreat to the Hindenburg Line and at the Battle of Cambrai.During the battle of the Somme, the 20th Deccan Horse made a successful, mounted charge, assaulting a German position on Bazentin Ridge. The charge overran the German position. A charge by the 5th (Mhow) Cavalry Brigade of the 1st Division ended successfully at the Battle of Cambrai despite being against a position fortified by barbed wire and machine guns. Such successful endings were unusual occurrences during the war. Several Indian cavalry divisions joined Allenby’s troops in the spring of 1918 after being transferred from the Western Front.
When the war began, Lord Strathcona’s Horse, a Canadian cavalry regiment, was mobilized and sent to England for training. The regiment served as infantry in French trenches during 1915, and were not returned to their mounted status until February 16, 1916. In the defense of the Somme front in March 1917, mounted troops saw action, and Lieutenant Frederick Harvey was awarded the Victoria Cross for his actions. Canadian cavalry generally had the same difficulties as other nations in breaking trench warfare deadlocks and were of little use on the front lines. However, in the spring of 1918, Canadian cavalry was essential in halting the last major German offensive of the war.On March 30, 1918, Canadian cavalry charged German positions in the Battle of Moreuil Wood, defeating a superior German force supported by machine gun fire. The charge was made by Lord Strathcona’s Horse, led by Gordon Flowerdew, later posthumously awarded the Victoria Cross for his actions during the charge. Although the German forces surrendered, three-quarters of the 100 cavalry participating in the attack were killed or wounded in the attack against 300 German soldiers.
The ANZAC and Australian Mounted Divisions carried rifles, bayonets and machine guns, generally using horses as swift transport and dismounting to fight. Troops of four men were organised, so that three were fighting while the fourth held the horses. Sometimes they fought as mounted troops: at the Battle of Beersheba during the Sinai and Palestine Campaign in 1917, the Australian Mounted Division’s 4th Light Horse Brigade made what is sometimes called “the last successful cavalry charge in history”, when two regiments successfully overran Ottoman trenches. They formed up over a wide area, to avoid offering a target for enemy artillery, and galloped 3 kilometres (1.9 mi) into machine gun fire, equipped only with rifles and bayonets. Some of the front ranks fell, but most of the brigade broke through, their horses jumping the trenches into the enemy camp. Some soldiers dismounted to fight in the trenches, while others raced on to Beersheba, to capture the town and its vital water supplies. The charge was “instrumental in securing Allenby’s victory [in Palestine]”.
The Australians primarily rode Waler horses. The English cavalry officer, Lieutenant Colonel RMP Preston DSO, summed up the animals’ performance in his book, The Desert Mounted Corps:
… (November 16th, 1917) The operations had now continued for 17 days practically without cessation, and a rest was absolutely necessary especially for the horses. Cavalry Division had covered nearly 170 miles … and their horses had been watered on an average of once in every 36 hours … The heat, too, had been intense and the short rations, 9+1⁄2 lb of grain per day without bulk food, had weakened them greatly. Indeed, the hardship endured by some horses was almost incredible. One of the batteries of the Australian Mounted Division had only been able to water its horses three times in the last nine days—the actual intervals being 68, 72 and 76 hours respectively. Yet this battery on its arrival had lost only eight horses from exhaustion, not counting those killed in action or evacuated wounded … The majority of horses in the Corps were Walers and there is no doubt that these hardy Australian horses make the finest cavalry mounts in the world …
Continental Europe
You can’t make a cavalry charge until you have captured the enemy’s last machine gun.
—An American observer of French cavalry tactics, 1917
French horsemen crossing a river on their way to Verdun.Italian veterinary technicians perform surgery on horse.
Before the war began, many continental European armies still considered the cavalry to hold a vital place in their order of battle. France and Russia expanded their mounted military units before 1914. Of the Central Powers, Germany added thirteen regiments of mounted riflemen, Austria–Hungary expanded their forces,and the Bulgarian army also readied the cavalry in their army. When the Germans invaded in August 1914, the Belgians had one division of cavalry.
French cavalry had similar problems with horses on the Western Front as the British, although the treatment of their horses created additional difficulties. Opinion generally was that the French were poor horsemen: “The French cavalryman of 1914 sat on his horse beautifully, but was no horsemaster. It did not occur to him to get off his horse’s back whenever he could, so there were thousands of animals with sore backs …”. One French general, Jean-François Sordet, was accused of not letting horses have access to water in hot weather. By late August 1914, a sixth of the horses in the French cavalry were unusable. The French continued to eschew mounted warfare when in a June 1918 charge by French lancers the horses were left behind and the men charged on foot.
Russia possessed thirty-six cavalry divisions when it entered the war in 1914, and the Russian government claimed that its horsemen would thrust deep into the heart of Germany. Although Russian mounted troops entered Germany, they were soon met by German forces. In the August 1914 Battle of Tannenberg, troops led by German Field Marshal Paul von Hindenburg and Lieutenant-General Erich Ludendorff surrounded the Russian Second Army and destroyed the mounted force of Don Cossacks that served as the special guard of Russian General Alexander Samsonov. Other Russian cavalry units successfully harassed retreating Austro-Hungarian troops in September 1914, with the running battle eventually resulting in the loss of 40,000 of the 50,000 men in the Austro-Hungarian XIV Tyrolean Corps, which included the 6th Mounted Rifle Regiment. Transporting cavalry created a hardship for the already strained Russian infrastructure, as the great distances they needed to be moved meant that they had to be transported by train. Approximately the same number of trains (about 40) were required to transport a cavalry division of 4,000 as to transport an infantry division of 16,000.
The cavalries of the Central Powers, Germany and Austria–Hungary, faced the same problems with transport and the failure of tactics as the Russians. Germany initially made extensive use of cavalry, including a lance-against-lance battle with the British in late 1914, and an engagement between the British 1st Cavalry Brigade and the German 4th Cavalry Division in the lead-up to the First Battle of the Marne in September 1914. That battle ended “decidedly to the disadvantages of the German cavalry”, partially due to the use of artillery by the accompanying British L Battery of horse artillery. The Germans stopped using cavalry on the Western Front not long after the beginning of the war, in response to the Allied Forces’ changing battle tactics, including more advanced weaponry. They continued to use cavalry to some extent on the Eastern Front, including probes into Russian territory in early 1915. The Austrians were forced to stop using cavalry because of large-scale equipment failures; Austrian military saddles were so poorly designed as to rub the skin off the back of any horse not already hardened to the equipment from parade ground practice; only a few weeks into the war half of all Austrian cavalry mounts were disabled, and the rest nearly so.
Ottoman Empire
Ottoman cavalry south of Jerusalem in April 1917
In 1914, the Ottoman Empire began the war with one cavalry regiment in their armed forces and four reserve regiments (originally formed in 1912) under the control of the Third Army. These reserve regiments were composed of Kurds, rural Turks and a few Armenians. The performance of the reserve divisions was poor, and in March 1915 the forces that survived were turned into two divisions totalling only two thousand men and seventy officers. Later that month, the best regiments were consolidated into one division and the rest disbanded. Nonetheless, cavalry was used by Ottoman forces throughout 1915 in engagements with the Russians,and one cavalry unit even exchanged small arms fire with a submarine crew in the Dardanelles in early 1915. Ottoman cavalry was used in engagements with the Allies, including the Third Battle of Gaza in late 1917. In this battle, both sides used cavalry forces as strategic parts of their armies. Cavalry continued to be involved in engagements well into 1918, including in conflicts near the Jordan River in April and May that year, which the Ottomans called the First and Second Battles of Jordan, part of the lead-up to the Battle of Megiddo. By September 1918, regular army cavalry forces were stationed throughout the Middle Eastern front, and the only remaining operationally ready reserve forces in the Ottoman military were two cavalry divisions, one formed after the initial problems in 1915.
United States
An American soldier demonstrating a gas mask for his horse
By 1916, the United States Cavalry consisted of 15,424 members organized into 15 regiments, including headquarters, supply, machine-gun and rifle troops. Just before formally joining the war effort, the US had gained significant experience in 1916 and 1917 during the Pancho Villa Expedition in Mexico, which helped to prepare the US Cavalry for entry into World War I. In May 1917, a month after the US declaration of war, the National Defense Act went into effect, creating the 18th through the 25th US Cavalry regiments, and later that month, twenty more cavalry regiments were created. However, British experiences during the first years of the war showed that trench warfare and weapons that included machine guns and artillery made cavalry warfare impractical. Thus, on October 1, eight of the new cavalry regiments were converted to field artillery regiments by order of Congress, and by August 1918, twenty National Army horse units were converted to thirty-nine trench mortar and artillery batteries. Some horse units of the 2nd, 3rd, 6th and 15th Cavalry regiments accompanied the US forces in Europe. The soldiers worked mainly as grooms and farriers, attending to remounts for the artillery, medical corps and transport services. It was not until late August 1918 that US cavalry entered combat. A provisional squadron of 418 officers and enlisted men, representing the 2nd Cavalry Regiment, and mounted on convalescent horses, was created to serve as scouts and couriers during the St. Mihiel Offensive. On September 11, 1918, these troops rode at night through no man’s land and penetrated five miles behind German lines. Once there, the cavalry was routed and had to return to Allied territory. Despite serving through the Meuse-Argonne Offensive, by mid-October the squadron was removed from the front with only 150 of its men remaining.
Horses were used extensively for military trains. They were used to pull ambulances, carry supplies and ordnance. At the beginning of the war, the German army depended upon horses to pull its field kitchens, as well as the ammunition wagons for artillery brigades. The Royal Corps of Signals used horses to pull cable wagons, and the promptness of messengers and dispatch riders depended on their mounts. Horses often drew artillery and steady animals were crucial to artillery effectiveness. The deep mud common in some parts of the front, caused by damaged drainage systems flooding nearby areas, made horses and mules vital, as they were the only means of getting supplies to the front and guns moved from place to place. After the April 1917 Battle of Vimy Ridge, one Canadian soldier recalled, “the horses were up to their bellies in mud. We’d put them on a picket line between the wagon wheels at night and they’d be sunk in over their fetlocks the next day. We had to shoot quite a number.”
Thousands of horses were employed to pull field guns; six to twelve horses were required to pull each gun. During the Battle of Cambrai, horses were used to recover guns captured by the British from no man’s land. In one instance, two teams of sixteen horses each had their hooves, tack and pulling chains wrapped to reduce noise. The teams and their handlers then successfully pulled out two guns and returned them to British lines, the horses jumping a trench in the process and waiting out an artillery barrage by German troops on the road they needed to take.
Dummy horses were sometimes used to deceive the enemy into misreading the location of troops. They were effectively used by Allenby during his campaigns in the east, especially late in the war. Evidence exists that the Germans used horses in their experimentations with chemical and biological warfare. German agents in the US are suspected of infecting cattle and horses bound for France with glanders, a disease which can fatally spread to humans; similar tactics were used by the Germans against the Russians, causing breakdowns in their ability to move artillery on the Eastern Front.
In 1917 at the Battle of Passchendaele, men at the front understood that “at this stage to lose a horse was worse than losing a man because after all, men were replaceable while horses weren’t.”
Procurement
Allied forces
Unloading horses from a ship at Gallipoli, 1915
To meet its need for horses, Britain imported them from Australia, Canada, the US, and Argentina, and requisitioned them from British civilians. Lord Kitchener ordered that no horses under 15 hands (60 inches, 152 cm) should be confiscated, at the request of many British children, who were concerned for the welfare of their ponies. The British Army Remount Service, in an effort to improve the supply of horses for potential military use, provided the services of high quality stallions to British farmers for breeding their broodmares. The already rare Cleveland Bay was almost wiped out by the war; smaller members of the breed were used to carry British troopers, while larger horses were used to pull artillery. New Zealand found that horses over 15.2 hands (62 inches, 157 cm) fared worse than those under that height. Well-built Thoroughbreds of 15 hands and under worked well, as did compact horses of other breeds that stood 14.2 to 14.3 hands (58 to 59 inches, 147 to 150 cm). Larger crossbred horses were acceptable for regular work with plentiful rations, but proved less able to withstand short rations and long journeys. Riflemen with tall horses suffered more from fatigue, due to the number of times they were required to mount and dismount the animals. Animals used for draught work, including pulling artillery, were also found to be more efficient when they were of medium size with good endurance than when they were tall, heavy and long-legged.
The continued resupply of horses was a major issue of the war. One estimate puts the number of horses that served in World War I at around six million, with a large percentage of them dying due to war-related causes. In 1914, the year the war began, the British Army owned only about 25,000 horses. This shortfall required the US to help with remount efforts, even before it had formally entered the war.Between 1914 and 1918, the US sent almost one million horses overseas, and another 182,000 were taken overseas with American troops. This deployment seriously depleted the country’s equine population. Only 200 returned to the US, and 60,000 were killed outright. By the middle of 1917, Britain had procured 591,000 horses and 213,000 mules, as well as almost 60,000 camels and oxen. Britain’s Remount Department spent £67.5 million on purchasing, training and delivering horses and mules to the front. The British Remount Department became a major multinational business and a leading player in the international horse trade, through supplying horses to not only the British Army but also to Canada, Belgium, Australia, New Zealand, Portugal, and even a few to the US. Shipping horses between the US and Europe was both costly and dangerous; American Expeditionary Force officials calculated that almost seven times as much room was needed per ton for animals than for average wartime cargo, and over 6,500 horses and mules were drowned or killed by shell fire on Allied ships attacked by the Germans. In turn, New Zealand lost around 3 percent of the nearly 10,000 horses shipped to the front during the war.
Due to the high casualty rates, even the well-supplied American army was facing a deficit of horses by the final year of the war. After the American First Army, led by General John J. Pershing, pushed the Germans out of the Argonne Forest in late 1918, they were faced with a shortage of around 100,000 horses, effectively immobilizing the artillery. When Pershing asked Ferdinand Foch, Marshal of France, for 25,000 horses, he was refused. It was impossible to obtain more from the US, as shipping space was limited, and Pershing’s senior supply officer stated that “the animal situation will soon become desperate.” The Americans, however, fought on with what they had until the end of the war, unable to obtain sufficient supplies of new animals.
Central Powers
A horse-drawn German supply wagon in France in 1917
Before World War I, Germany had increased its reserves of horses through state-sponsored stud farms (German: Remonteamt) and annuities paid to individual horse breeders. These breeding programs were designed specifically to provide high-quality horses and mules for the German military. These efforts, and the horse-intensive nature of warfare in the early 20th century, caused Germany to increase the ratio of horses to men in the army, from one to four in 1870 to one to three in 1914. The breeding programs allowed the Germans to provide all of their own horses at the beginning of the war. Horses were considered army reservists; owners had to register them regularly, and the army kept detailed records on the locations of all horses. In the first weeks of the war, the German army mobilized 715,000 horses and the Austrians 600,000. Overall, the ratio of horses to men in Central Powers nations was estimated at one to three.
The only way Germany could acquire large numbers of horses after the war began was by conquest. More than 375,000 horses were taken from German-occupied French territory for use by the German military. Captured Ukrainian territory provided another 140,000. Ardennes were used to pull artillery for the French and Belgian armies. Their calm, tolerant disposition, combined with their active and flexible nature, made them an ideal artillery horse. The breed was considered so useful and valuable that when the Germans established the Commission for the Purchase of Horses in October 1914 to capture Belgian horses, the Ardennes was one of two breeds specified as important, the other being the Brabant. The Germans were not able to capture the horses belonging to the Belgian royal family, as they were successfully evacuated, although they captured enough horses to disrupt Belgian agriculture and breeding programs. Horses used for the transport of goods were also taken, resulting in a fuel crisis in Belgium the next winter as there were no horses to pull coal wagons. The Germans sold some of their captured horses at auction.Prevented by the Allies from importing remounts, the Germans ultimately ran out of horses, making it difficult for them to move supplies and artillery, a factor contributing to their defeat.
A horse undergoes treatment for a skin disease at a British veterinary hospital in 1916
Battle losses of horses were approximately 25 percent of all war-related equine deaths between 1914 and 1916. Disease and exhaustion accounted for the remainder. The highest death rates were in East Africa, where in 1916 alone deaths of the original mounts and remounts accounted for 290% of the initial stock numbers, mainly due to infection from the tsetse fly. On average, Britain lost about 15 percent (of the initial military stock) of its animals each year of the war (killed, missing, died or abandoned), with losses at 17 percent in the French theatre. This compared to 80 percent in the Crimean War, 120 percent in the Boer War and 10 percent in peacetime. During some periods of the war, 1,000 horses per day were arriving in Europe as remounts for British troops, to replace horses lost. Equine casualties were especially high during battles of attrition, such as the 1916 Battle of Verdun between French and German forces. In one day in March, 7,000 horses were killed by long-range shelling on both sides, including 97 killed by a single shot from a French naval gun. By 1917, Britain had over a million horses and mules in service, but harsh conditions, especially during winter, resulted in heavy losses, particularly amongst the Clydesdale horses, the main breed used to haul the guns. Over the course of the war, Britain lost over 484,000 horses, one horse for every two men.A small number of these, 210, were killed by poison gas.
Feeding horses was a major issue, and horse fodder was the single largest commodity shipped to the front by some countries, including Britain. Horses ate around ten times as much food by weight as a human, and hay and oats further burdened already overloaded transport services. In 1917, Allied operations were threatened when horse feed rations were reduced after German submarine activity restricted supplies of oats from North America, combined with poor Italian harvests. The British rationed hay and oats, although their horses were still issued more than those from France or Italy. The Germans faced an even worse fodder crisis, as they had underestimated the amount of food they needed to import and stockpile before the beginning of the war. Sawdust was mixed with food during times of shortage to ease animals’ sense of hunger, and many animals died of starvation. Some feed was taken from captured territories on the Eastern Front, and more from the British during the advances of the 1918 spring offensive.
Animals bolstered morale at the front, due to the soldiers’ affection for them. Some recruitment posters from World War I showcased the partnership between horse and man in attempts to gain more recruits. Despite the boost in morale, horses could also be a health hazard for the soldiers, mainly because of the difficulty of maintaining high levels of hygiene around horses, which was especially noted in camps in Egypt. Horse manure was commonplace in the battle and staging areas on several fronts, creating breeding grounds for disease-carrying insects. Manure was supposed to be buried, but fast-moving battle conditions often made this impossible. Sanitation officers were responsible for the burial of horse carcasses, among other duties.
A horse undergoing an operation at a US Army veterinary hospitalA mule stuck in a shell hole on the Western Front.
Many horses died as a result of the conditions at the front—of exhaustion, drowning, becoming mired in mud and falling in shell holes. Other horses were captured after their riders were killed. Horses also endured poor feeding and care, poison gas attacks that injured their respiratory systems and skin, and skin conditions such as mange. When gas warfare began in 1915, nose plugs were improvised for the horses to allow them to breathe during attacks. Later, several types of gas masks were developed by both the Central and Allied nations, although horses often confused them with feedbags and destroyed them. Soldiers found that better-bred horses were more likely to suffer from shell shock and act up when exposed to the sights and sounds of war than less-well-bred animals, who often learned to lie down and take cover at the sound of artillery fire. Veterinary hospitals were established to assist horses in recovering from shell shock and battle wounds, but thousands of equine corpses still lined the roads of the Western Front. In one year, 120,000 horses were treated for wounds or disease by British veterinary hospitals alone. Ambulances and field veterinary hospitals were required to care for the horses, and horse trailers were first developed for use on the Western Front as equine ambulances. Disease was also a major issue for horses at the front, with equine influenza, ringworm, sand colic, sores from fly bites, and anthrax among the illnesses that affected them. British Army Veterinary Corps hospitals treated 725,216 horses over the course of the war, successfully healing 529,064. Horses were moved from the front to veterinary hospitals by several methods of transportation, including on foot, by rail and by barge. During the last months of the war, barges were considered ideal transportation for horses suffering wounds from shells and bombs.[78]
When the war ended, many horses were killed due to age or illness, while younger ones were sold to slaughterhouses or to locals, often upsetting the soldiers who had to give up their beloved mounts. There was a trade in fresh meat from, amongst other equines, old war horses and army mules from Britain to abattoirs on the continent despite the Exportation of Horses Act passed in 1914. Because of the brutal way this trade was carried out, efforts were made by Ada Cole to stop it. There were 13,000 Australian horses remaining at the end of World War I, but due to quarantine restrictions, they could not be shipped back to Australia. Two thousand were designated to be killed, and the remaining 11,000 were sold, most going to India as remounts for the British Army Of the 136,000 horses shipped from Australia to fighting fronts in the war, only one, Sandy, was returned to Australia. New Zealand horses were also left behind; those not required by the British or Egyptian armies were shot to prevent maltreatment by other purchasers. The horses left behind did not always have good lives—the Brooke Trust was established in 1930 when a young British woman arrived in Cairo, only to find hundreds of previously Allied-owned horses living in poor conditions, having been sold to Egyptians after the cessation of the war. In 1934, the Old War Horse Memorial Hospital was opened by the trust, and is estimated to have helped over 5,000 horses that had served in World War I; as of 2011, the hospital continues to serve equines in the Cairo area.
The Animals in War Memorial exists as a memorial to the countless animals that have served and died under British military command throughout history
The horse is the animal most associated with the war, and memorials have been erected to its service, including that at St. Jude on the Hill, Hampstead, which bears the inscription “Most obediently and often most painfully they died – faithful unto death.” The Animals in War Memorial in London commemorates animals, including horses, that served with the British and their allies in all wars. The inscription reads: “Animals In War. This monument is dedicated to all the animals that served and died alongside British and allied forces in wars and campaigns throughout time. They had no choice.” In Minneapolis, a monument by Lake of the Isles is dedicated to the horses of the Minnesota 151st Field Artillery killed in battle during World War I.
The men of the Australian Light Horse Brigade and New Zealand Mounted Rifles who died between 1916 and 1918 in Egypt, Palestine and Syria are commemorated by the Desert Mounted Corps Memorial, or Light Horse Memorial, on Anzac Parade, in Canberra, Australia. The original version of this monument was in Port Said in Egypt, and was mostly destroyed during the 1956 Suez War. A piece from the original memorial, a shattered horse’s head, was brought back to Australia and used as part of a new statue in the A is for Animals exhibition honoring animals who have served with the Australian military. The exhibition also contains the preserved head of Sandy, the only horse to return to Australia after the war.
War artistAlfred Munnings was sent to France in early 1918 as an official war artist with the Canadian Cavalry Brigade. The Canadian Forestry Corps invited Munnings to tour their work camps in France after seeing some of his work at the headquarters of General Simms, the Canadian representative. He produced drawings, watercolors, and paintings of their work, including Draft Horses, Lumber Mill in the Forest of Dreux in 1918. Forty-five of his paintings were displayed at the Canadian War Records Exhibition at the Royal Academy, many of which featured horses in war. Numerous other artists created works that featured the horses of World War I, including Umberto Boccioni with Charge of the Lancersand Terence Cuneo with his celebrated postwar painting of the saving of the guns at Le Cateau during the Retreat from Mons.[91] During World War I, artist Fortunino Matania created the iconic image Goodbye Old Man that would be used by both British and American organizations to raise awareness of the suffering of animals affected by war. The painting was accompanied by a poem, The Soldiers Kiss, that also emphasized the plight of the horse in war.
Writing poetry was a means of passing the time for soldiers of many nations, and the horses of World War I figured prominently in several poems.[94][95] In 1982, Michael Morpurgo wrote the novel War Horse, about a cavalry horse in the war. The book was later adapted into a successful play of the same name, and also into a screenplay, with the movie, released on December 25, 2011, in the United States.[96]


.jpg)


.jpg)


